How to start coding
Integrating with a code editor
You need a code editor, such as Visual Studio Code, to write and edit your script. This document takes Visual Studio Code as an example.
-
Download Visual Studio Code.
-
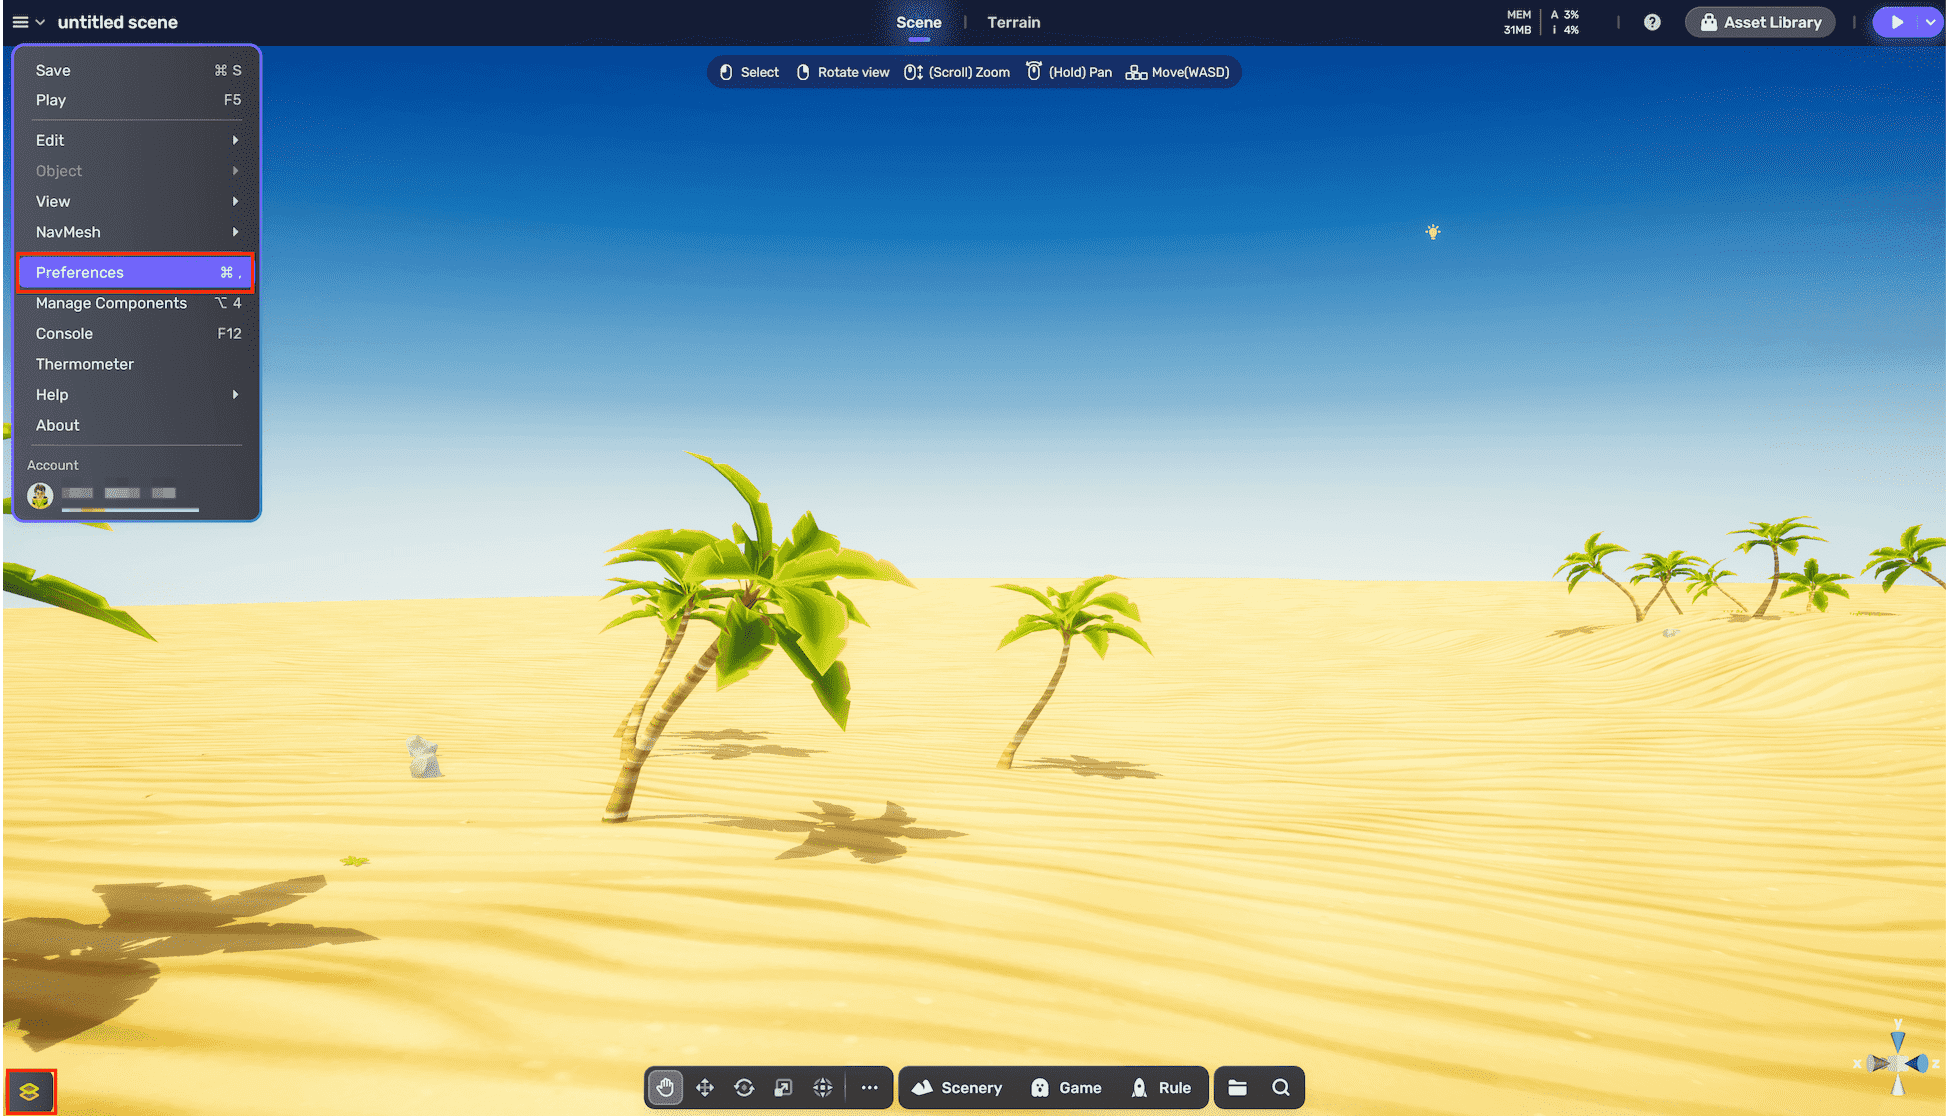
Specify the external code editor as Visual Studio Code in Studio Preference.

-
Find Code in the folder where the Visual Studio Code is located and open it. Now Studio is integrated with the code editor.


Creating or adding scripts
- Open any space in YAHAHA Desktop.
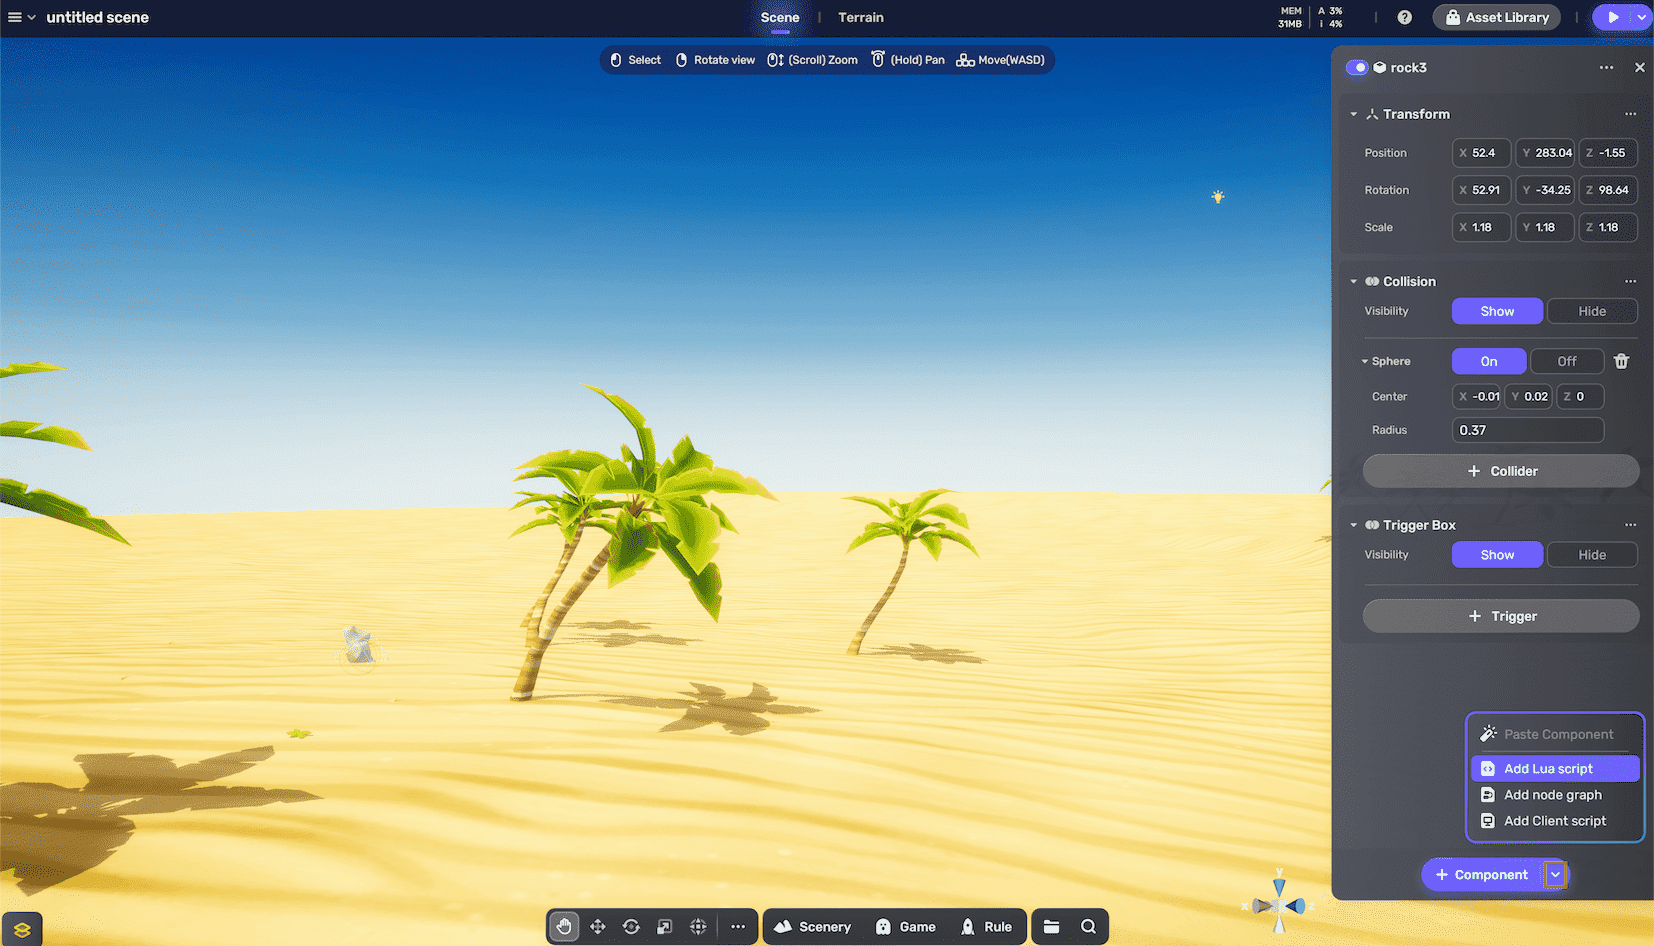
- In the scene, choose the object that you want to write scripts for and click the More button on the upper right corner.
-
In the Properties window, click the drop-down arrow on the +Component button. You can either upload your local script by choosing Add Client script or create a script from scratch by choosing Add Lua script.
-
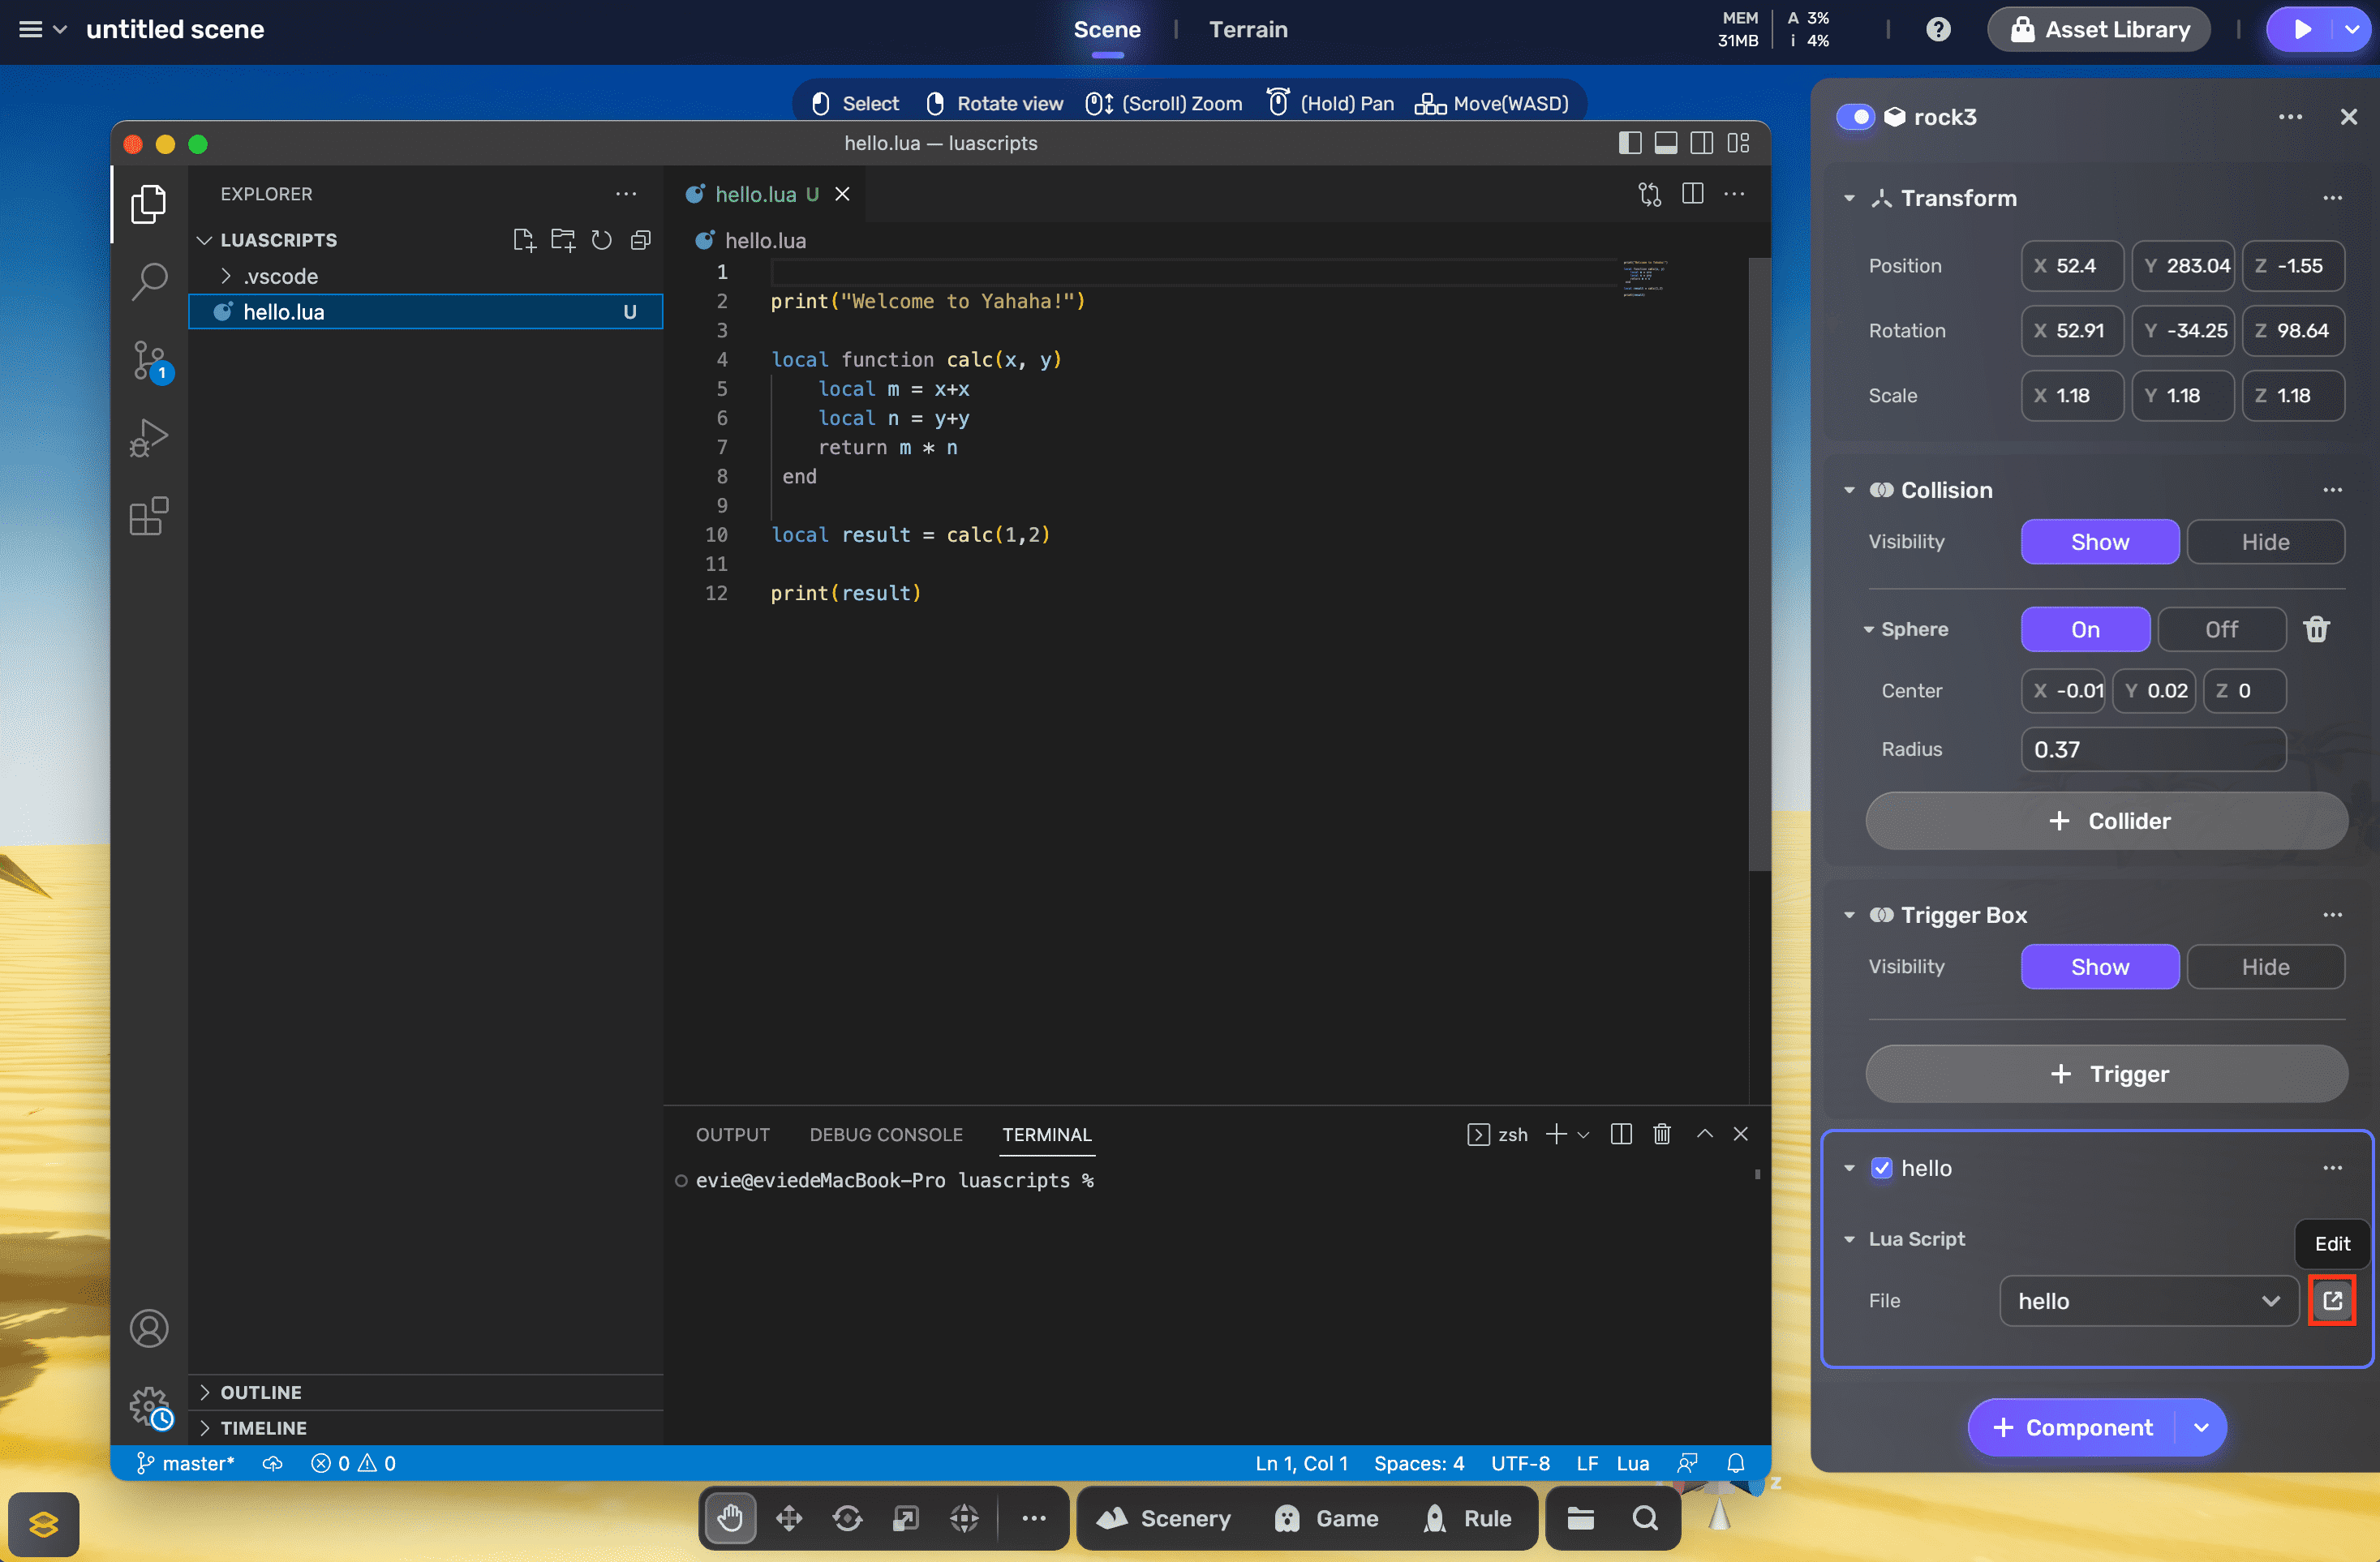
Click the Edit button to edit your script in your code editor.


Installing the YAHAHA Lua debugger
You can install the YAHAHA Lua debugger in either of the following ways:
-
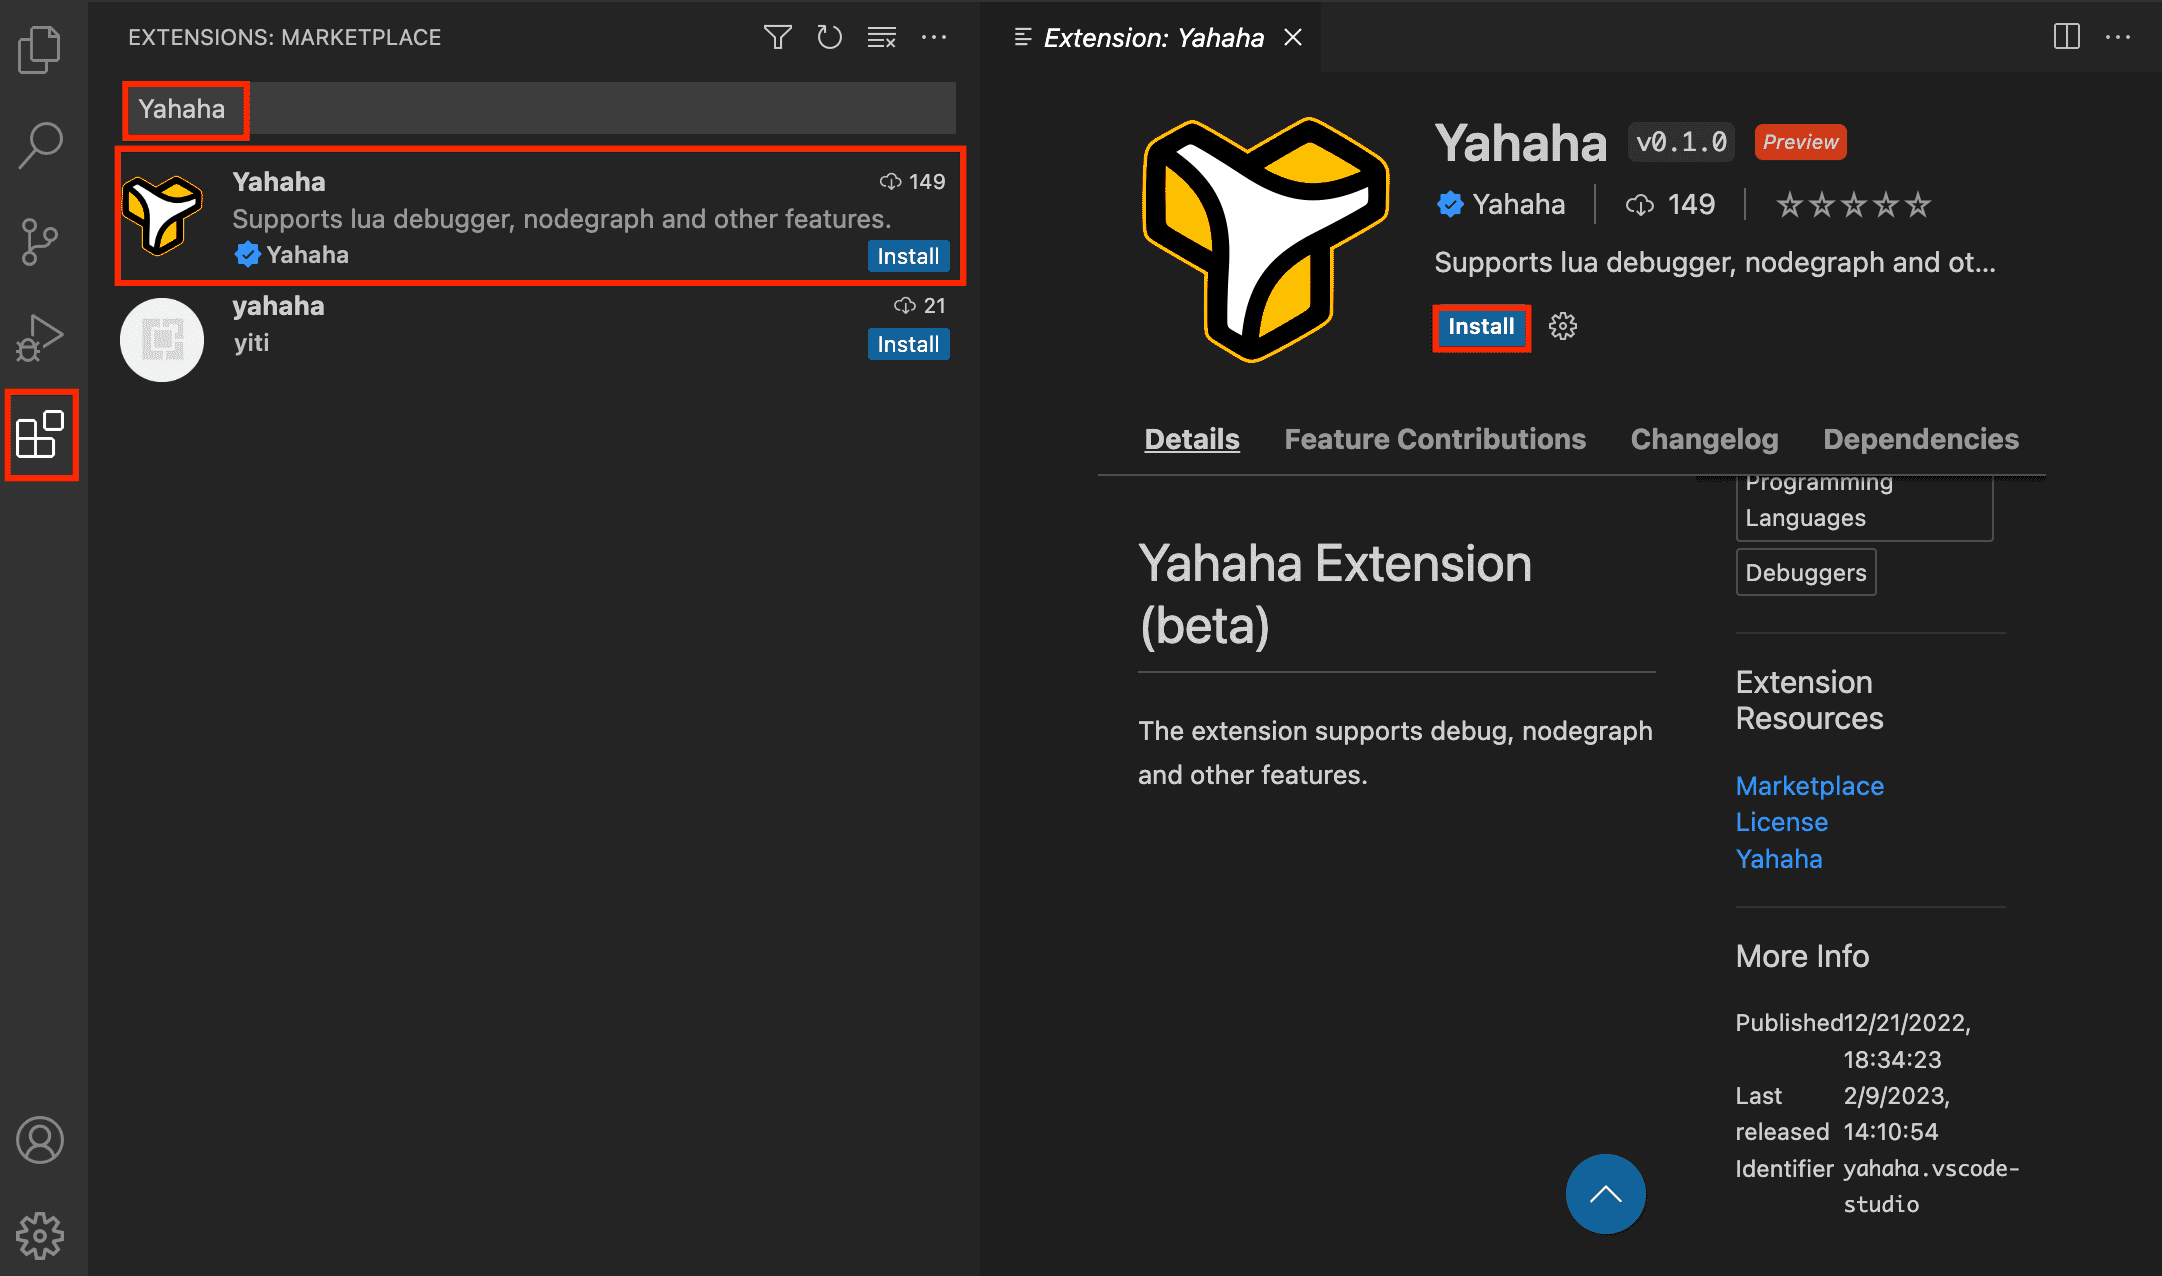
In your Visual Studio Code editor, search Yahaha on the Extension Marketplace. To get a preview, click Yahaha and then click Install to install the debugger.
-
On Visual Studio Marketplace, find the debugger ond choose Install.
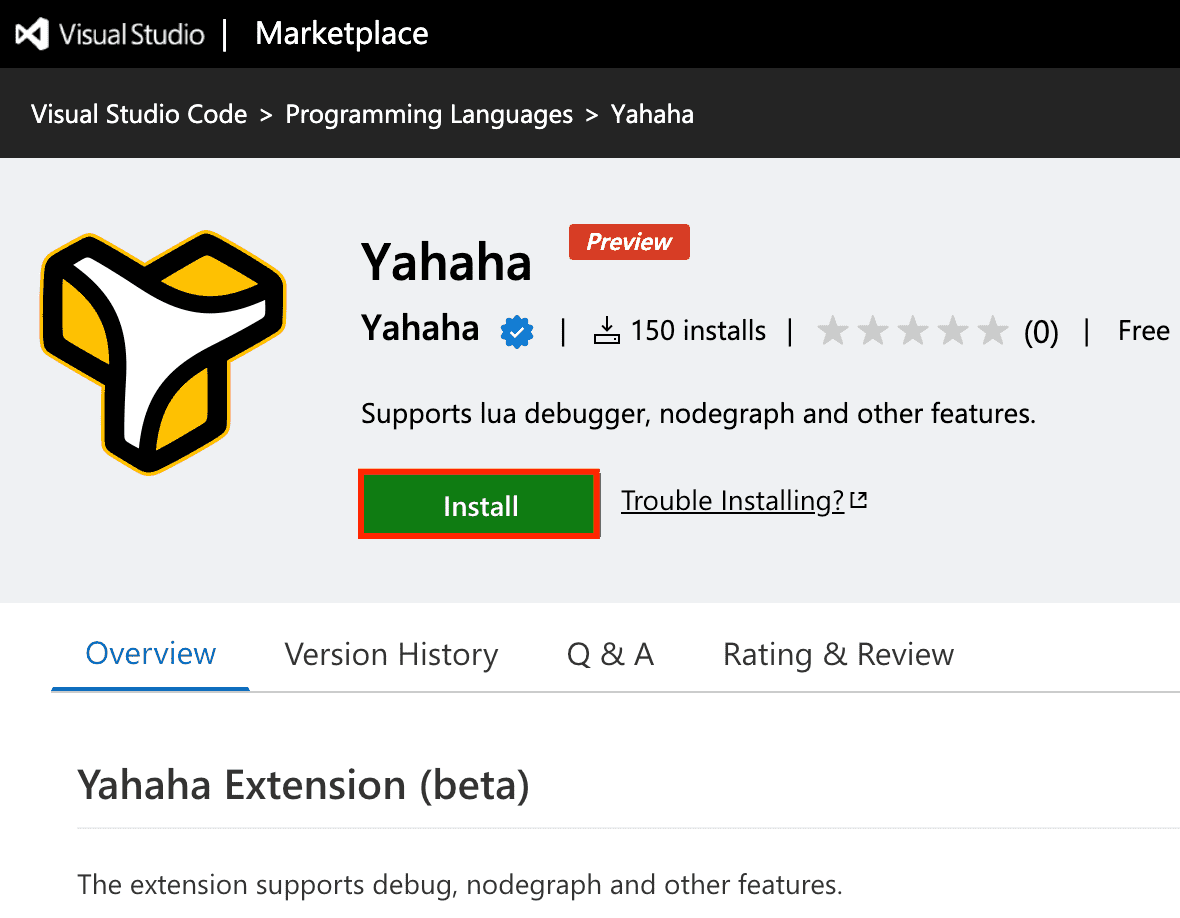


You will be prompted to open your code editor and directed to the preview page for the debugger on the Extension Marketplace. Then choose Install.
Configuring the YAHAHA Lua debugger
-
Switch to Run and Debug and click create a launch.json file. Choose Yahaha Lua Debugger, then the JSON file automatically appears.

-
Run the debugger to connect to YAHAHA Studio.

-
Now you've successfully run the debugger and try to set a breakpoint in your script. YAHAHA Studio will connect to the debugger in Play Mode.

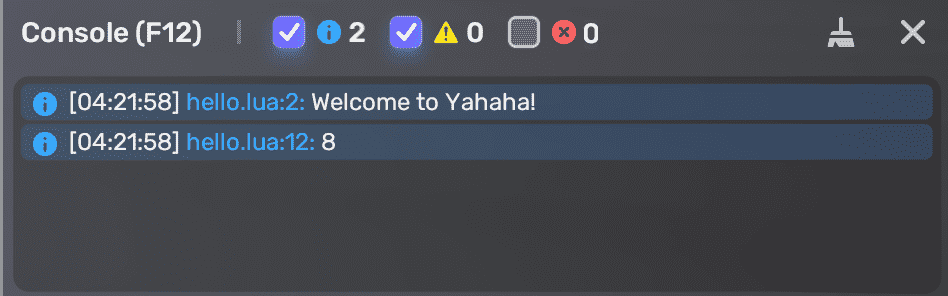
View the result in Console.