Publishing your Project
After you finish your making and save the change, you can publish your Project as a new Space. To publish:
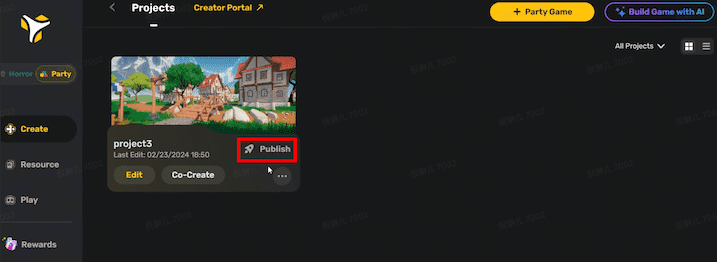
- Go to Create>Projects to find your Project.
-
Hover over the Project and click Publish.
-
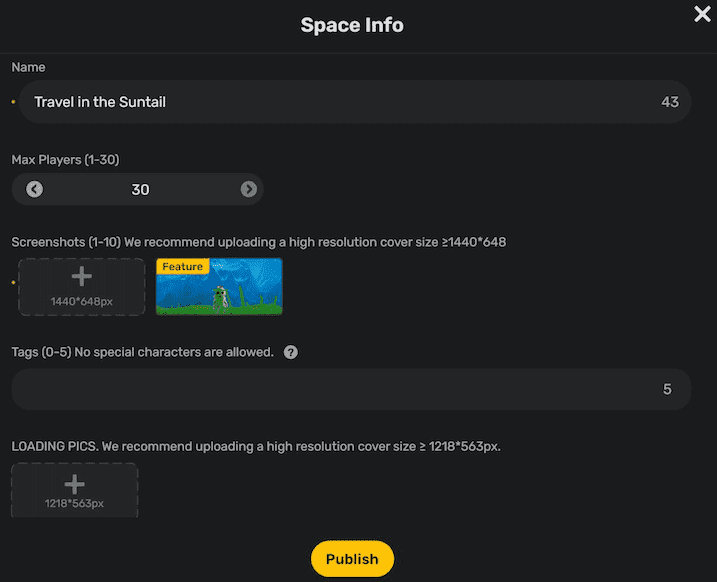
Edit your space information, then click Publish to publish the Space:
- Name: The name of the Space.
- Max Players: The maximum number of players allowed in the Space.
- Screenshots: The screenshot(s) of the Space. Between 1 and 10 screenshots of the Space can be added with a resolution higher than 1440X648.
- Tags: The tag(s) of the Space. No more than 5 tags can be added and special characters are not allowed in the tags.
- LOADING PICS: An image cover for the Space with a resolution higher than 1218X563.
- LOADING TIPS: Customizable tip(s) displayed to users upon loading the Space. You can add up to five tips, with each tip having a maximum character limit of 100.
- Description: A brief description of the Space, between 0 and 500 words
Note: If you used any assets from Asset Library, you will be asked to pay for them before publishing the Space. In our tutorial, the bridge model is a free asset, so we can purchase it successfully with no charge.
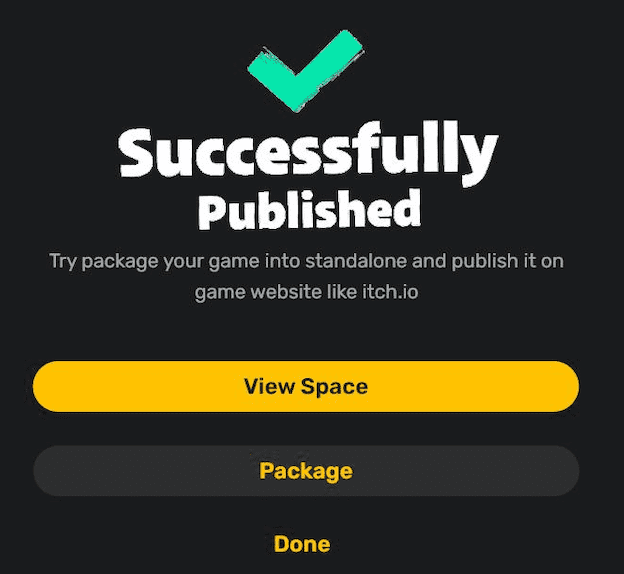
After you publish the Space, the following success message appears:


Editing a published Project
You can find published Spaces both in YAHAHA Desktop and YAHAHA Apps. To edit a published space, do either of the following:
- Method 1:
-
Click the avatar picture in the bottom left corner to open MY PROFILE.
-
Find the Space in the MY SPACES section and click it to enter the Space details page.
-
Click the Edit this Space button to start editing the Space information. Once you complete editing, click Save.
-
Method 2:
-
First, make sure you choose the right game kit in the top left corner.
-
Go to Create > Projects, hold the pointer over any Project, and click Publish.
-
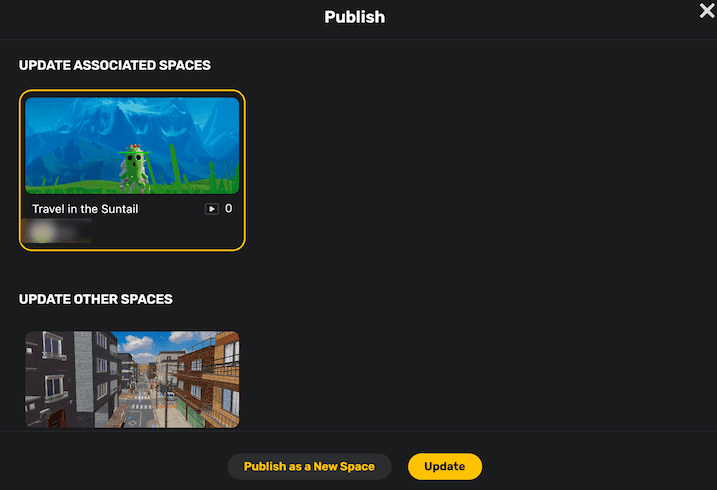
In the Publish window that appears, find the Space in the UPDATE ASSOCIATED SPACES section if you clicked the exact Project in the last step, or in the UPDATE OTHER SPACES section if you chose a different Project.
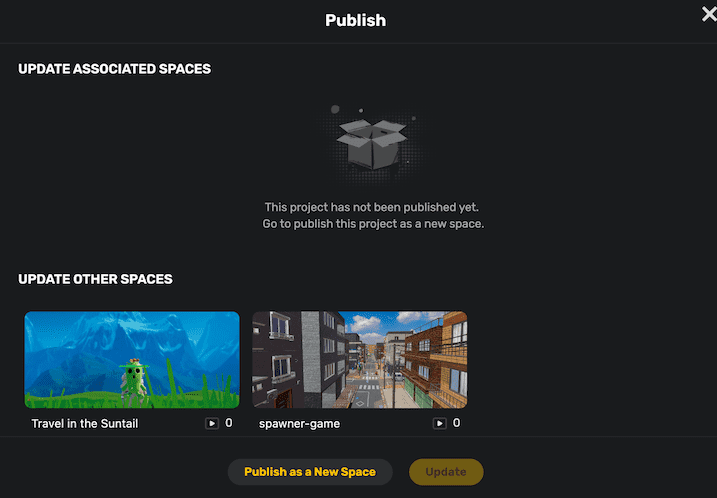
-
After you select the Space, click Update to apply the changes. If you prefer to publish the edited Space as a completely new one, click Publish as a New Space.


Deleting a Project
If you want to delete a Project, on Desktop through Create > Projects find the Project to delete, click the More button, and select Delete Project.

However, to delete a Space that you have published, find the space by visiting My Profile>MY SPACES, then click Delete.


