Importing scenes
Yahaha Assets Importer is a powerful plug-in that seamlessly imports prefabs and scenes from Unity into YAHAHA and binds them to your YAHAHA account. This plug-in enables you to import your Unity scenes to YAHAHA along with all of the assets and resources used in the scene, saving you time and effort and ensuring consistency between your Unity and Studio works.
In this tutorial, we will lead you through the main steps of importing scenes using Yahaha Assets Importer, including:
- Install Yahaha Assets Importer
- Prepare scenes
- Add and build scenes
- Import scenes
- Manage imported scenes
- Use imported scenes
Note:
YAHAHA Studio (Studio) does not support light maps. If you import a scene that includes light maps, they will not be rendered in Studio. This may result in the lighting appearing different or less realistic than it does in Unity. Additionally, if your scene uses a reflection probe, it's recommended to choose the Realtime type for optimal results in Studio.
Prerequisites
-
Make sure that you have Unity version 2020.3.1 to 2020.3.31 installed, with 2020.3.30 being the recommended version. You can download the required version from the Unity download archive page or the LTS Release page.
-
All build platforms including Windows, macOS, Android, and iOS are installed. If you haven't installed them all, do so on the LTS Release page.
Install Yahaha Assets Importer
-
Download Yahaha Plugin Community. This zip file includes a pre-configured Unity project with Yahaha Assets Importer and dependencies already imported.
-
Extract the zip file to your desired location.
-
Open the extracted Yahaha Plugin Community folder in Unity as a project.
Prepare scenes
Before importing scenes into Studio, add the defaultRespawnPoint prefab to all scenes that you want to export from Unity.

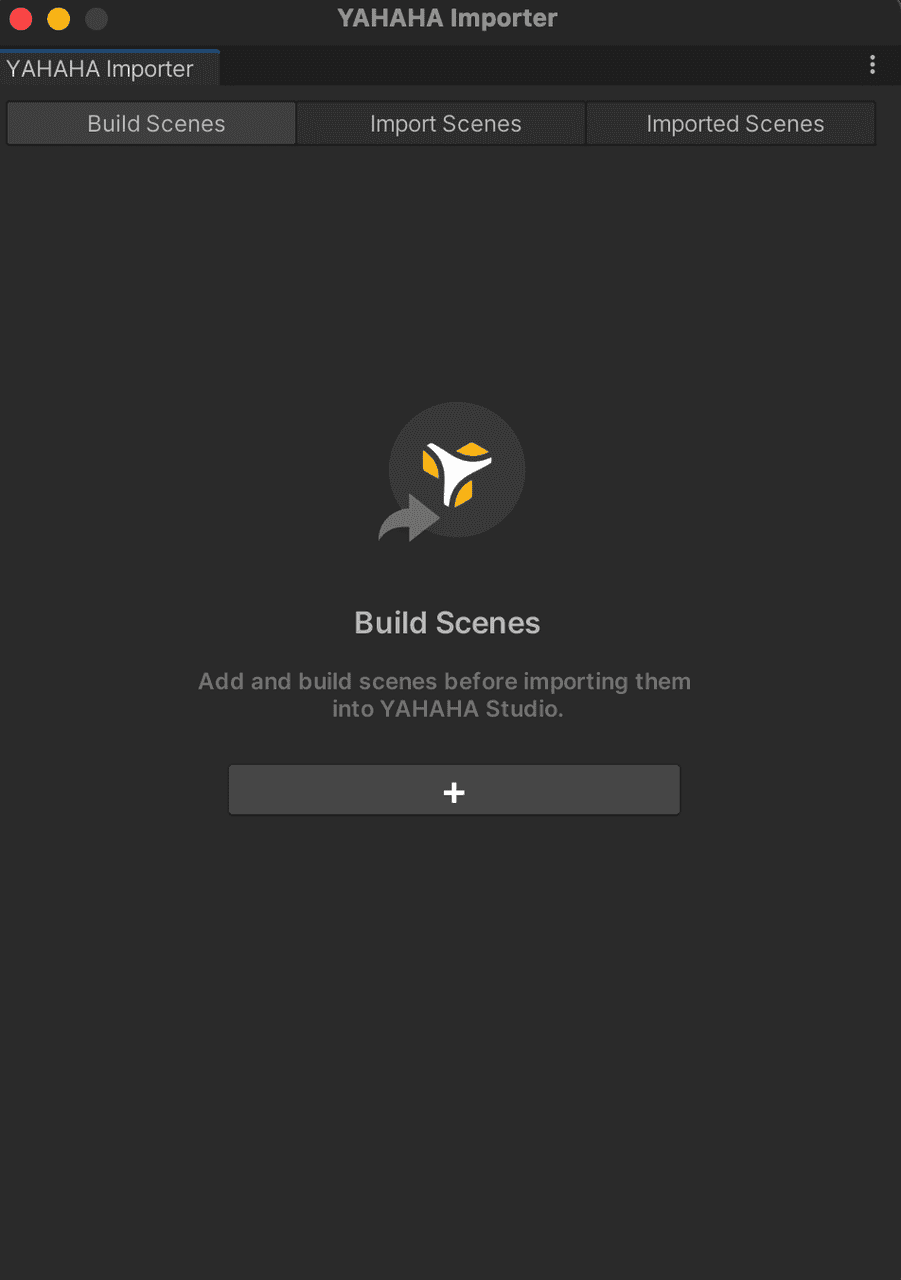
Add and build scenes
-
Open Yahaha Assets Importer by choosing Yahaha Plugin>Import scene in the top menu.

-
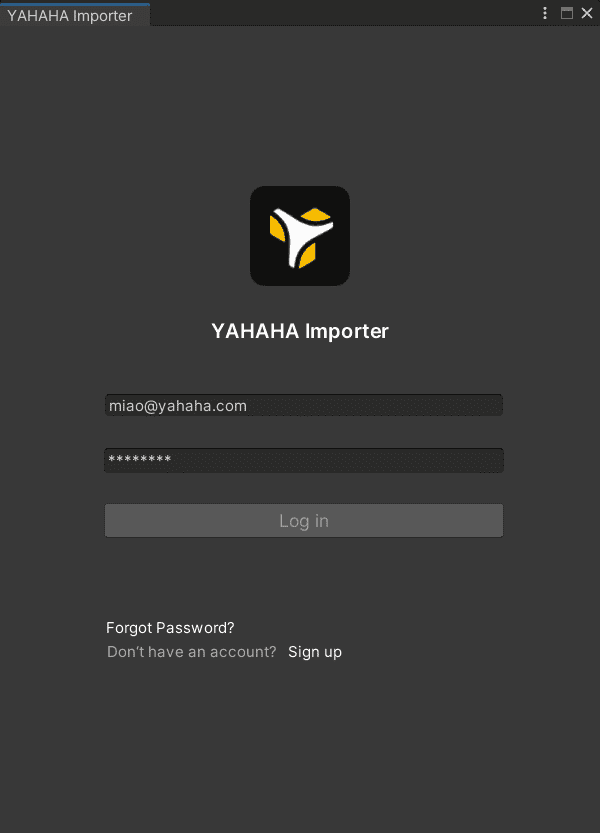
Log in to Yahaha Assets Importer with your YAHAHA account.
-
On the Build Scenes tab choose + to add scenes.
-
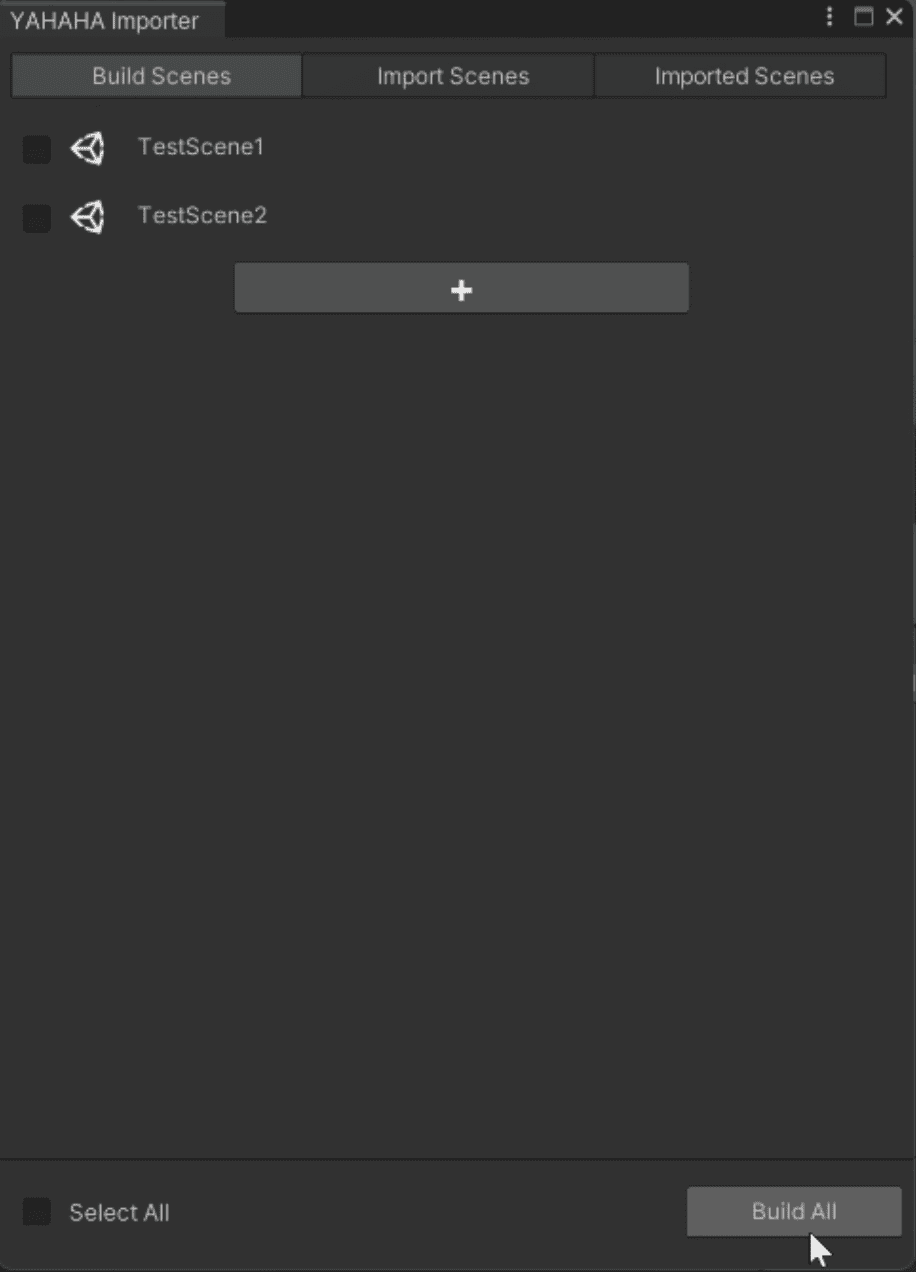
All of your Unity scenes are displayed as a list. Select the scenes you want to import to Studio and click Add to confirm.

-
Then select the scenes to build and choose Build All to start building. While scenes are being built, no actions are allowed. After building them successfully, continue to import them.


Import scenes
In our example, we import one scene only. Choose the Import Scenes tab, select the scene, then click Import.

Manage imported prefabs
You can view and delete imported scenes on the Imported Scenes tab. To delete an imported scene, select or hover over it before clicking the Delete button. When you delete an imported scene, it will be automatically removed from YAHAHA as well.

Use imported scenes
To work on your imported scenes, open YAHAHA Desktop (Desktop) and go to the Projects tab. These scenes are now referred to as 'Projects'. Once you enter a Project, you can start working on it without affecting the original Unity scenes. However, if you make any changes to the Unity scenes and want to sync them to YAHAHA, you'll need to rebuild and re-import them using the Yahaha Asset Importer. This will create two separate scenes in Desktop.
Dependencies
Yahaha Plugin Community adds the following dependencies to your Unity packages:
-
Editor Coroutines (com.unity.editorcoroutines) version 1.0.0
-
Universal RP (com.unity.render-pipelines.universal) version 10.8.1
-
Newtonsoft Json (com.unity.nuget.newtonsoft-json) version 3.0.2


