Camera
The camera objects in YAHAHA are like windows into the 3D game world, offering different perspectives and views of the action. You can add multiple cameras to your scene, but only one can be active at any given time, acting as the game's "eye" on the world.
Key elements
The camera object's properties play a crucial role in defining the view and exploration of the 3D game world. The following are the most important properties:
- The Virtual Camera Name property identifies a virtual camera.
- The Camera Mode property offers pre-built camera options.
- The FOV property represents the extent of the observable world visible.
- The Follow Target property determines the target for the camera to follow.
- The LookAt Target property determines the target for the camera to stay focused on.
- The Enable Physics property controls whether the camera's collider is active.
How to work with the camera
Default camera
In each new project based on a template, a virtual camera named Default is automatically created. Similar to a camera in a 3D RPG, it provides a third-person perspective by following the player character from behind. It supports zooming, rotation around an avatar, and will be squeezed out when near colliders.
Adding camera
To create a camera:
-
For a quick setup, select a camera component from Asset Library, such as RTS, side-scroll, or top-down to easily get started.
-
For advanced configuration, use the camera module in Advanced Mode.
When using a camera component from Asset Library, it automatically generates a Default camera that cannot be renamed. To prevent conflicts, always remove any existing Default cameras added using camera components before creating a new one.
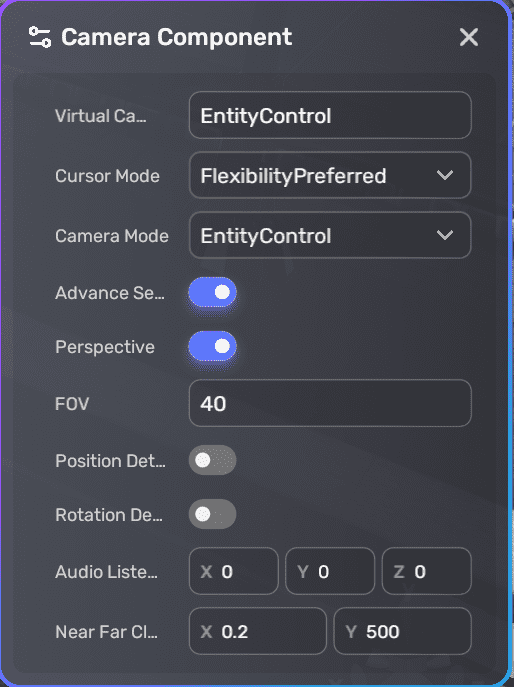
If you prefer more customization options, the camera module provides additional features. In addition to the Default camera, there are two built-in cameras named Gun and Car. You also have finer control of the camera. For instance, you can set the Camera Mode to EntityControl and use scripts to modify the attached object's transform, thereby controlling the camera's position and orientation.
Switching camera
To switch between cameras, call YaVirtualCameraAPI.ActiveCameraByEntity or YaVirtualCameraAPI.ActiveCameraByName.
Code sample
-- Client script :: When a trigger zone is activated, blend to the camera attached to the zone in 2 seconds
local self = script:SelfEntity()
PhysicsAPI.Instance(self):OnTriggerEnter(function(entity)
    local character = YaScene:GetComponent(script:GetComponentType("YaCharacterComponent"), entity)
    if character== nil then
        return
    end
    YaVirtualCameraAPI.ActiveCameraByEntity(self,2)

end)
You can also set a new camera's name to Default in order to override the default camera's property values, thus offering a different game perspective.
Example cameras
Four example cameras configured using the camera module in Advanced Mode:
Third-person camera
| Configurations | Game view |
|---|---|
 |
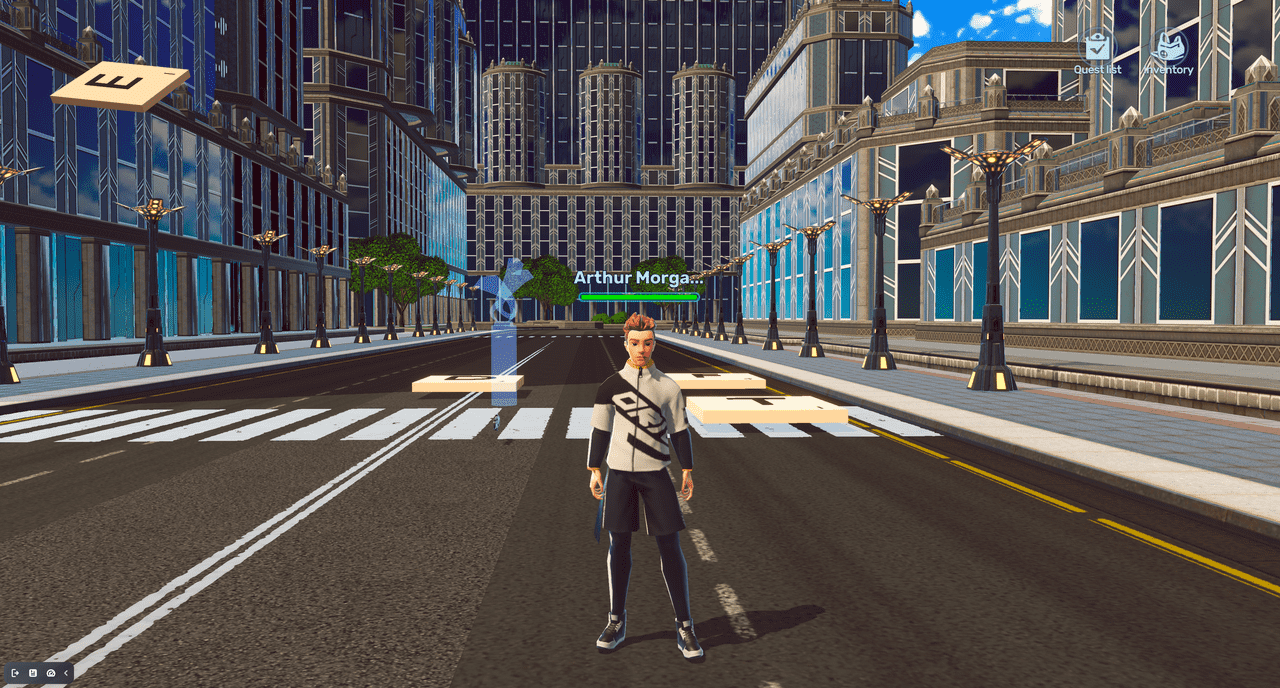 |
Note: If you set Min Distance, Max Distance, and Default Distance all to 0, and toggle off Enable Physics, you will get a first-person shooter (FPS) camera. This camera allows you to experience the game world from the perspective of the character, as if you were looking through their eyes.
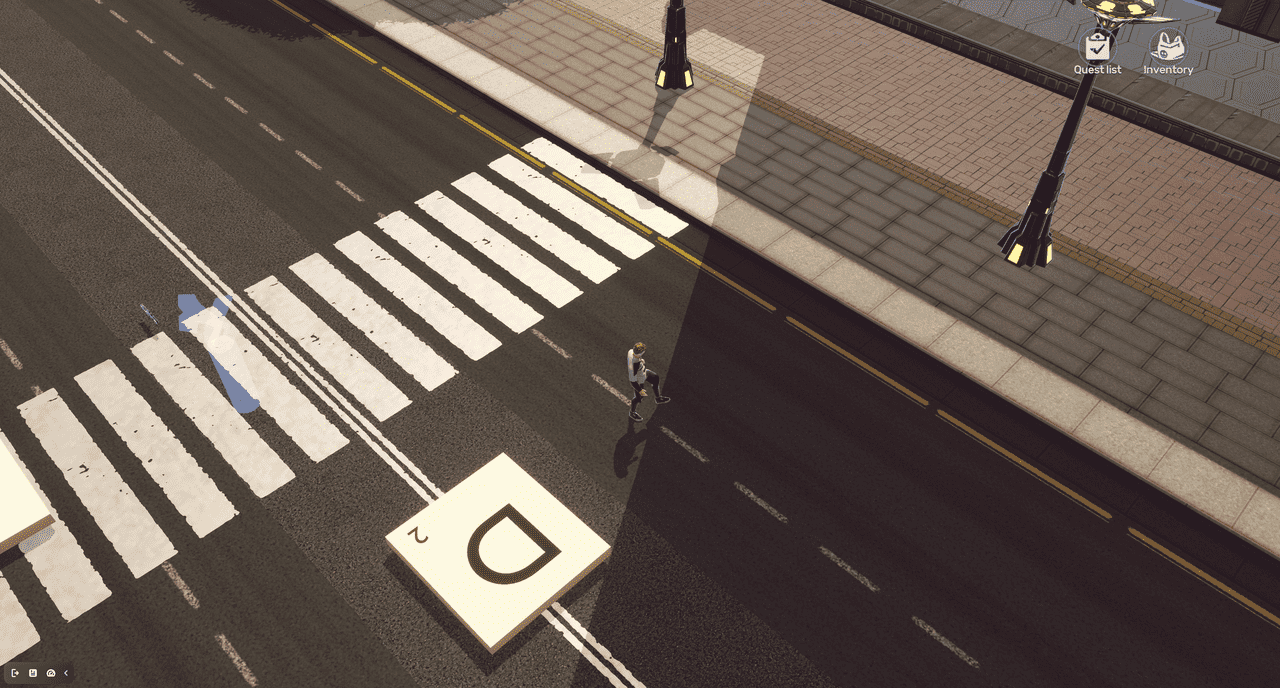
RTS camera
| Configurations | Game view |
|---|---|
 |
 |
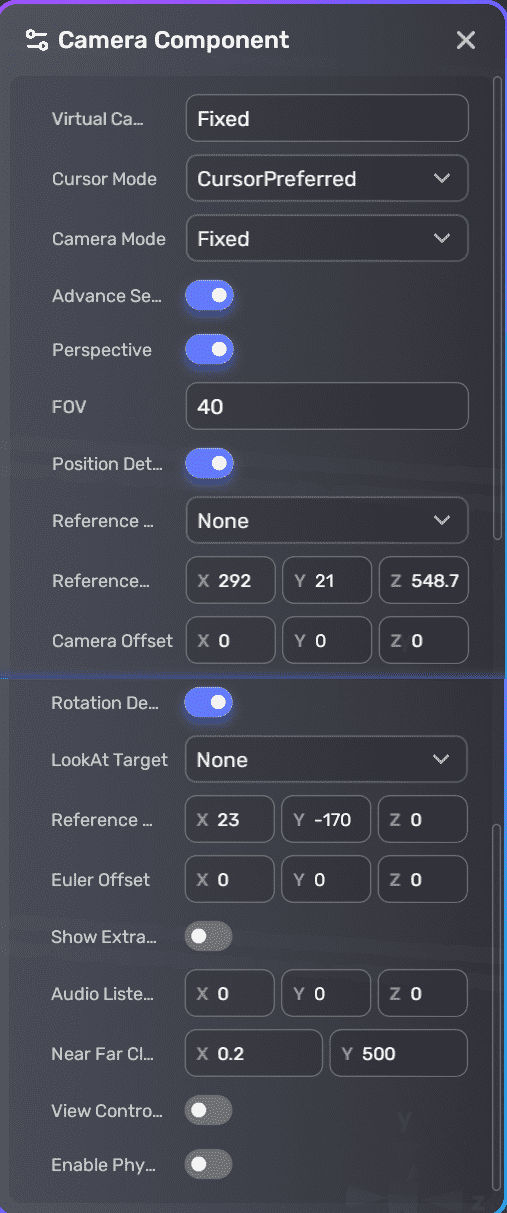
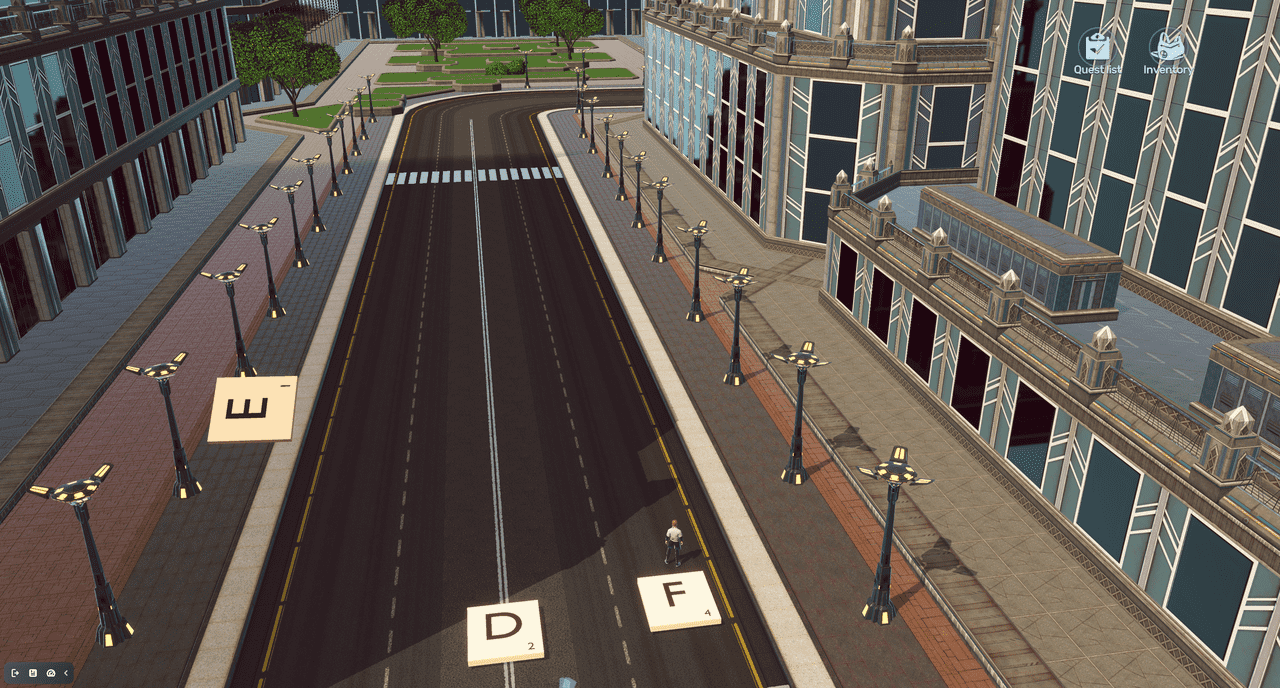
Fixed camera
| Configurations | Game view |
|---|---|
 |
 |
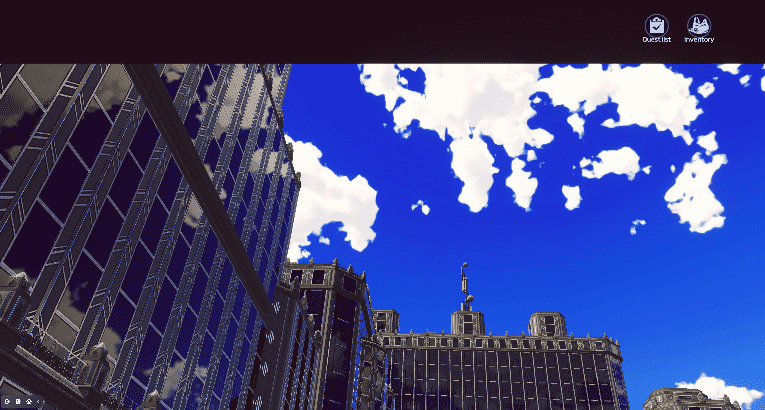
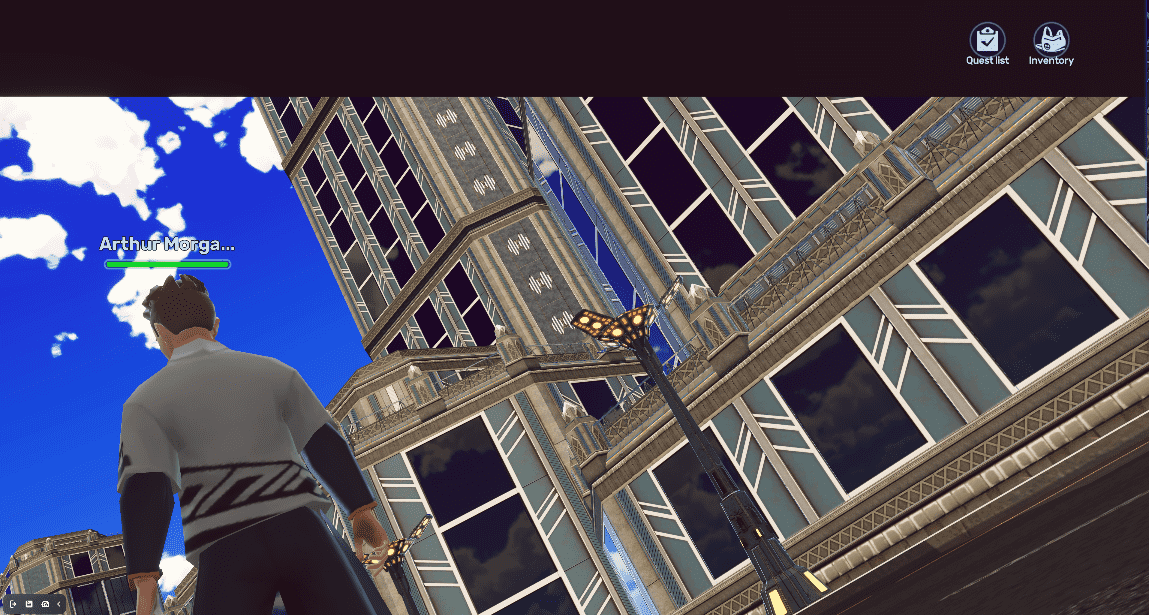
EntityControl camera
The camera's transform dynamically tracks an object's movement and rotation.
| Configurations | Game view 1 | Game view 2 |
|---|---|---|
 |
 |
 |
Related documents
For more information on the camera module, see Camera module.
To learn how to use camera components from Asset Library, see Working with the camera.


