Creating a weapon
YAHAHA Studio (Studio) provides users with the ability to create a diverse range of customizable weapons. The tutorial focuses on creating and customizing weapons with community components, rather than using pre-designed weapon assemblers available in the Asset Library. Moreover, in the tutorial, you will also learn to fine-tune attacks, such as hit combos and idle status.
Creating a gun
-
Find a gun model from Asset Library and place it into the scene.
-
Select the gun and open the Properties window by clicking the More button.
-
To add the Gun community component (Component) to the object and configure it:
a Go to Logic>Components in Asset Library and search for Gun created by Yahaha Creative.b Add the Component to the object.c Finish configuring the gun. For details on gun configuration, see Gun. -
If you set the magazine to be reloadable, to display the reload icon, add the UI_Reload community component from Asset Library to the gun. For details, see UI_Reload.
-
Now playtest it by switch to Play Mode.

Creating a melee weapon
-
Find a melee weapon model from Asset Library and place it into the scene.
-
Select the melee weapon and open the Properties window by clicking the More button.
-
To add the Melee Weapon community component (Component) to the object and configure it:
a Go to Logic>Components in Asset Library and search for Melee Weapon created by Yahaha Creative.b Add the Component to the object.c Finish configuring the melee weapon. For details on melee weapon configuration, see Melee Weapon. -
Now you can playtest it by switching to Play Mode.

Creating a throwing weapon
A throwing weapon consists of three parts: the launcher (object that is picked up), the explosive (object that is thrown and explodes), and the explosion effect. To set up a throwing weapon, configure the explosive first, followed by the explosion effect and launcher.
Setting up the explosive
-
Find a model from Asset Library and place it into the scene. In our example, we want to configure a bottle that explodes after being thrown out, so we are using the same bottle model for both the explosive and the launcher.
-
Select the explosive and open the Properties window by clicking the More button.
-
Turn off the mesh collider and add a new collider to the model.
-
Add a Rigidbody to the model.
-
Go to Logic>Components in Asset Library and search for Throw Boom. Add the community component to the model and enter a spawn name for it. For details on throwing boom configuration, see Throw Boom.
Setting up the explosion effect
-
Find an effect in Asset Library and place it into the scene. In our case, we use a fire effect.
-
Select the effect and open the Properties window by clicking the More button.
-
In the Properties window, disable the VFX pane by clearing the checkbox.
-
Find the Behavior_SpawnableObjectMarker community component from Asset Library and add it to the effect. Then enter a spawn name for the effect.
Setting up the launcher
-
Find a model from Asset Library and place it into the scene. If you want the weapon picked up to be the same as the one thrown out and explodes, simply duplicate the explosive. In our case, we duplicate the bottle model and use the new one as the launcher.
-
Select the model and open the Properties window by clicking the More button.
-
To add the Throw Weapon community component (Component) to the object and configure it:
a Go to Logic>Components in Asset Library and search for Throw Weapon. Then add the Component to the model.b Finish configuring the launcher. For details on launcher configuration, see Throw Weapon.
Now enter Play Mode to see how the throwing weapon works:

Customizing combo attacks
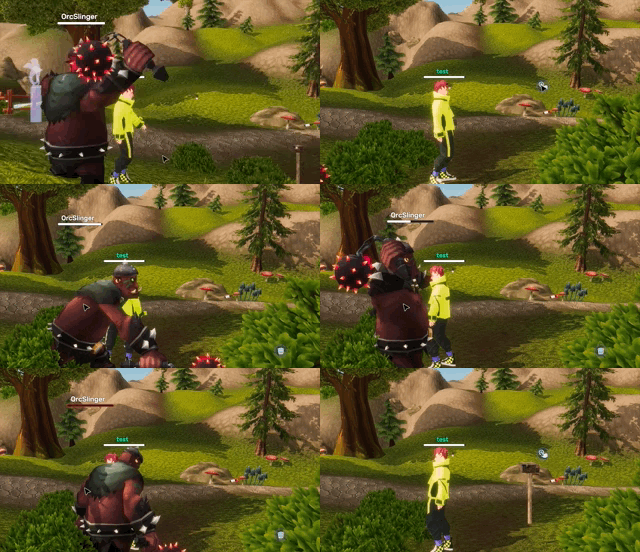
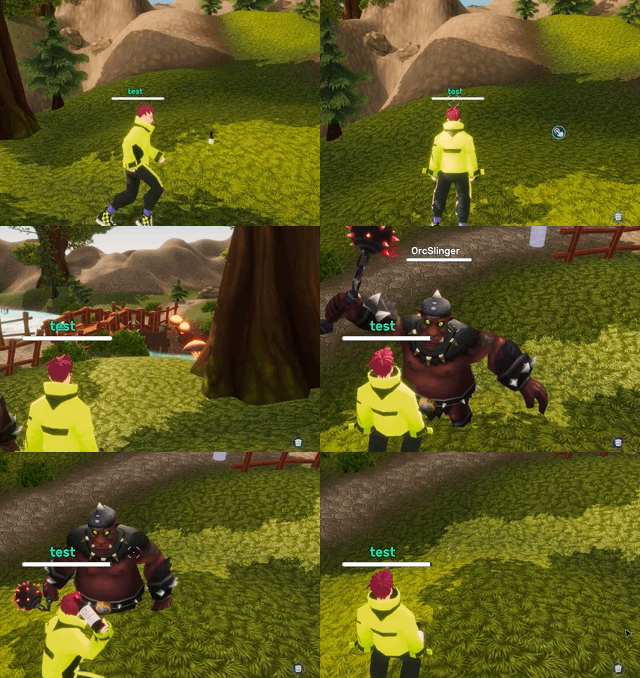
In Studio players can perform a default hit combo consisting of a right cross, a left hook, and a right uppercut. However, you can customize the combo to make it more immersive by setting a specified duration, animation, and audio for each hit. Additionally, you can add an idle status with a looping animation and specified duration for the player.
To customize the hit combo:
-
Create an empty object in the scene.
-
Find the Combat community component by going to Logic>Components in Asset Library and searching for Combat. Then add it to the empty object. For details on combat configuration, see Combat.
-
Find the Behavior_SpawnableObjectMarker community component via Logic>Components in Asset Library. Then add it to the empty object and enter a spawn name for it.
-
Create another empty object in the scene.
-
Find the Auto Equip community component via Logic>Components in Asset Library. Then add it to the new empty object and enter the spawn name set in the Behavior_SpawnableObjectMarker community component. For details on auto equip configuration, see Auto Equip.


