Creating a monster with an assembler
YAHAHA provides monster assemblers to help you easily design monsters for your games. These assemblers are a set of instructions with built-in gameplay logic, saving you from scripting or attaching components one by one for monster creation.
In this tutorial, you will learn to create a monster by customizing an assembler with your model, or using just an assembler.
Customizing a monster assembler with your model
To use your own model for a monster, you need to prepare the model, add it to a monster assembler, and then configure the monster before playtesting it.
Prepare a model for the monster
First of all we need to find a model for the monster. In our example, we want to add a terrifying monster model.
-
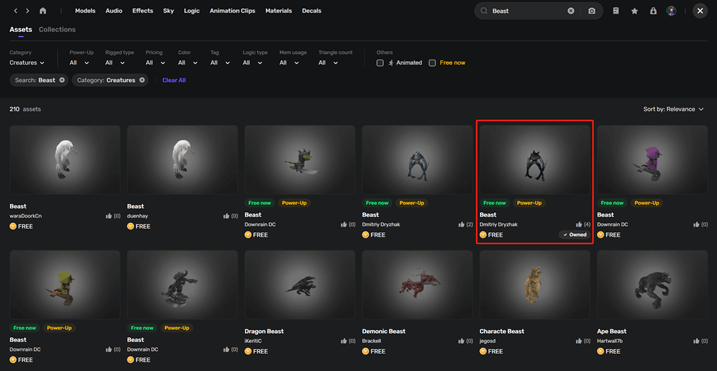
In Asset Library find monster models by choosing Models>Characters>Creatures.

-
Add a target model. We add Beast to our assets.
-
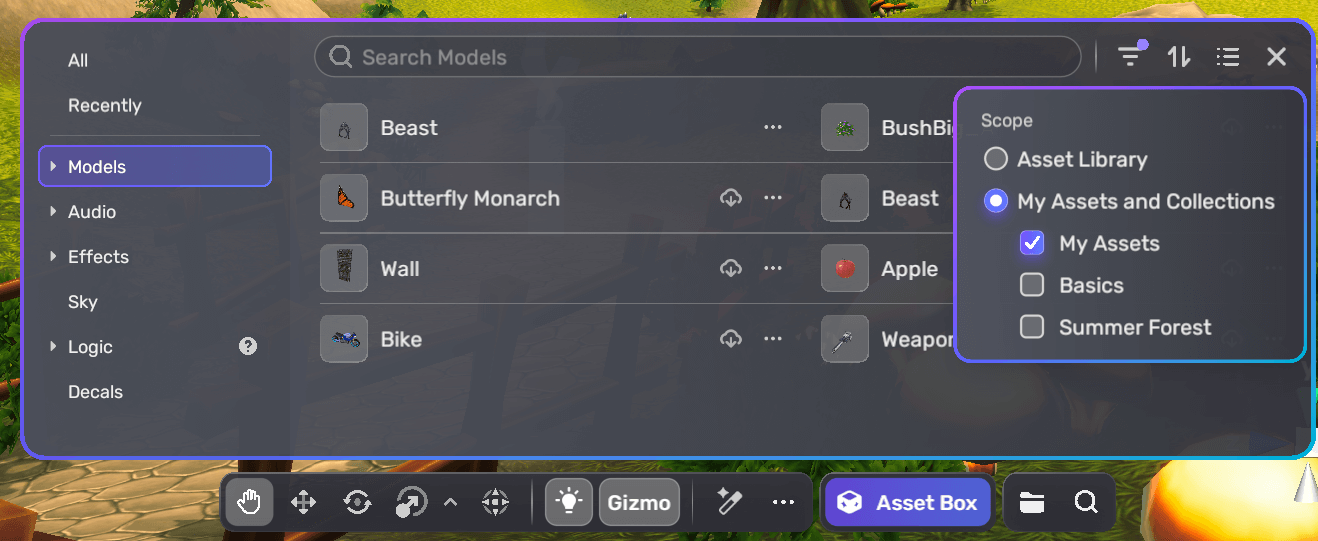
Go to Studio and download the model by clicking it in Asset Box>Models>My Assets.
Add a monster assembler
-
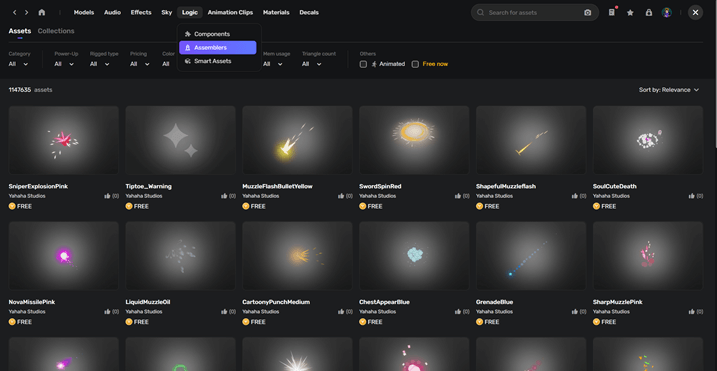
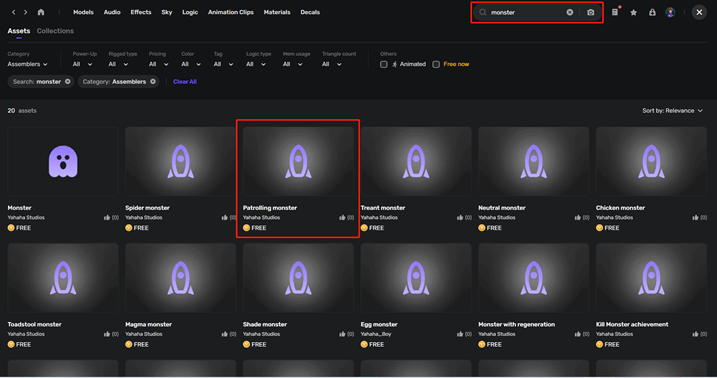
In Asset Library find monster assemblers by choosing Logic>Assemblers.
-
Search monster in the search bar. Add a target assembler. In our example, we add a Patrolling monster to have a monster on patrol and attack players in the game.
-
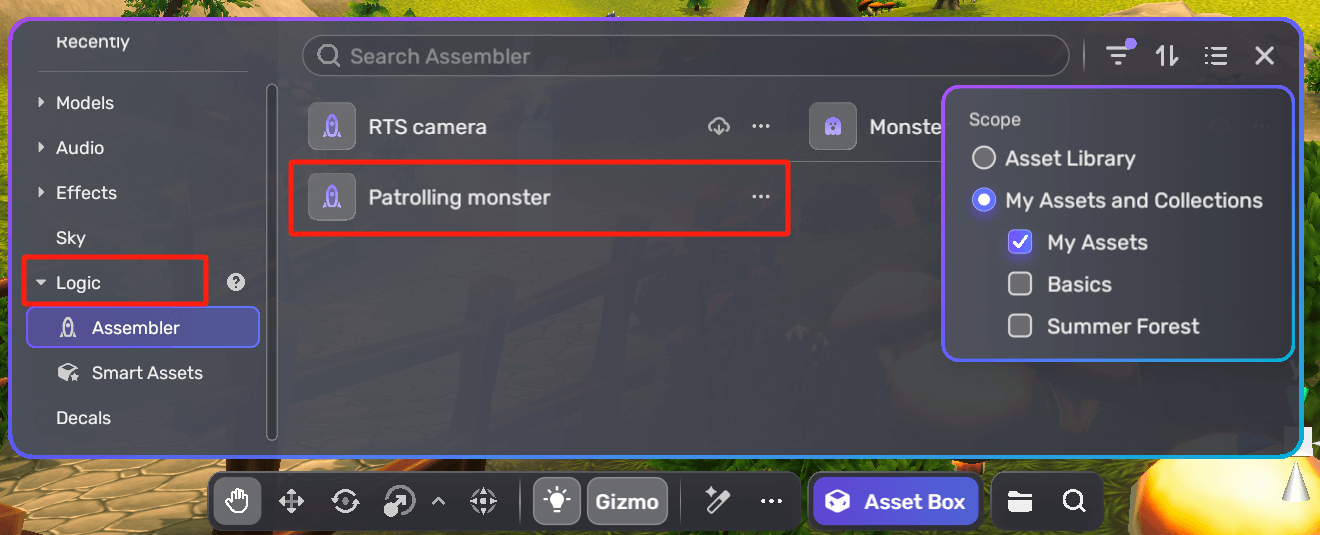
In Studio find the assembler in Asset Box>Logic>My Assets, and click it to start downloading.
-
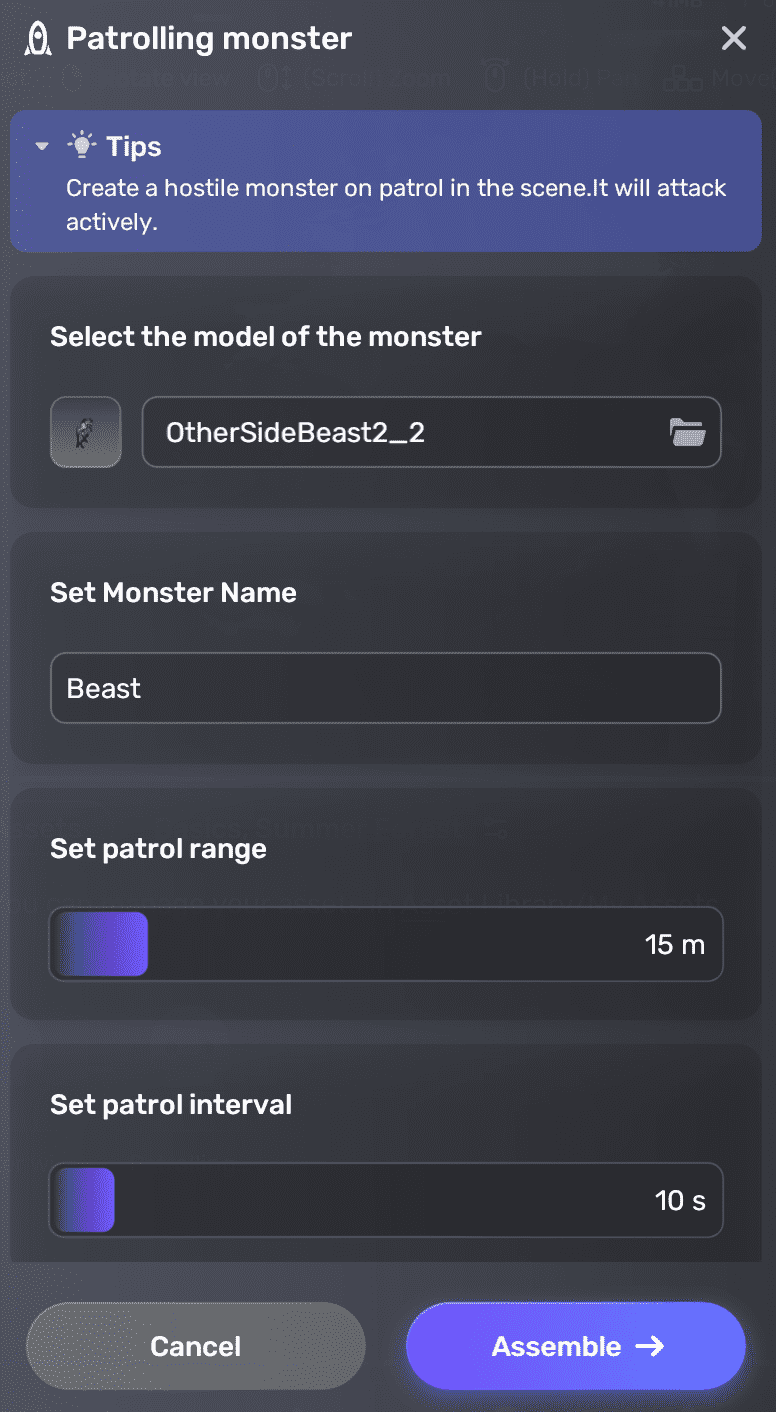
Then click the assembler again to set it up. The assembler setup dialog appears. In the dialog choose OtherSideBeast2_2 from My Assets as the model, give the monster a new name Beast, and set the patrol range to 15m and patrol interval to 10s before clicking Assemble.
Configuring the monster
When the monster is assembled successfully, it is directly placed into the scene. To configure the monster:
-
Click

-
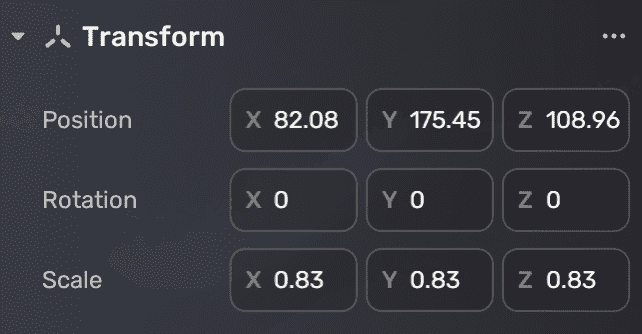
In the Transform component adjust the position, rotation, and scale of the monster. Or simply drag and drop the monster to adjust its position and scale.
-
For Collision, NPC, and Behavior components, we keep the default values.
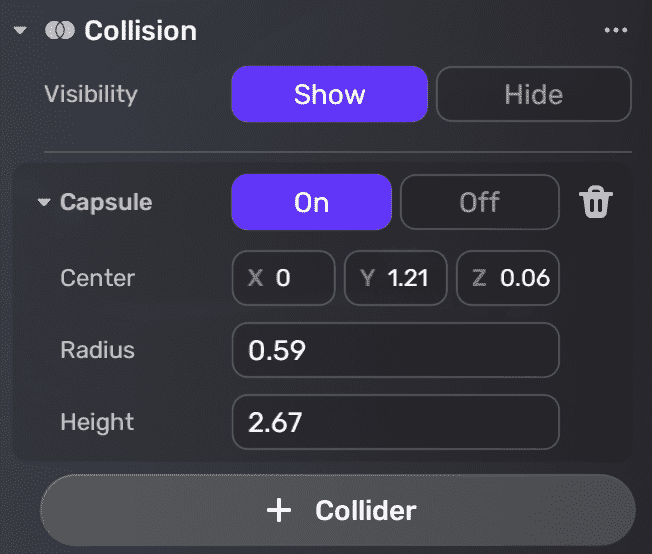
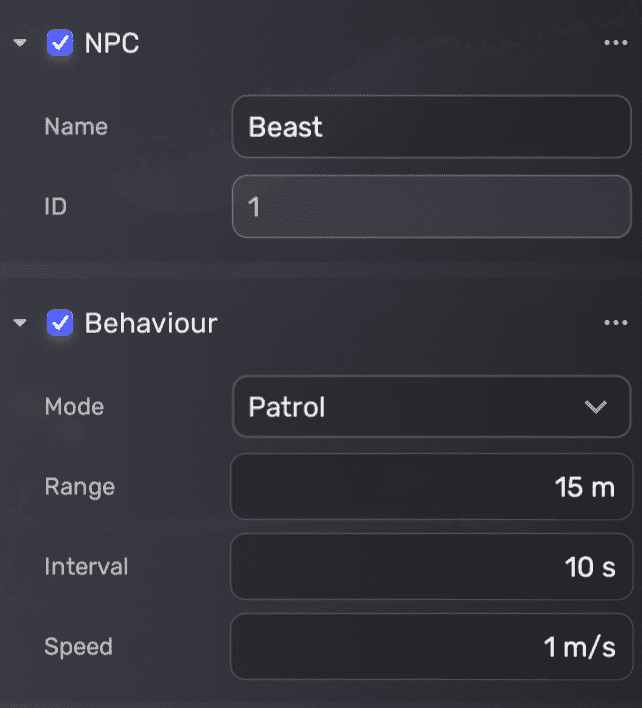
-
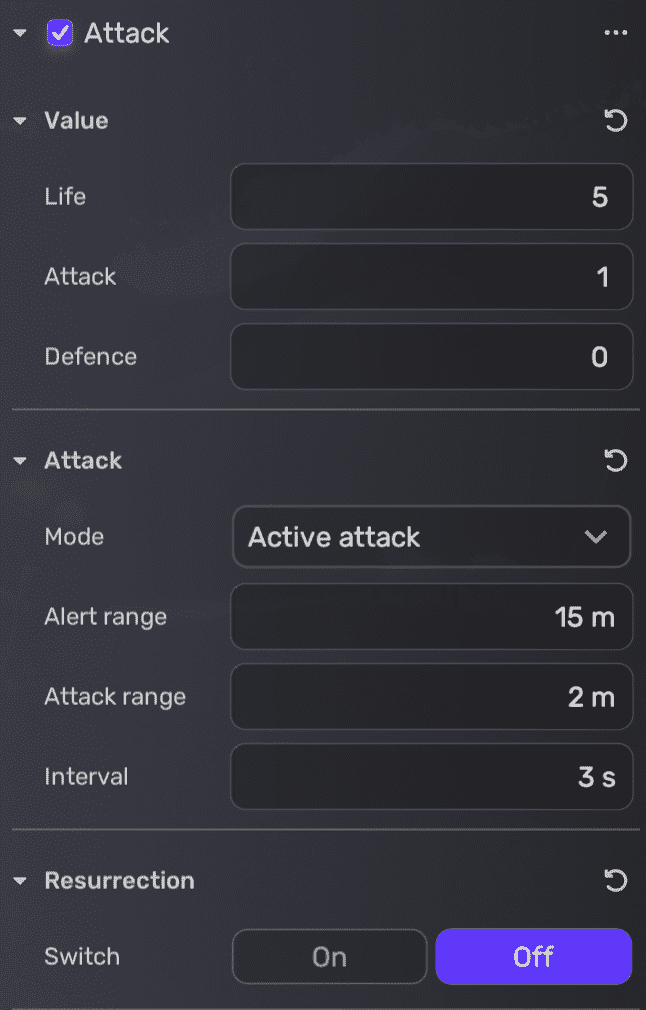
In the Attack component, we change the life value of the monster from 100 to 5, and keep the rest of the settings at default.
-
To allow the monster to perform different animations while in various statuses, attach the NPC Animation component to the monster:
a
Find the NPC Animation component by choosing + Feature>Assets and then click to download it.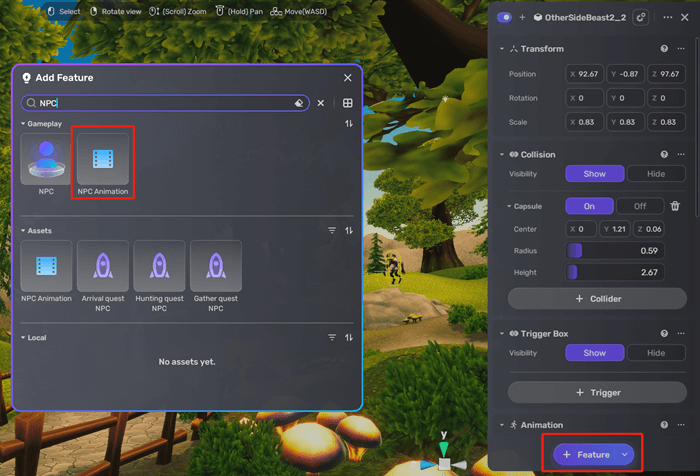 b Drag and drop the component in the Properties window. Then select an animation clip for each status.
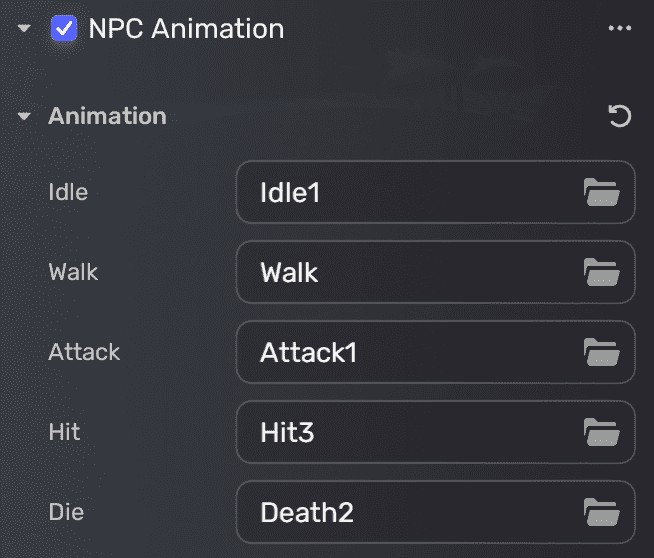
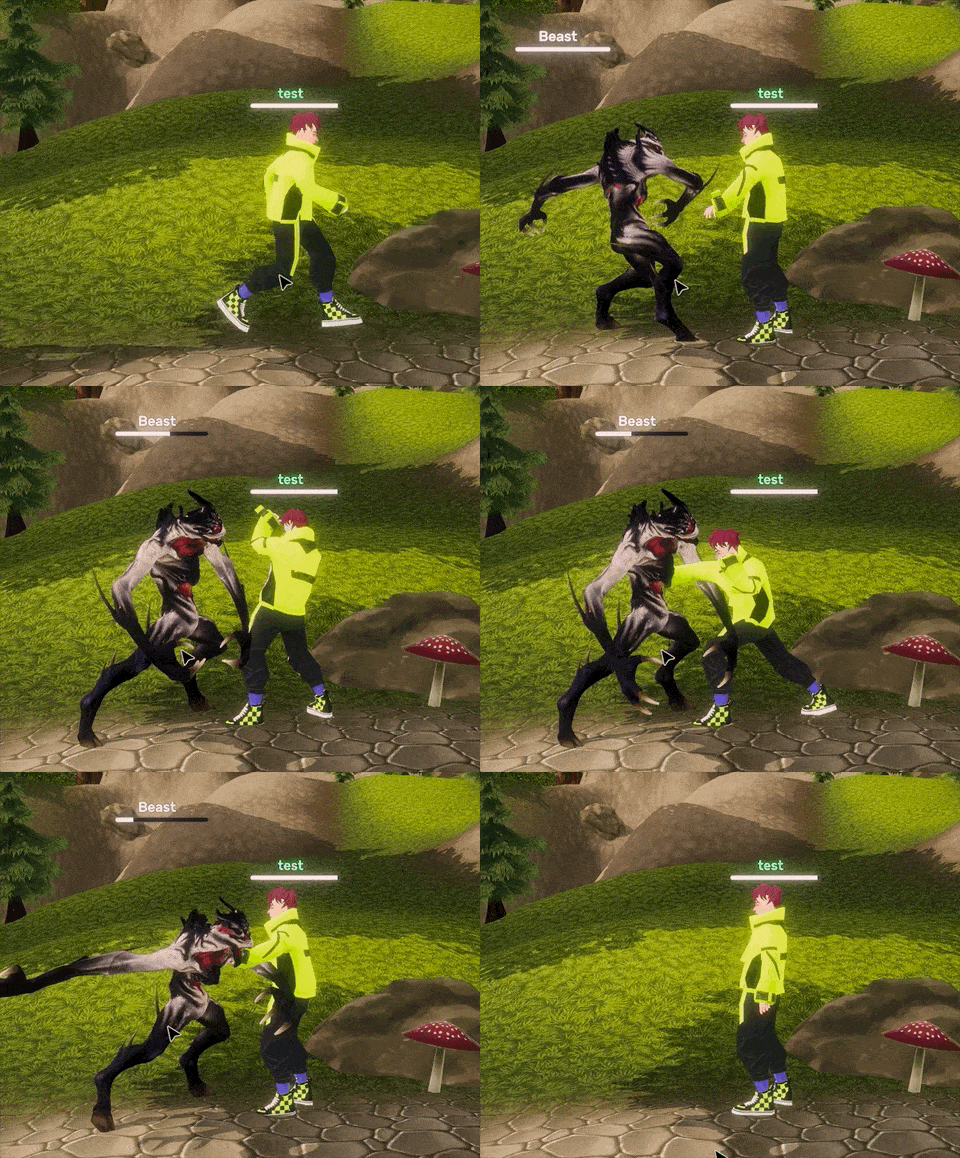
Playtest the monster
Switch to Play Mode. It's time to playtest the monster.
Using only a monster assembler
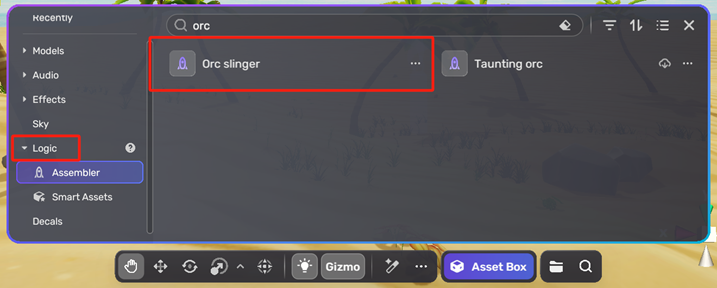
YAHAHA prepares fully-ready monster assemblers for direct use. You can find them via Asset Box>Logic>Assembler. In our case we select Orc Slinger.
Once the monster is assembled successfully, all related components, including Transform, Collision, Animation, NPC, Behavior, Attack, and NPC Animation are displayed in the Properties window. You can adjust any of these components if needed.
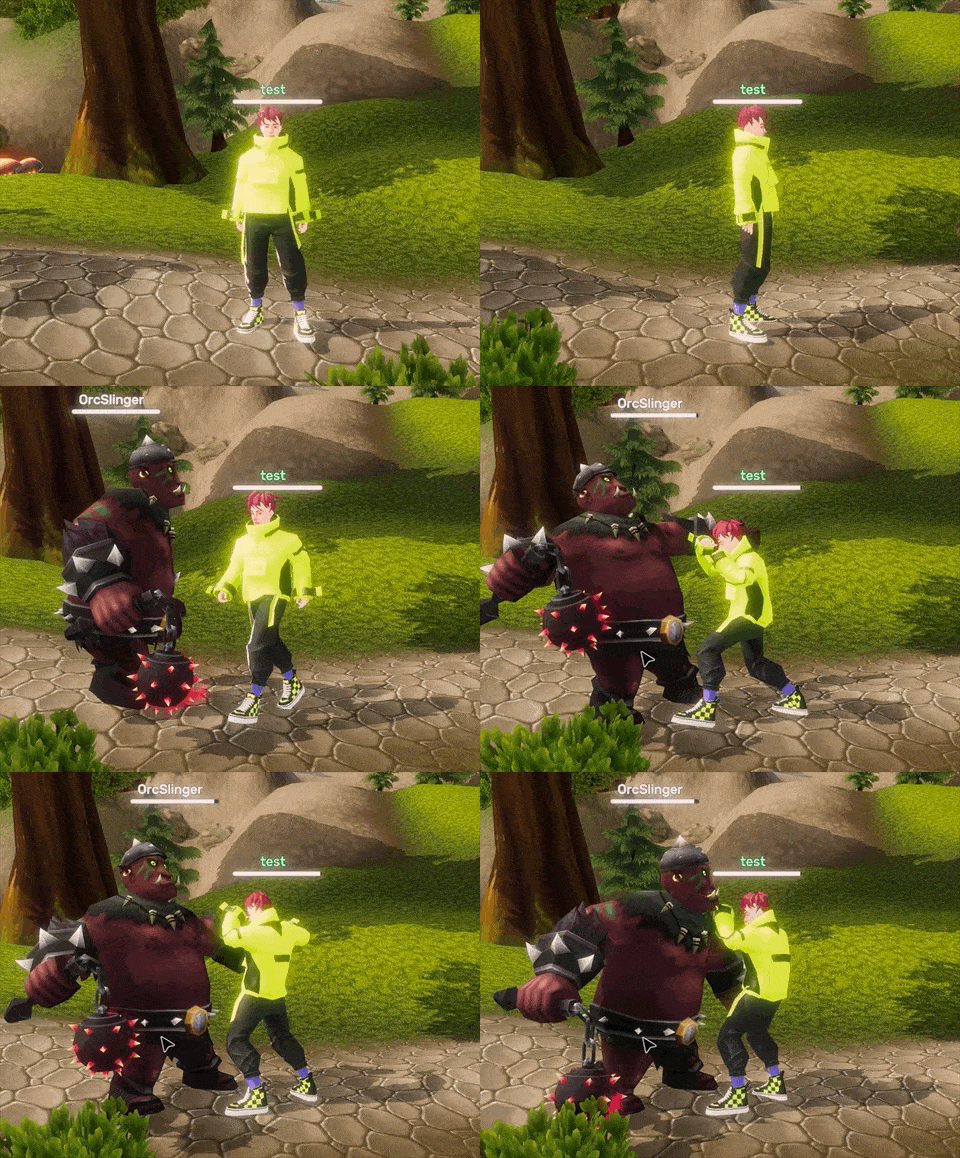
Here's how the monster looks like in Play Mode:
