Editing a Project created with a template
In this tutorial, you will learn how to edit a Project created with a template while getting to know the basics of YAHAHA Studio.
Prerequisites
Before you get started, create a YAHAHA account and sign in to YAHAHA Desktop.
Creating a new Poject with the Suntail Village Base template
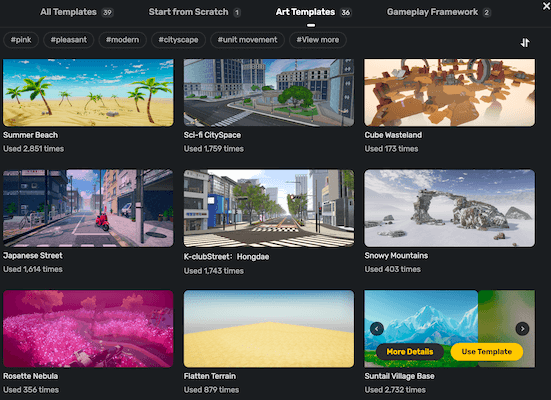
Creating a new Project and select the Suntail Village Base template to work on.
Exploring the scene
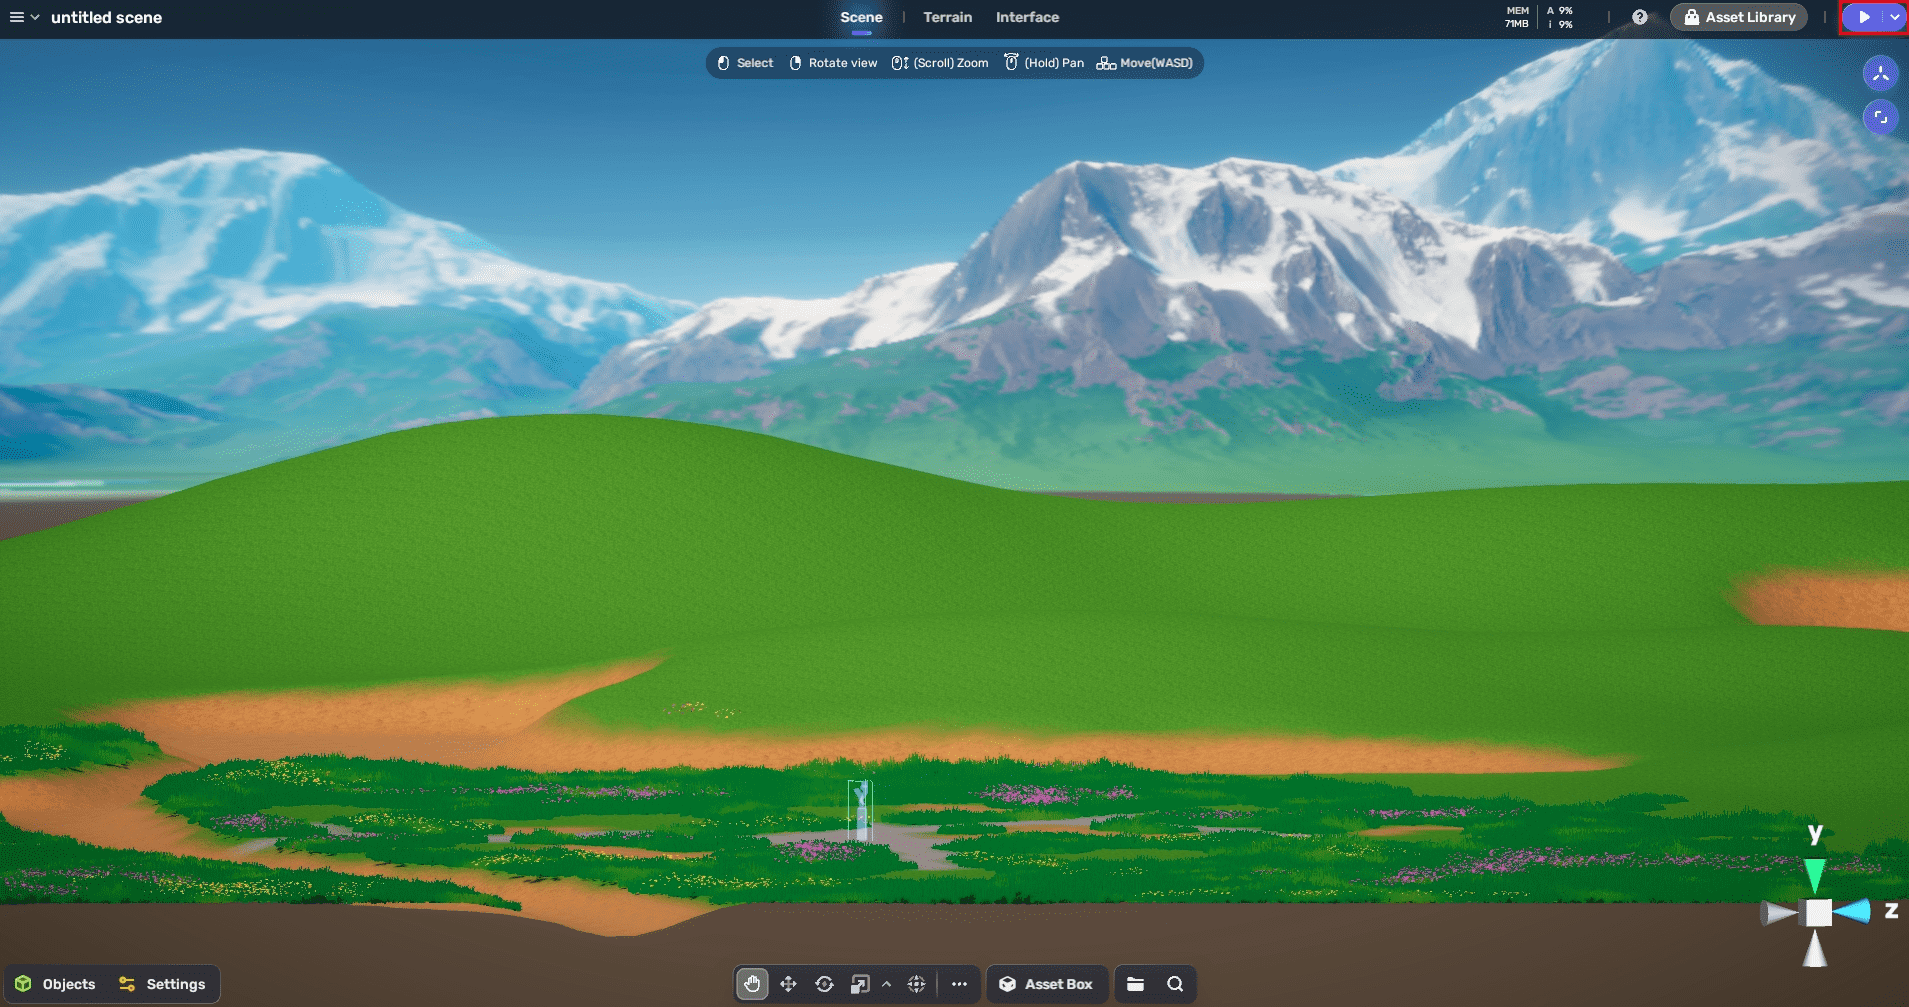
You can explore the scene by pressing W, S, A, D, Q, E. To familiarize yourself with the template, you can explore the scene in Play mode by choosing the Play icon at the right top corner.
Modifying the scene
-
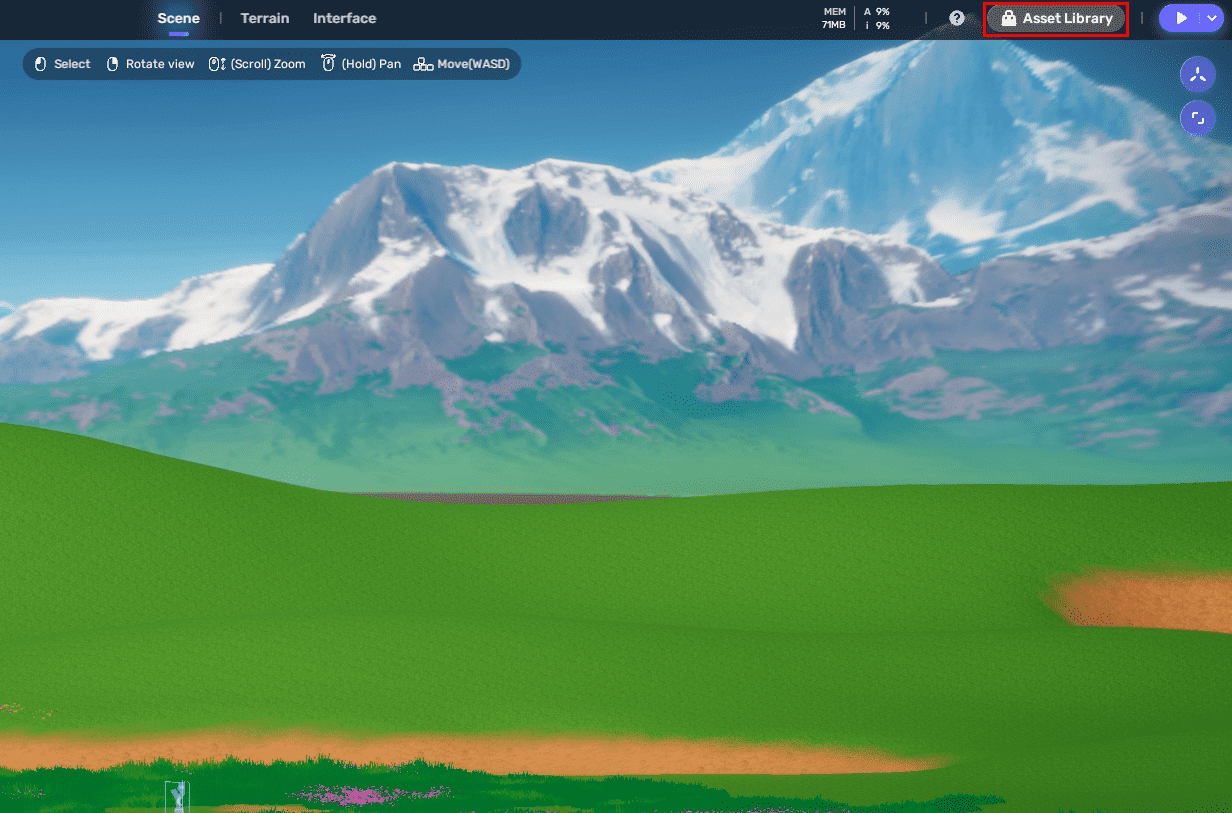
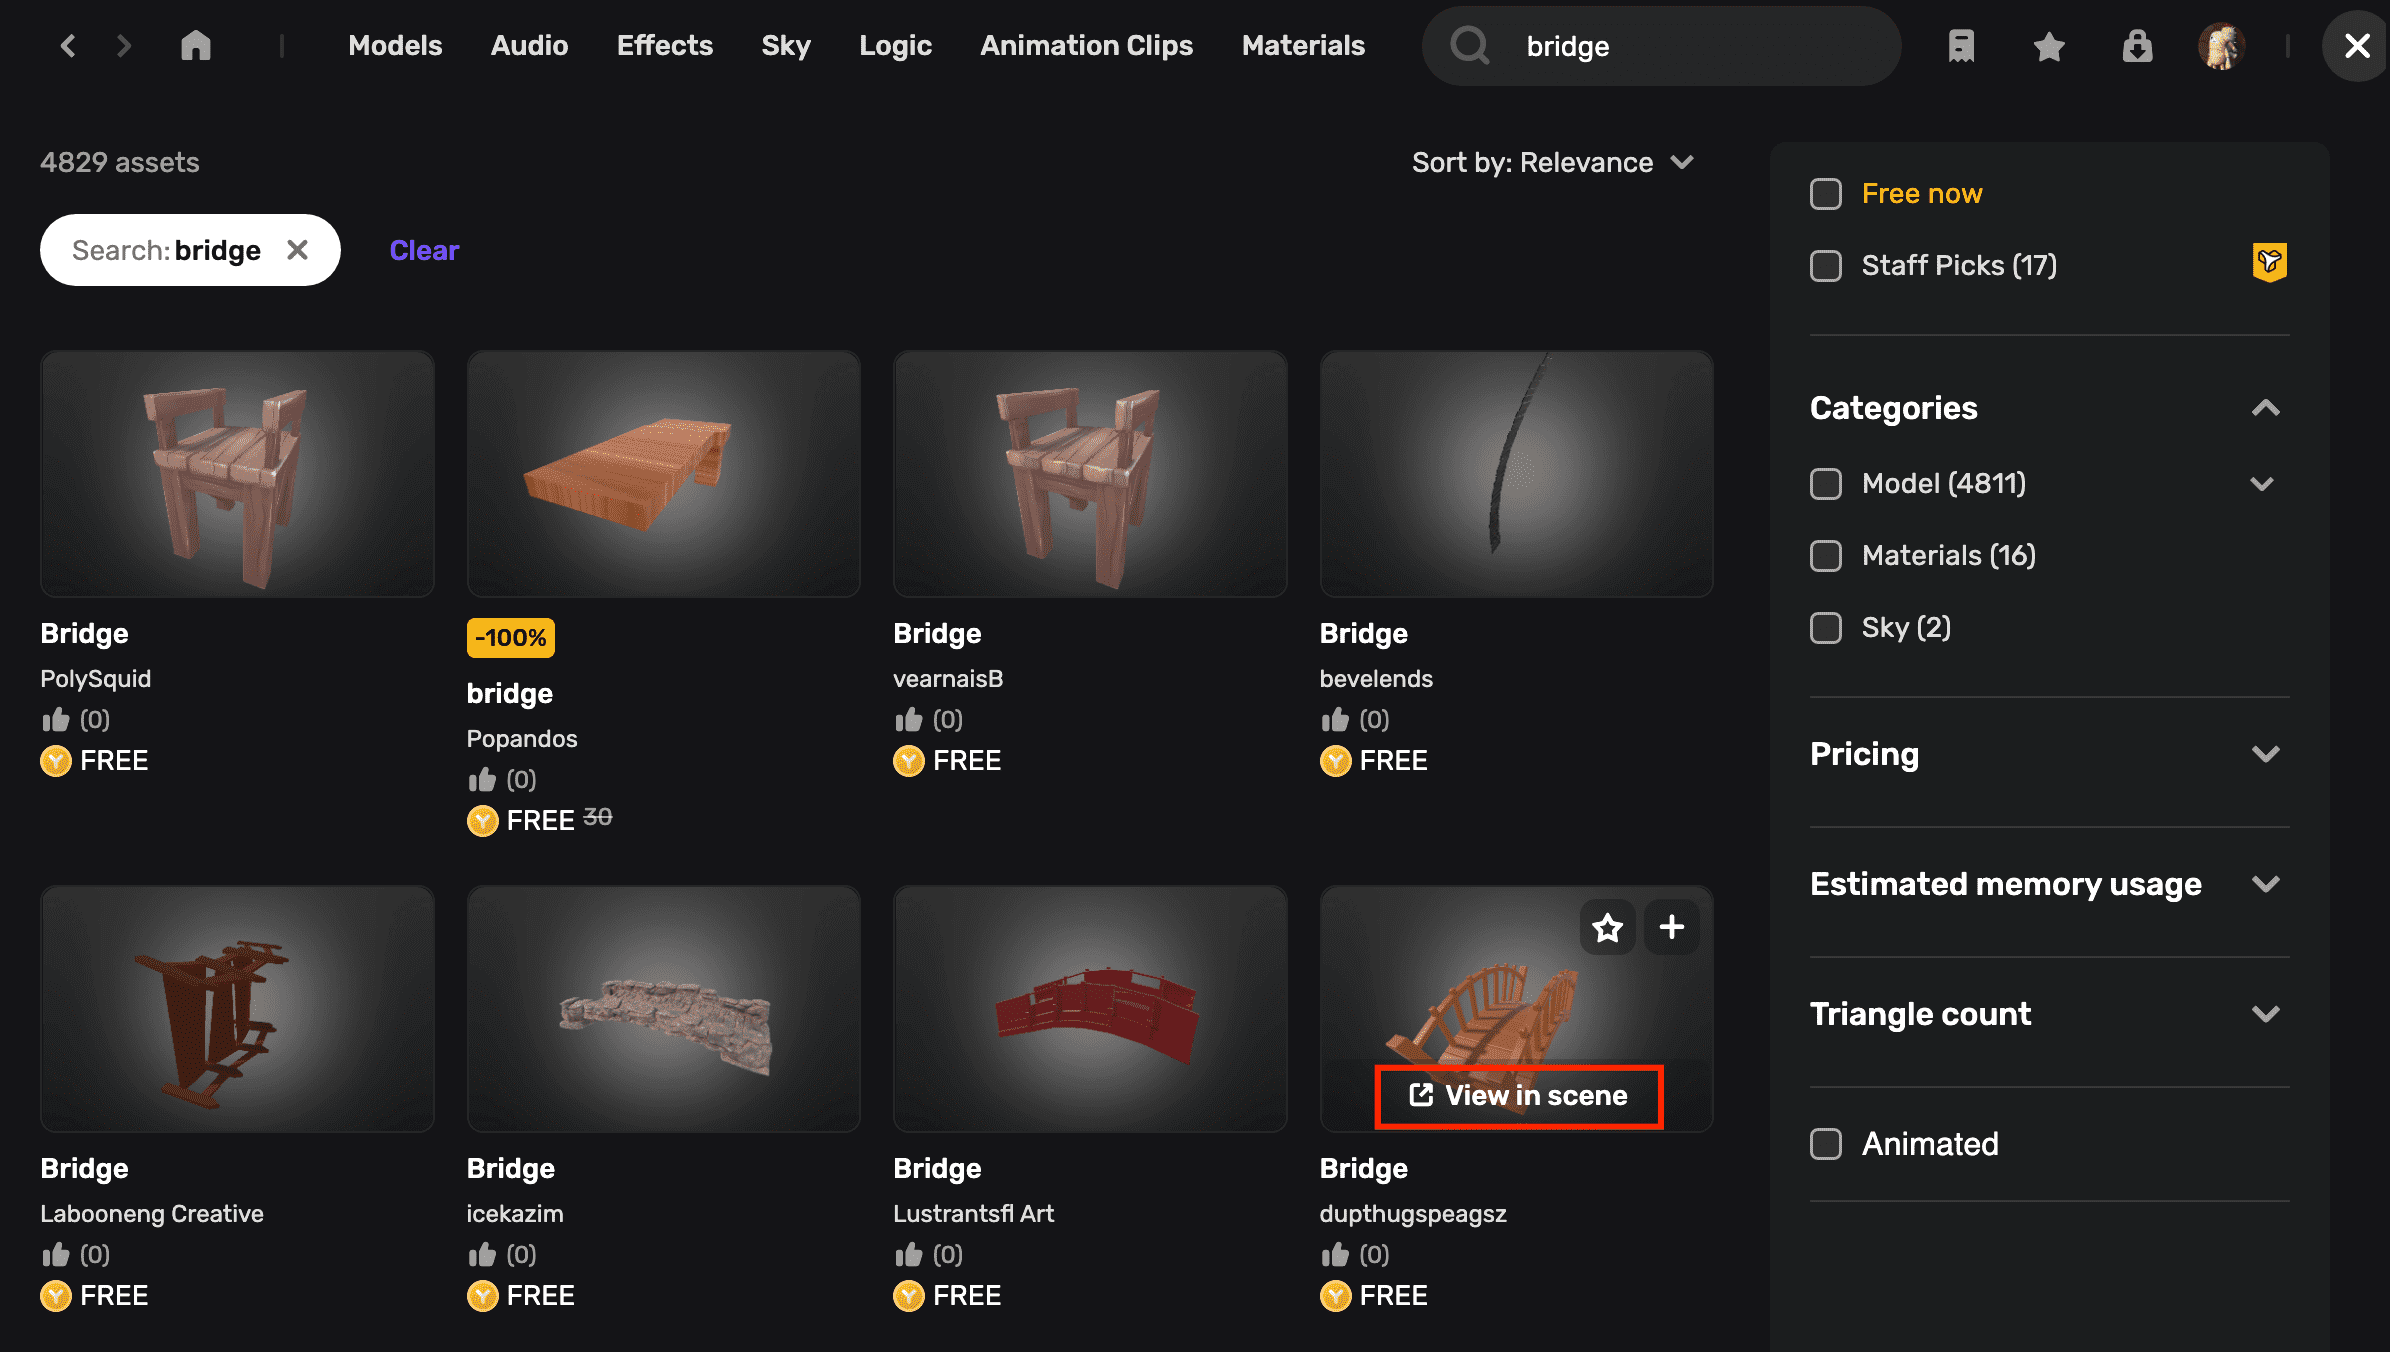
Get a bridge from Asset Library.
To run across rivers in the scene, you need a bridge from Asset Library, where you can find various bridges. Hold your point over a bridge your like, and click View in scene to try it in your scene.
-
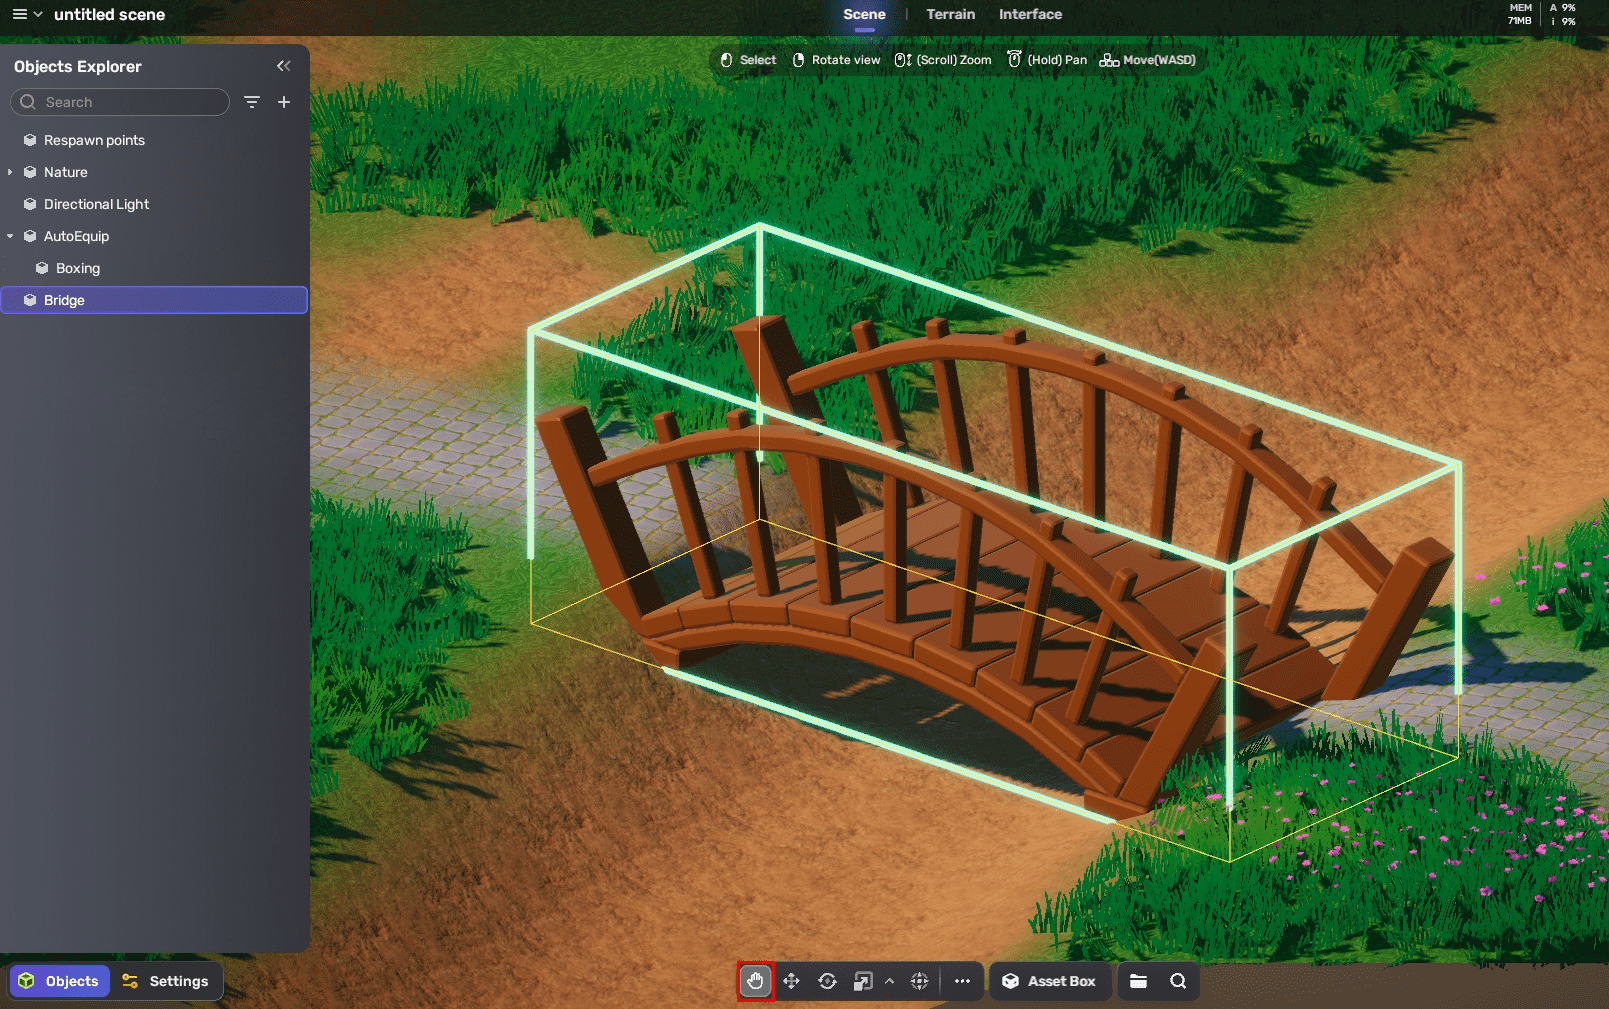
Place the bridge over the river appropriately. Select the bridge in Explorer or the scene and take the bridge to the river using the Grab tool.
-
Adjust the bridge to suit the river.
The bridge may be too small or big to match the river, so you need to adjust it by using the Move, Rotate and Scale tools. Before you start, press F to focus on the bridge, which makes your adjustment easier.
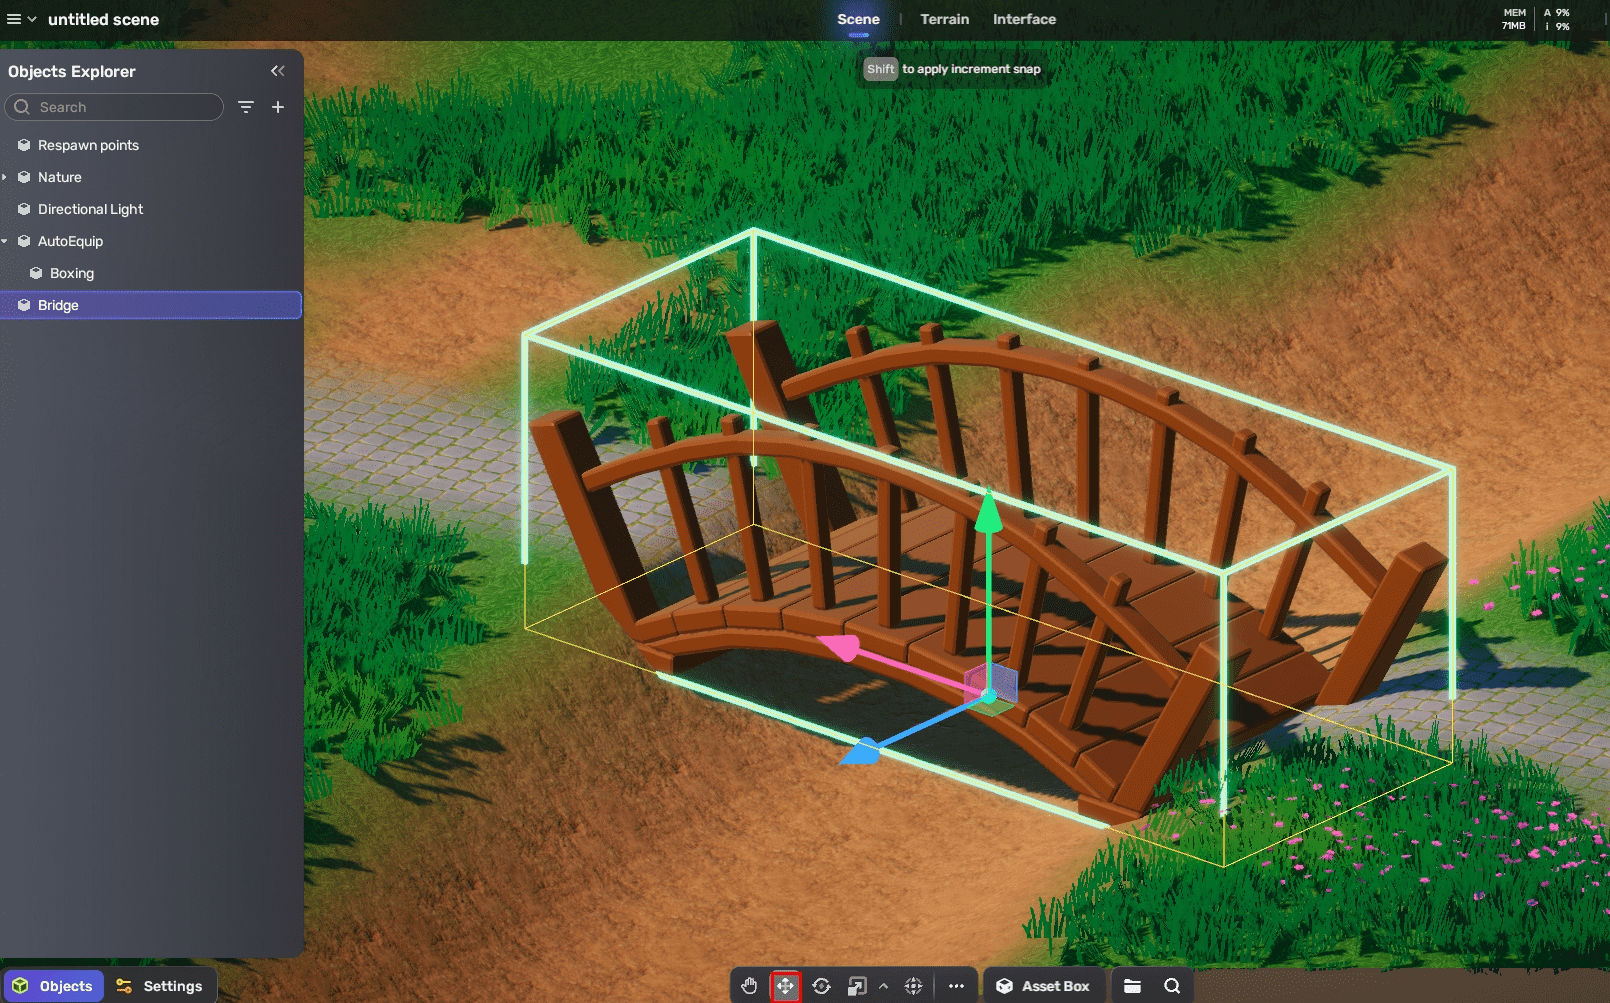
Switch to the Move tool to put the bridge over the river. Compared to the Grab tool, the Move tool allows you to move the bridge precisely. You can try to press WASDQE to change the camera view.
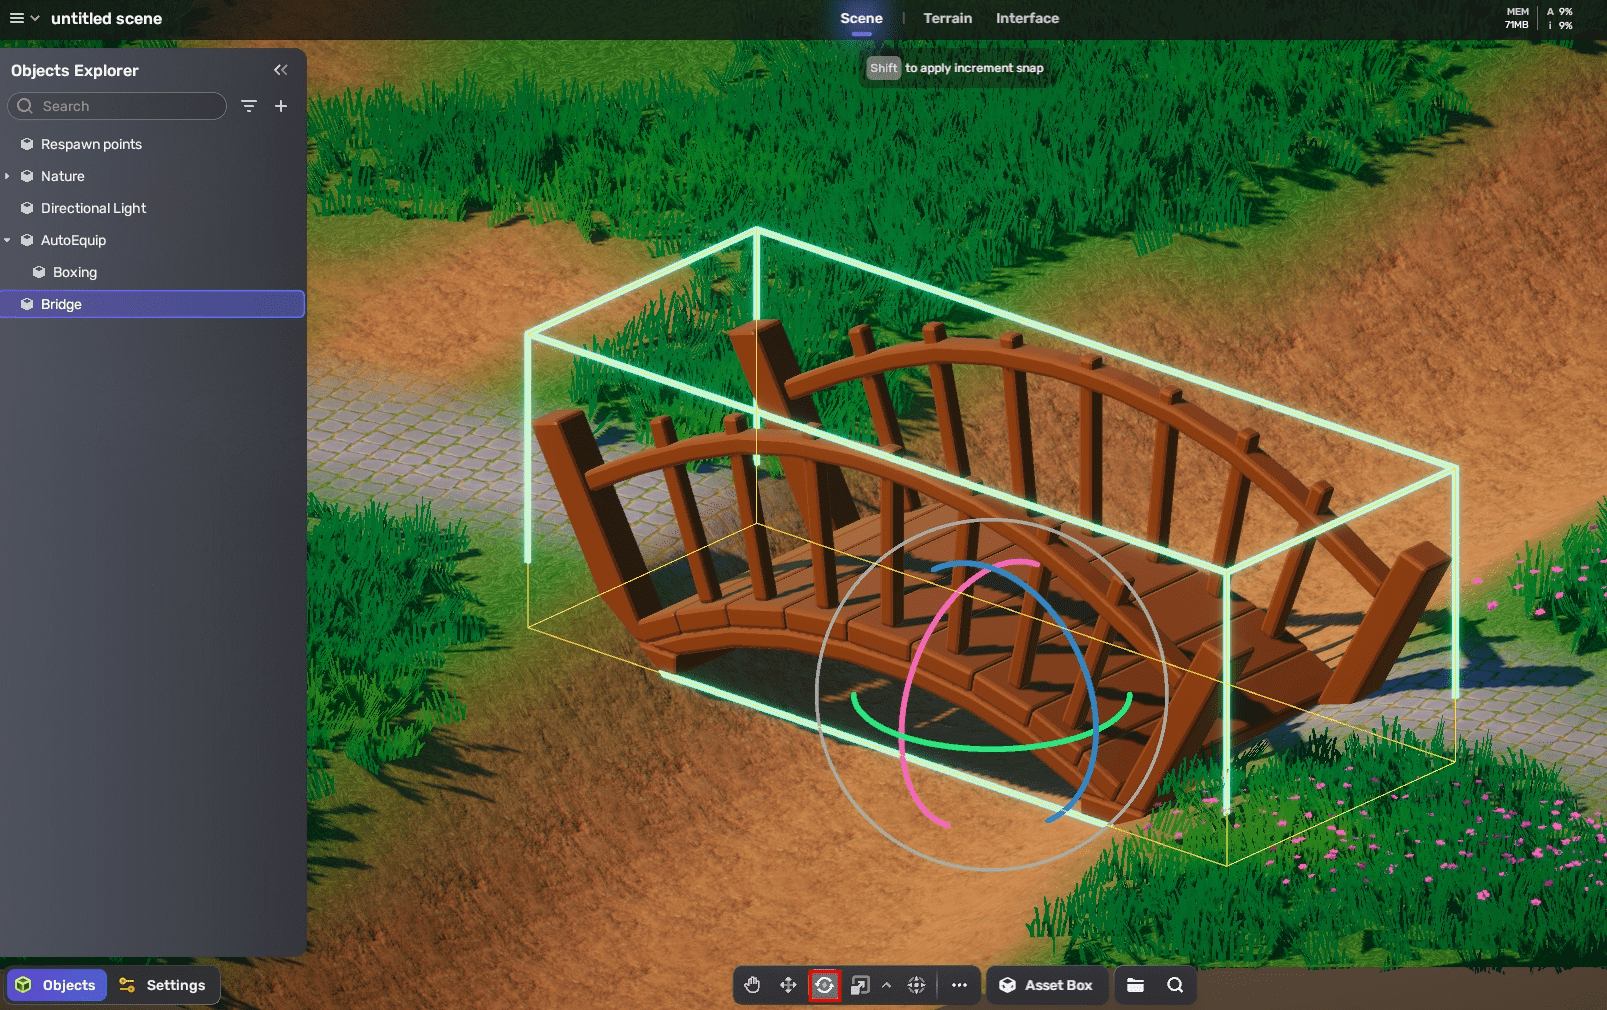
Switch to the Rotate tool to rotate the bridge appropriately.
Switch to the Scale tool to scale the bridge. Tips: You can get an overall scale by using the small ball in the center of scale tool.
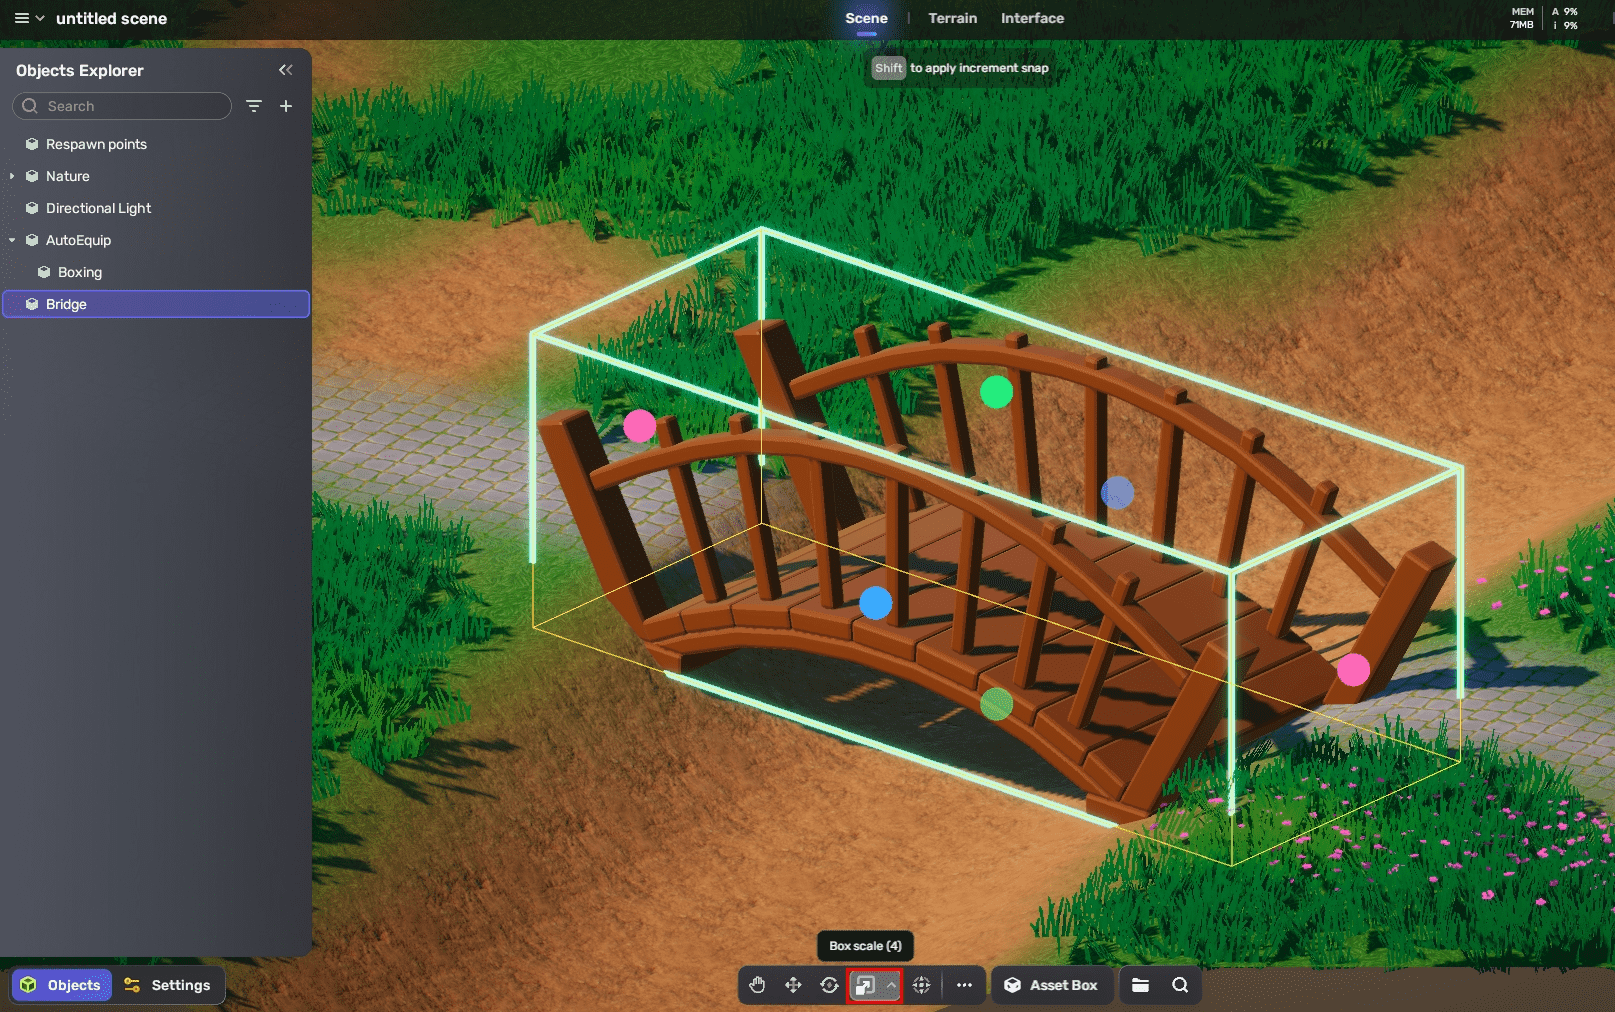
-
Duplicate the bridge.
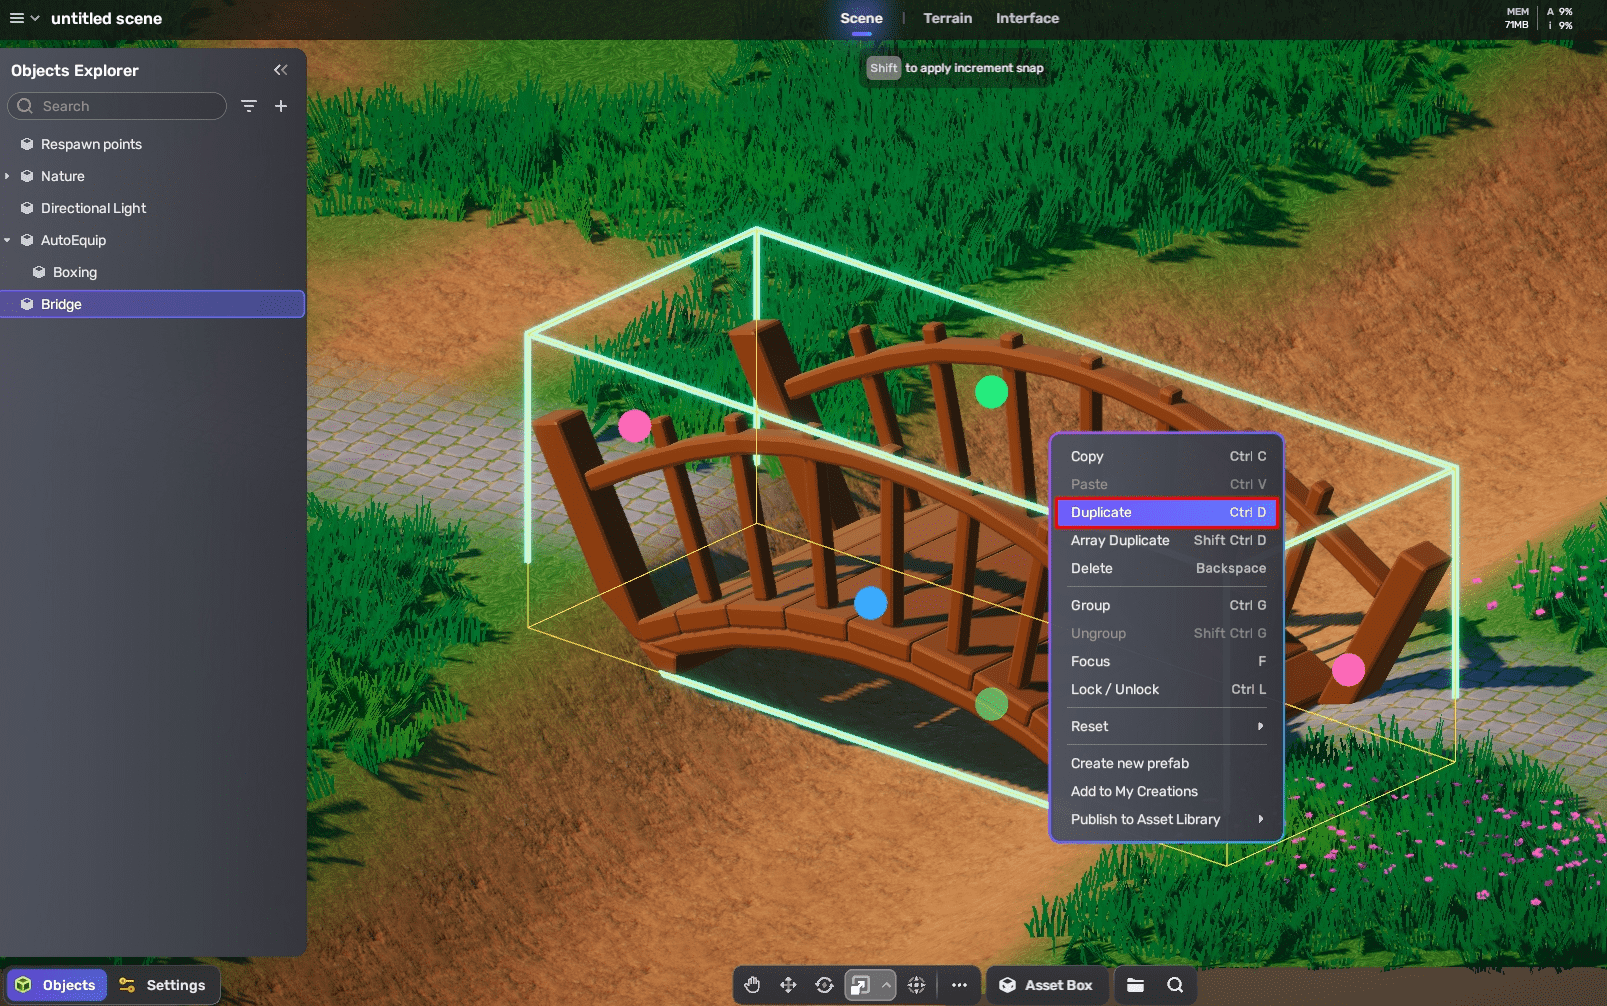
Select the bridge by right clicking the bridge from the scene or in Explorer and choose Duplicate. Or you can duplicate it using the keyboard shortcut Ctrl+D in Windows or Command+D in Mac. You can put the duplicated bridges wherever you like.
Creating your terrain
-
Create a hill by using the Raise tool on the Terrain tab.
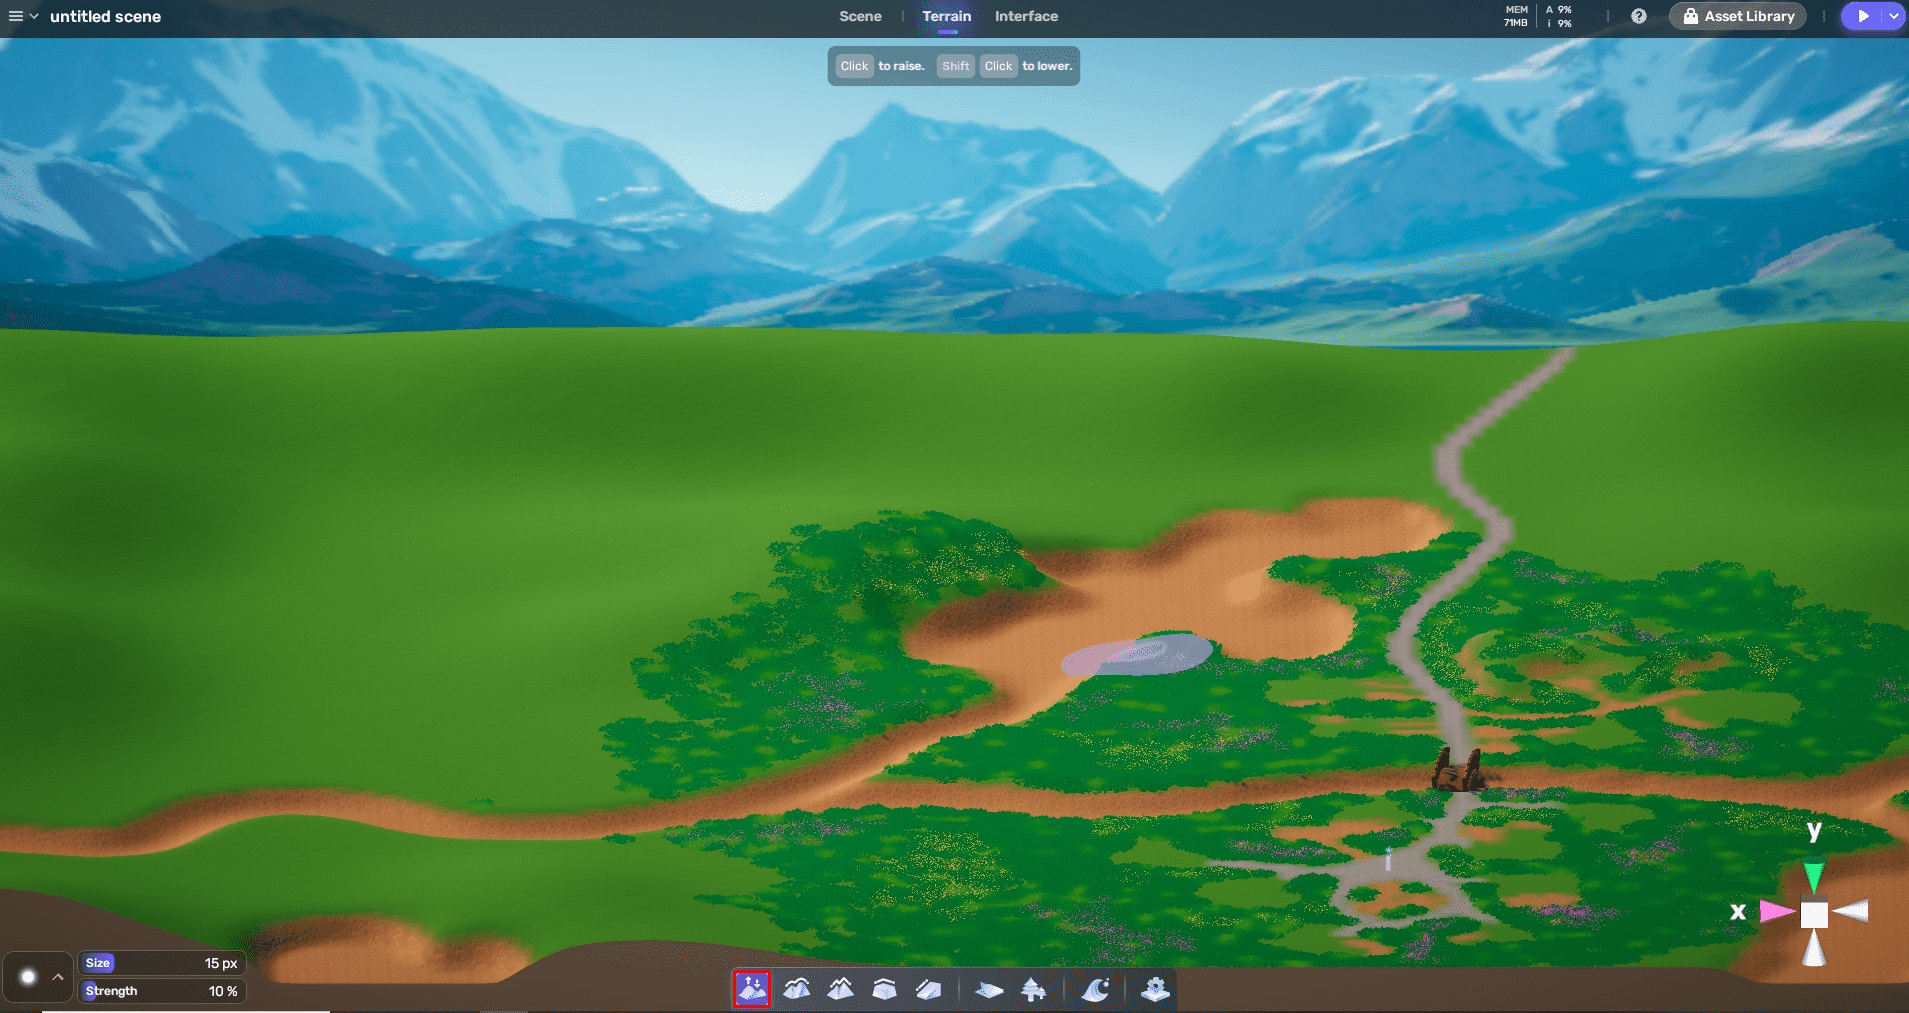
-
Add a road to your Space via the Paint tool. If you don't like it, you can erase it by holding Shift.
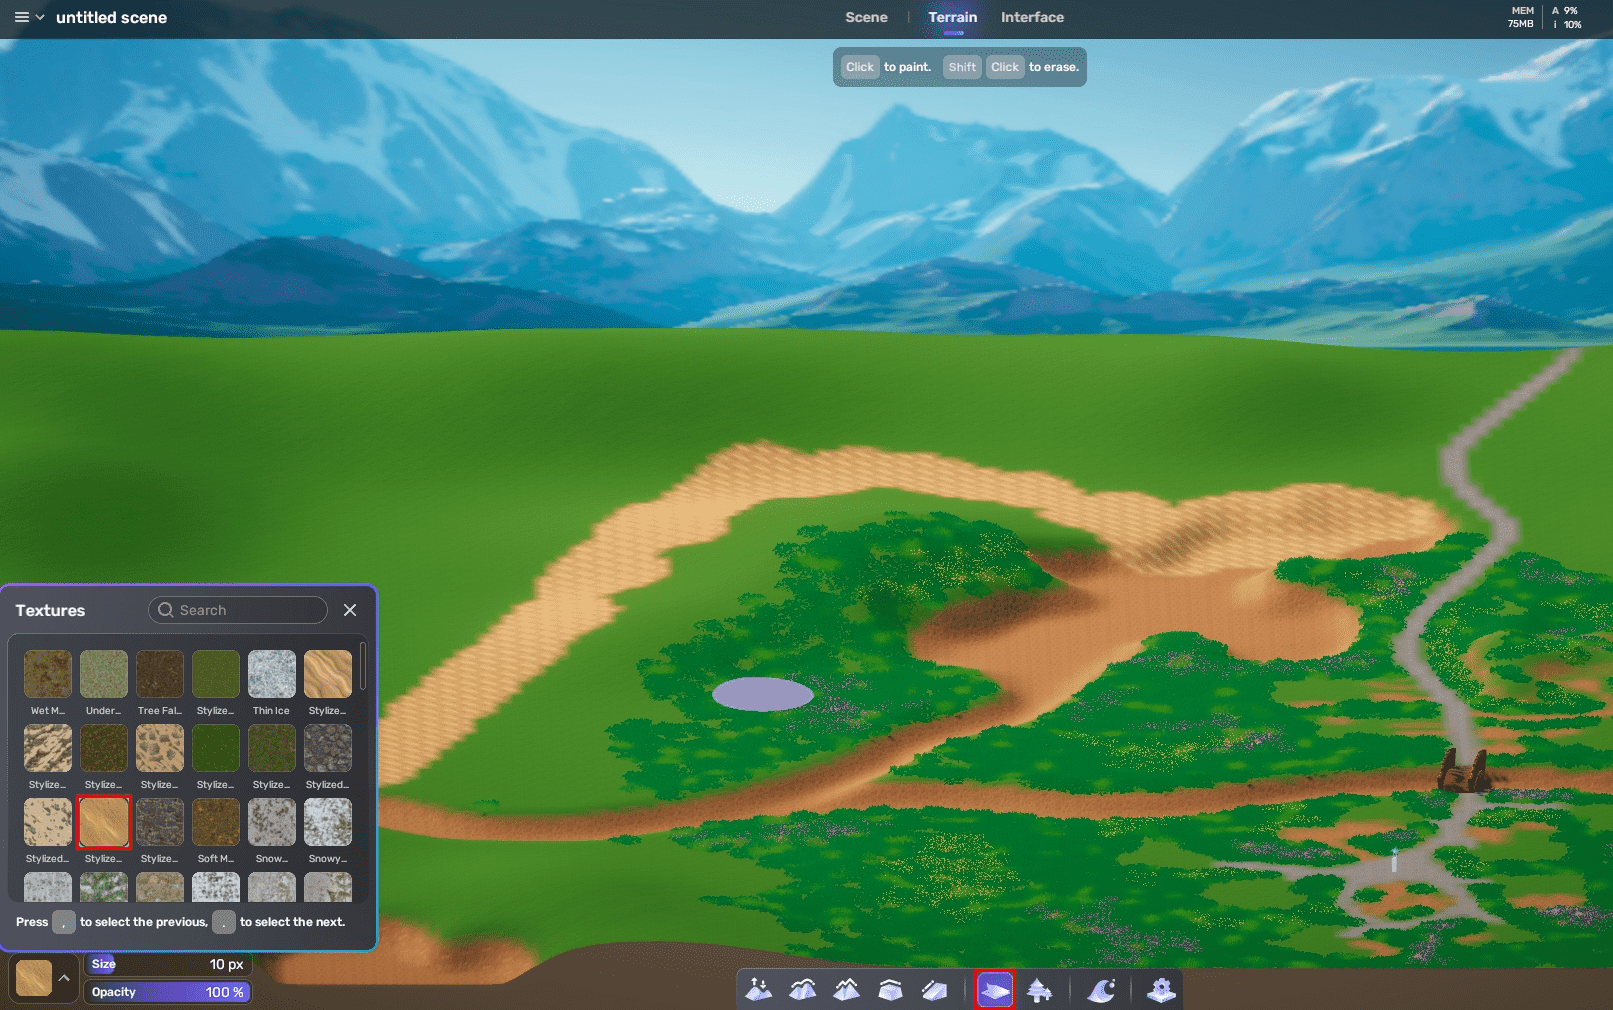
-
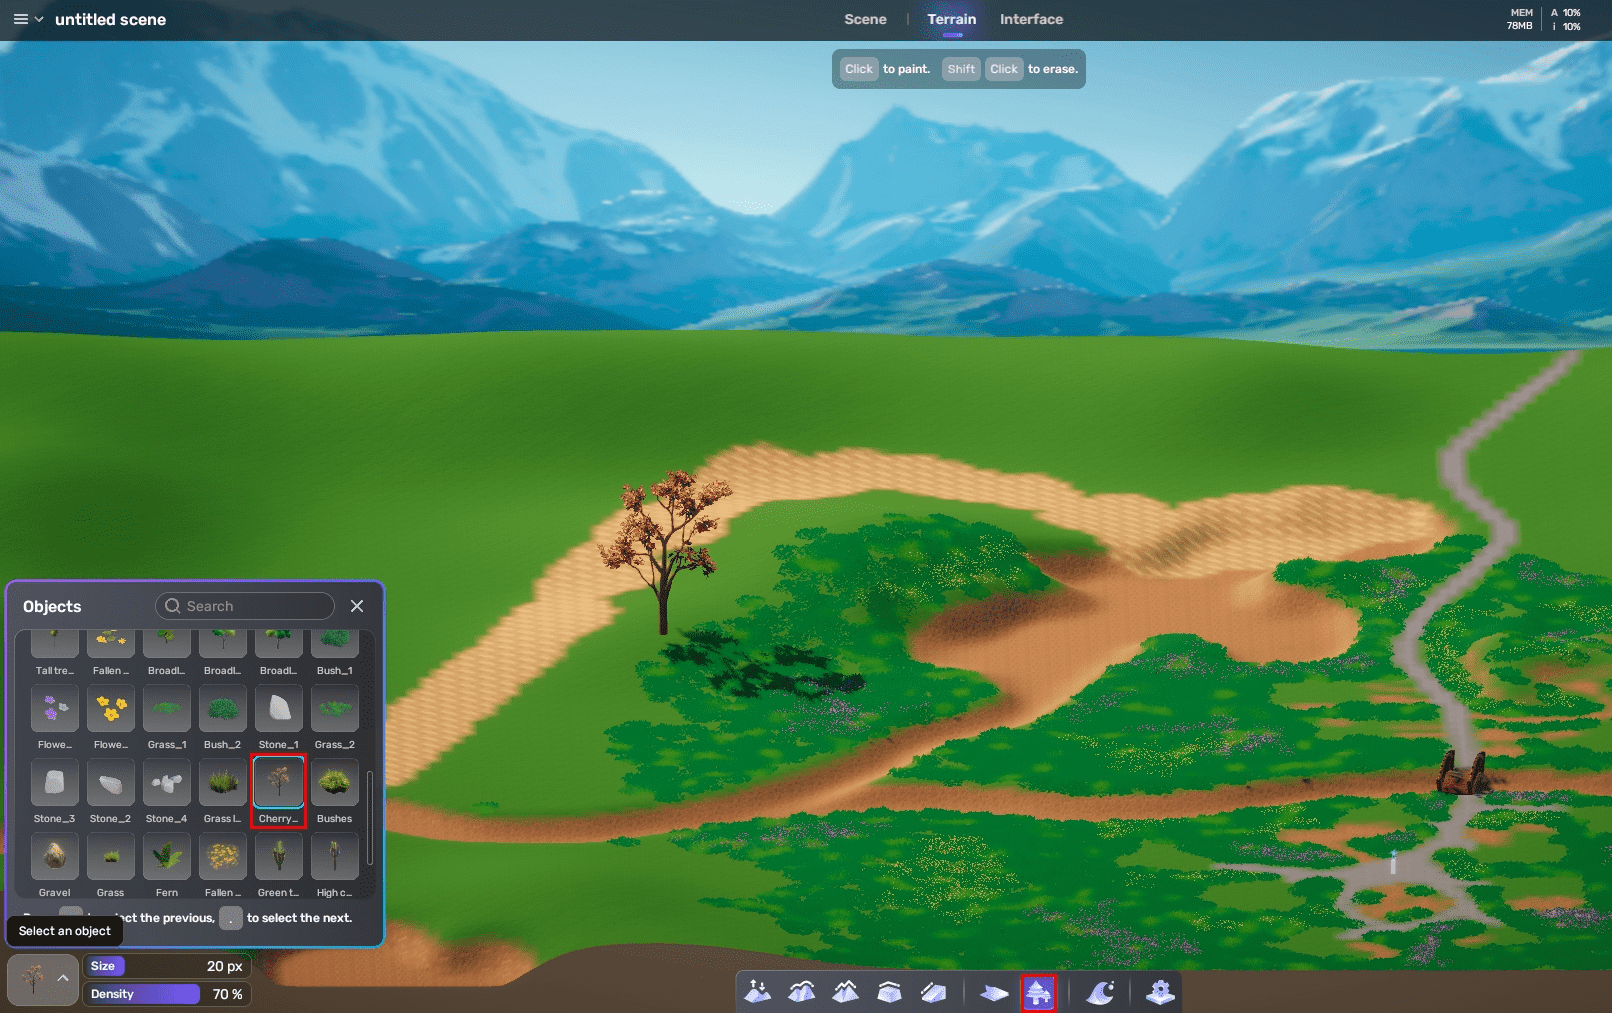
Plant trees on the terrain using the Decorate tool.
-
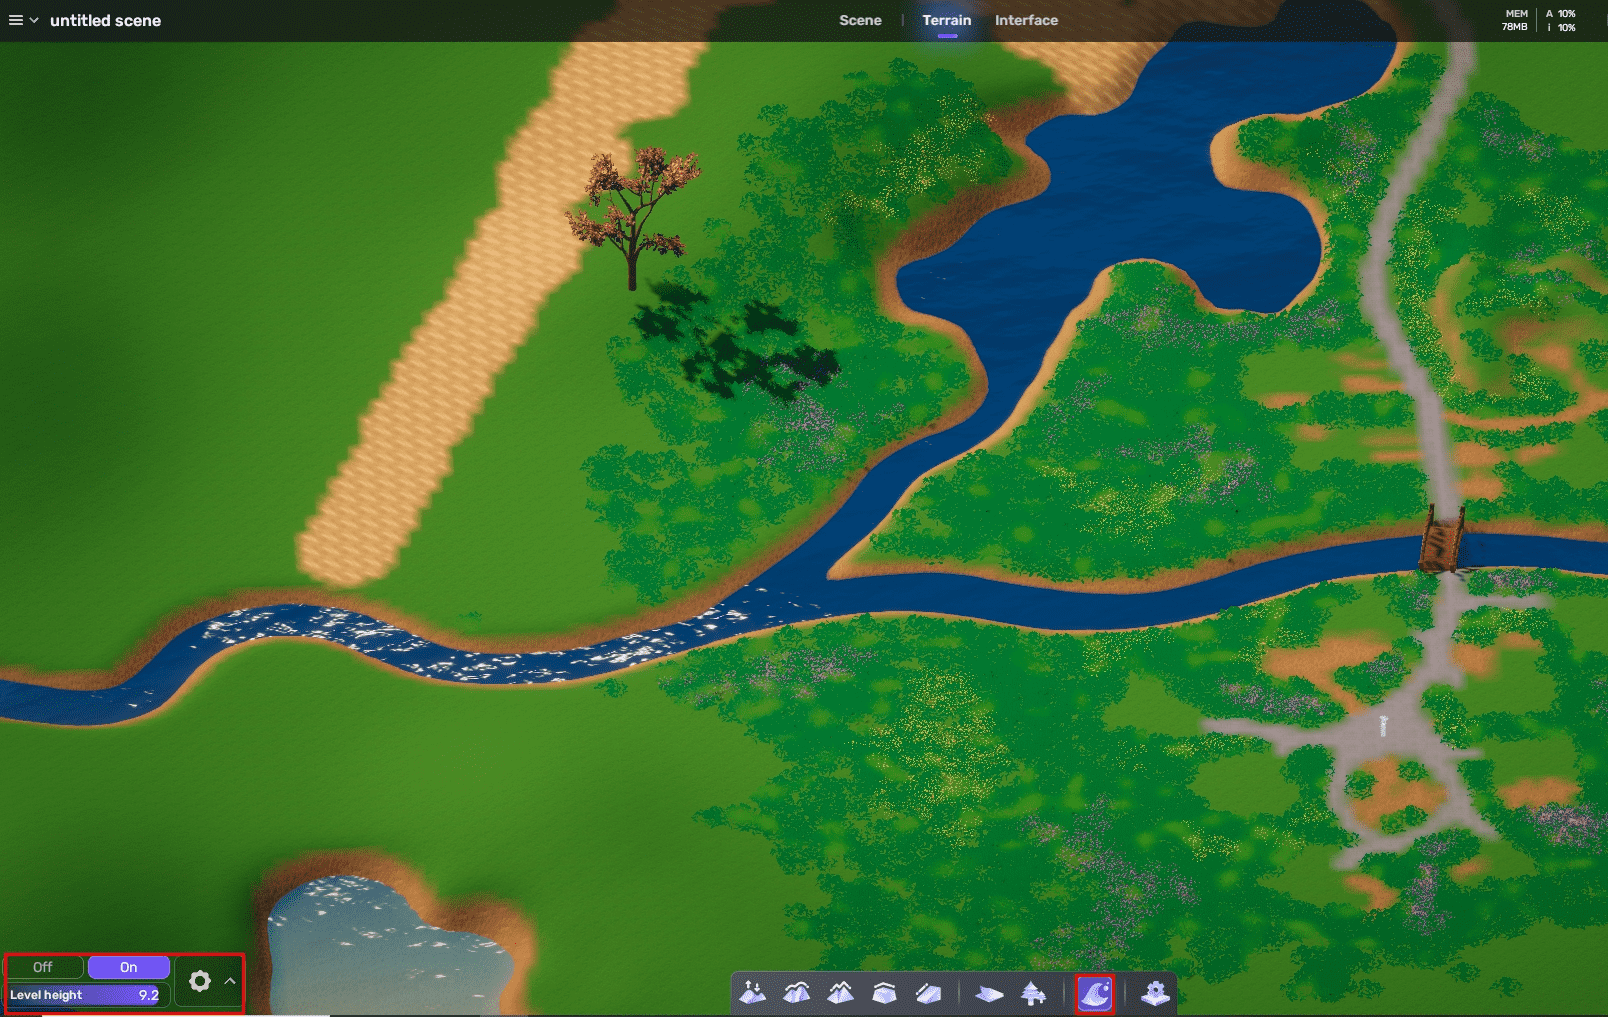
Enable the ocean using the Sea level tool.
Choosing a piece of background music for your Space
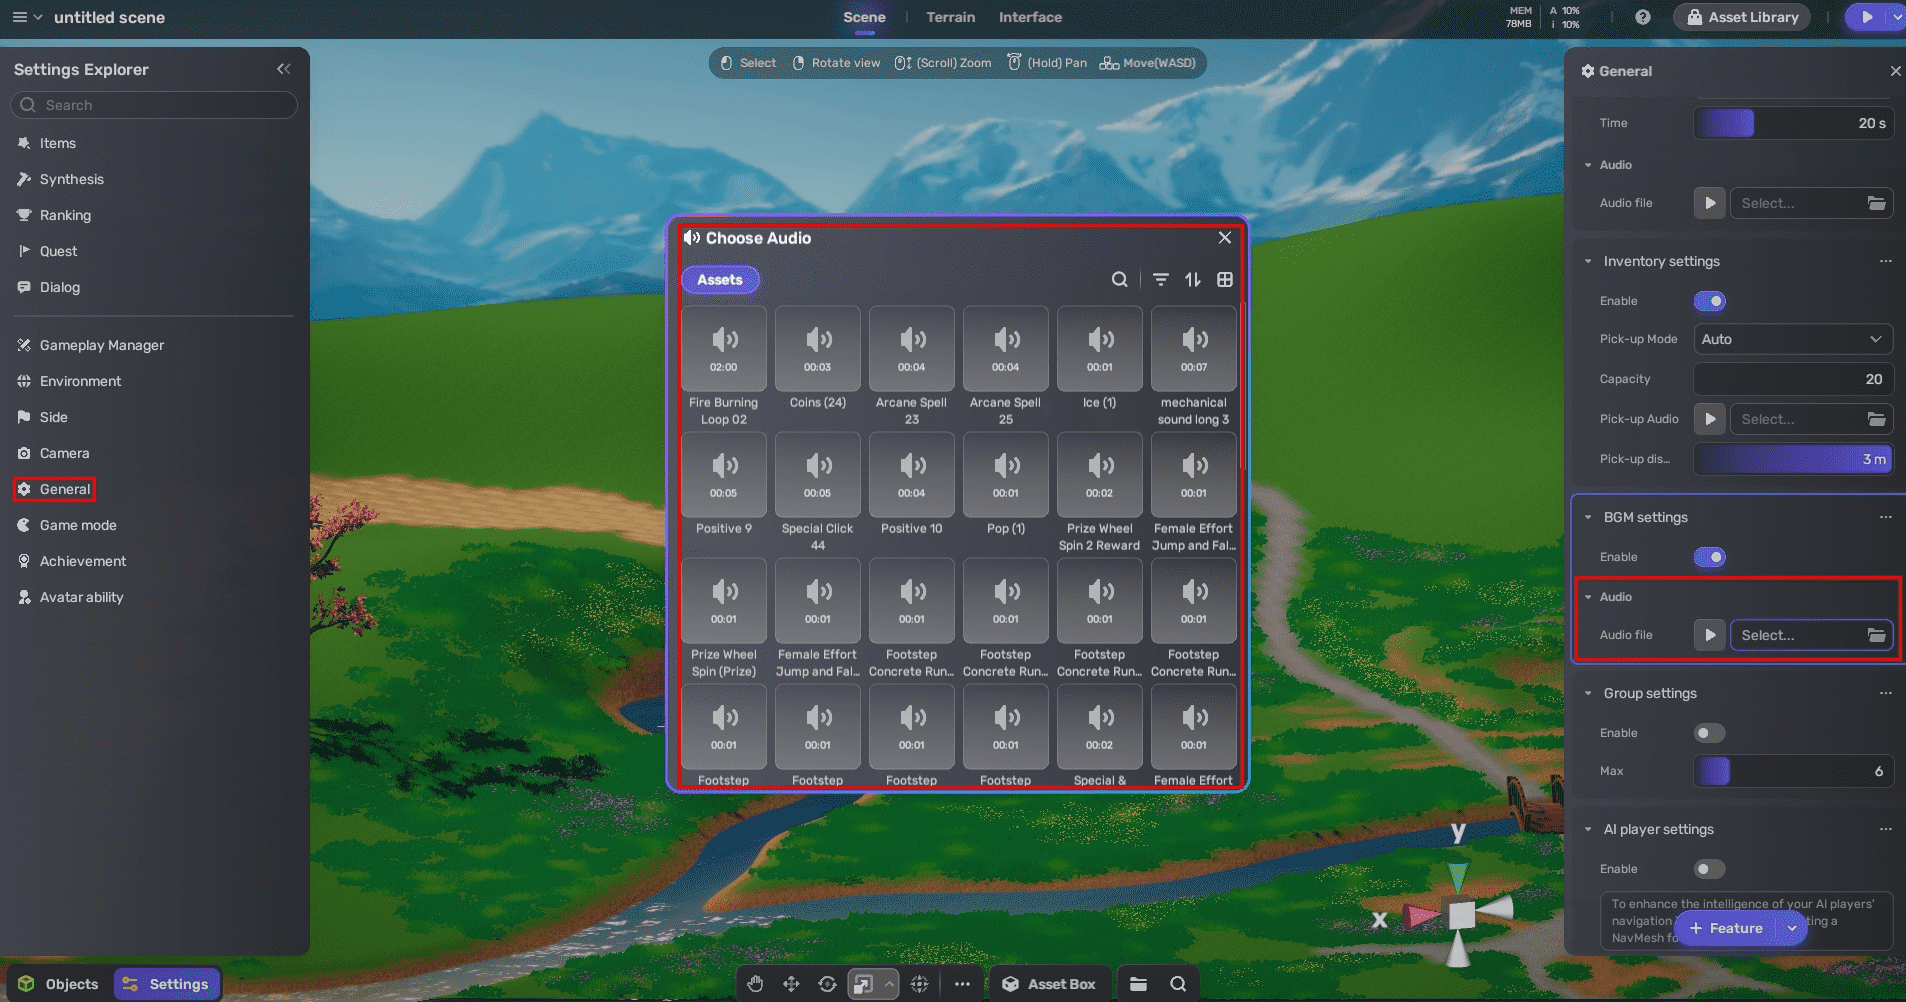
To add background music to your Space, choose General in the Settings Explorer and select an audio file in the pop-up window. Try these music clips out and choose the one you like as your BGM.
Moving the spawn point
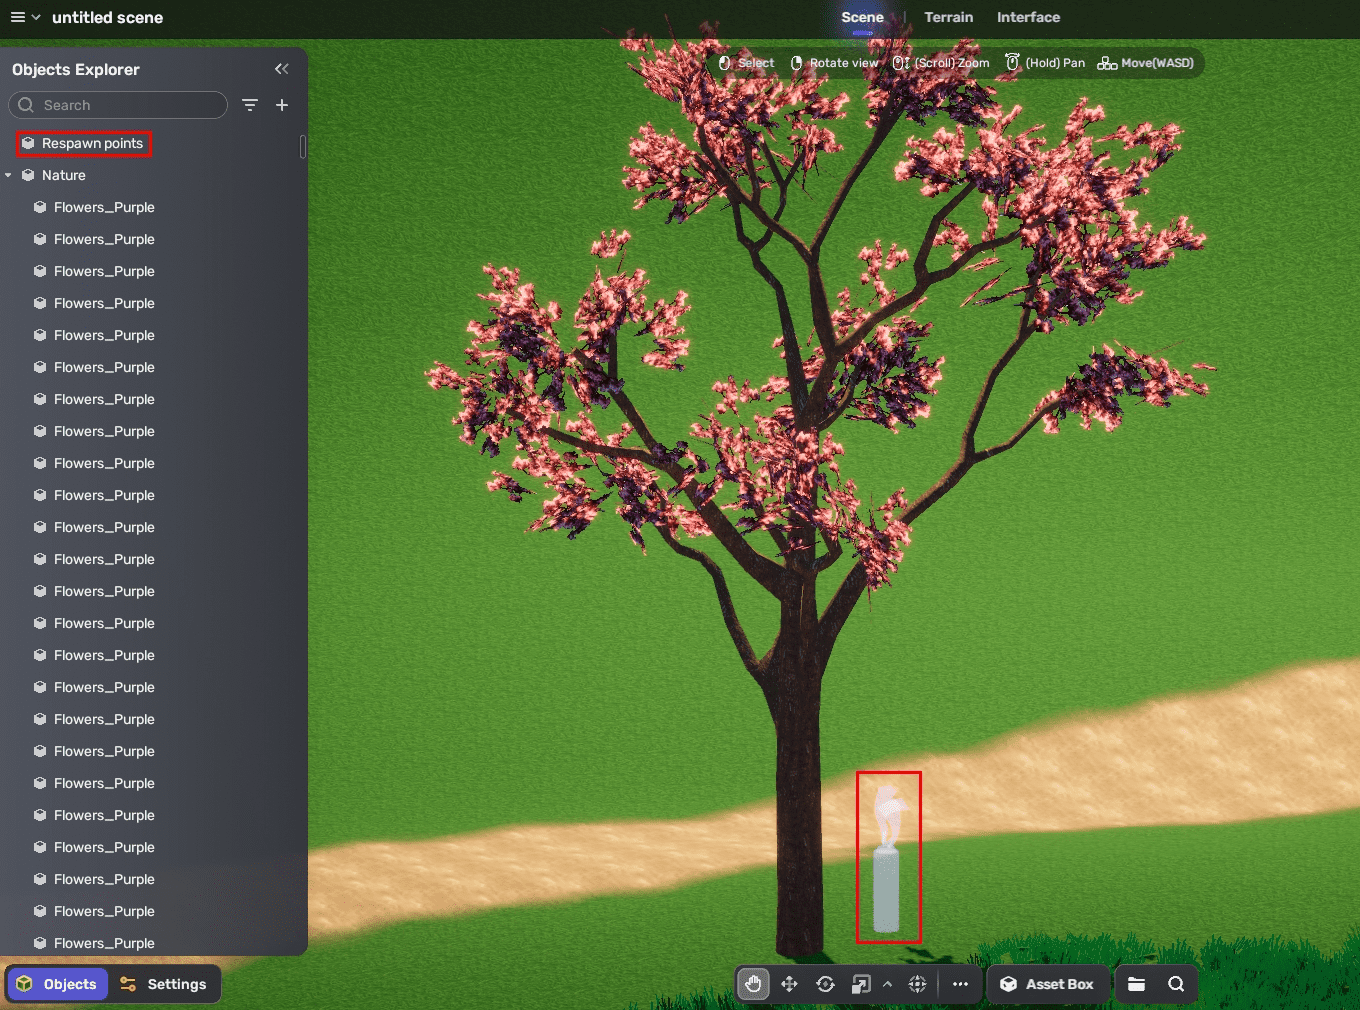
Find the spawn point from the scene or in Explorer and move it to wherever you want to spawn your avatar.
Playtesting the scene
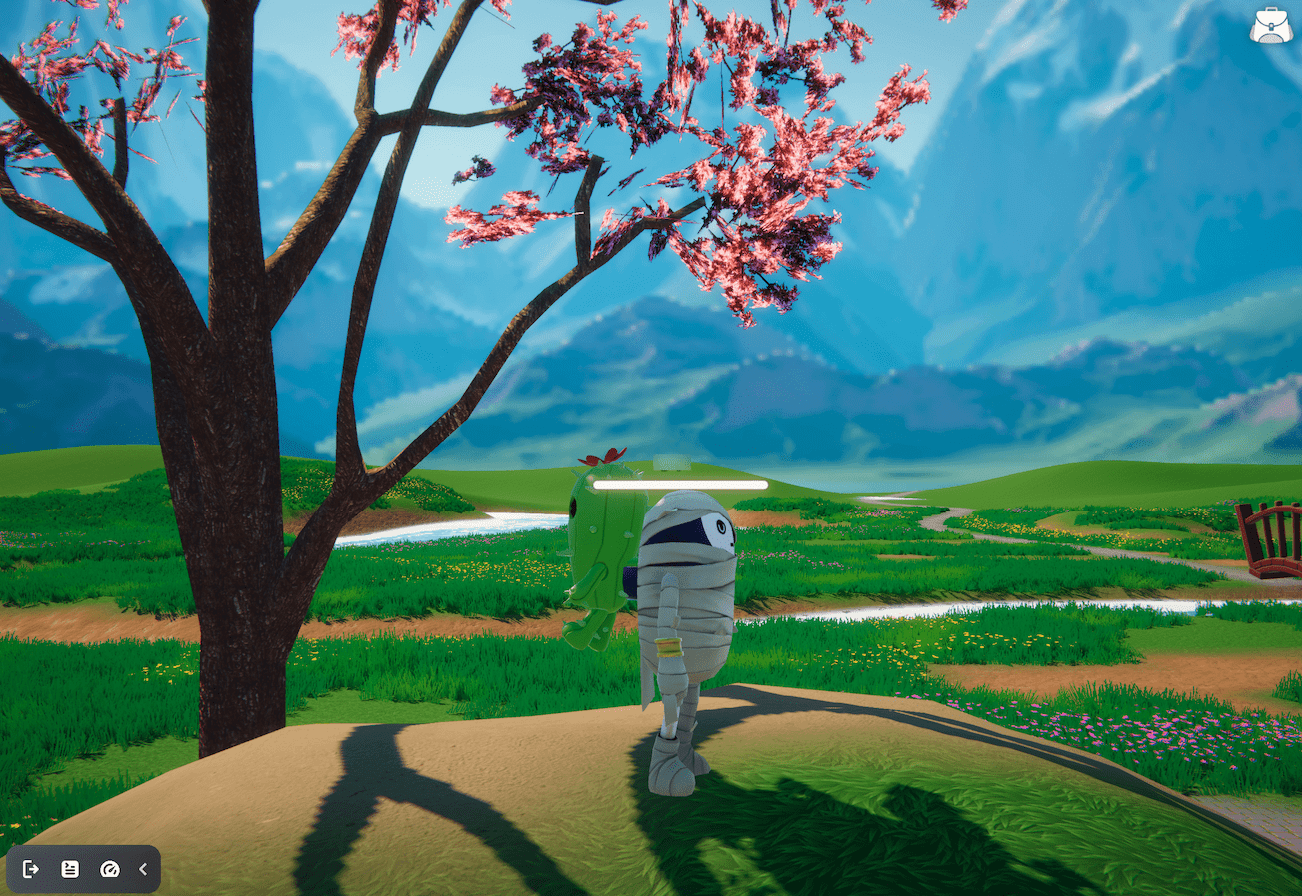
Let's enter Play mode to wander in the scene you just created.
Saving your scene
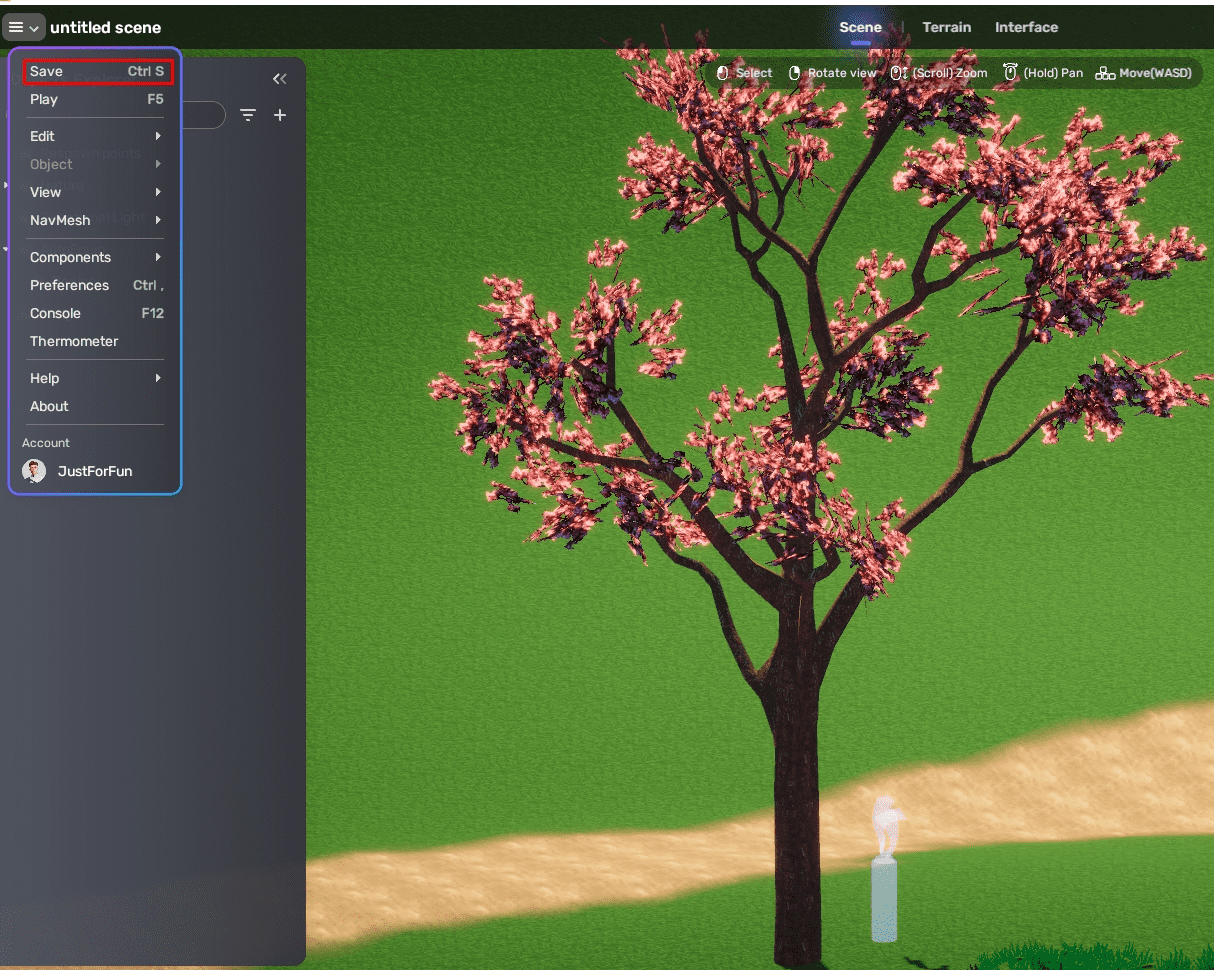
When you finish creating the scene, save it by choosing Save in the menu or using the hotkey Ctrl+S in Windows or Command+S in Mac. After saving the scene, find the project via Create>Projects in Desktop.
