Polishing your horror scene lighting
Creating an immersive horror game experience heavily relies on effective lighting in scenes. Proper lighting sets the stage for suspense and fear, amplifying players' emotions as they progress. This guide will help you establish the ideal atmosphere for your horror game by providing techniques for lighting both outdoor and indoor scenes.
Outdoor scenes
There are several methods to create the perfect outdoor scene lighting. You can also combine some of these methods to achieve the optimal final effect.
Using environment presets (recommended)
Environment presets are pre-built environment templates that display certain periods of the day with ambient lighting, which saves your effort in setting up an environment from scratch. For more information, see Environment.
To access the environment presets, follow these steps:
-
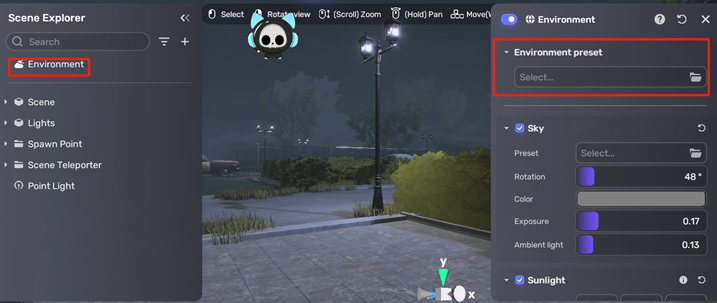
Go to Scene Explorer > Environment.
-
In the Properties window, open Environment preset.
-
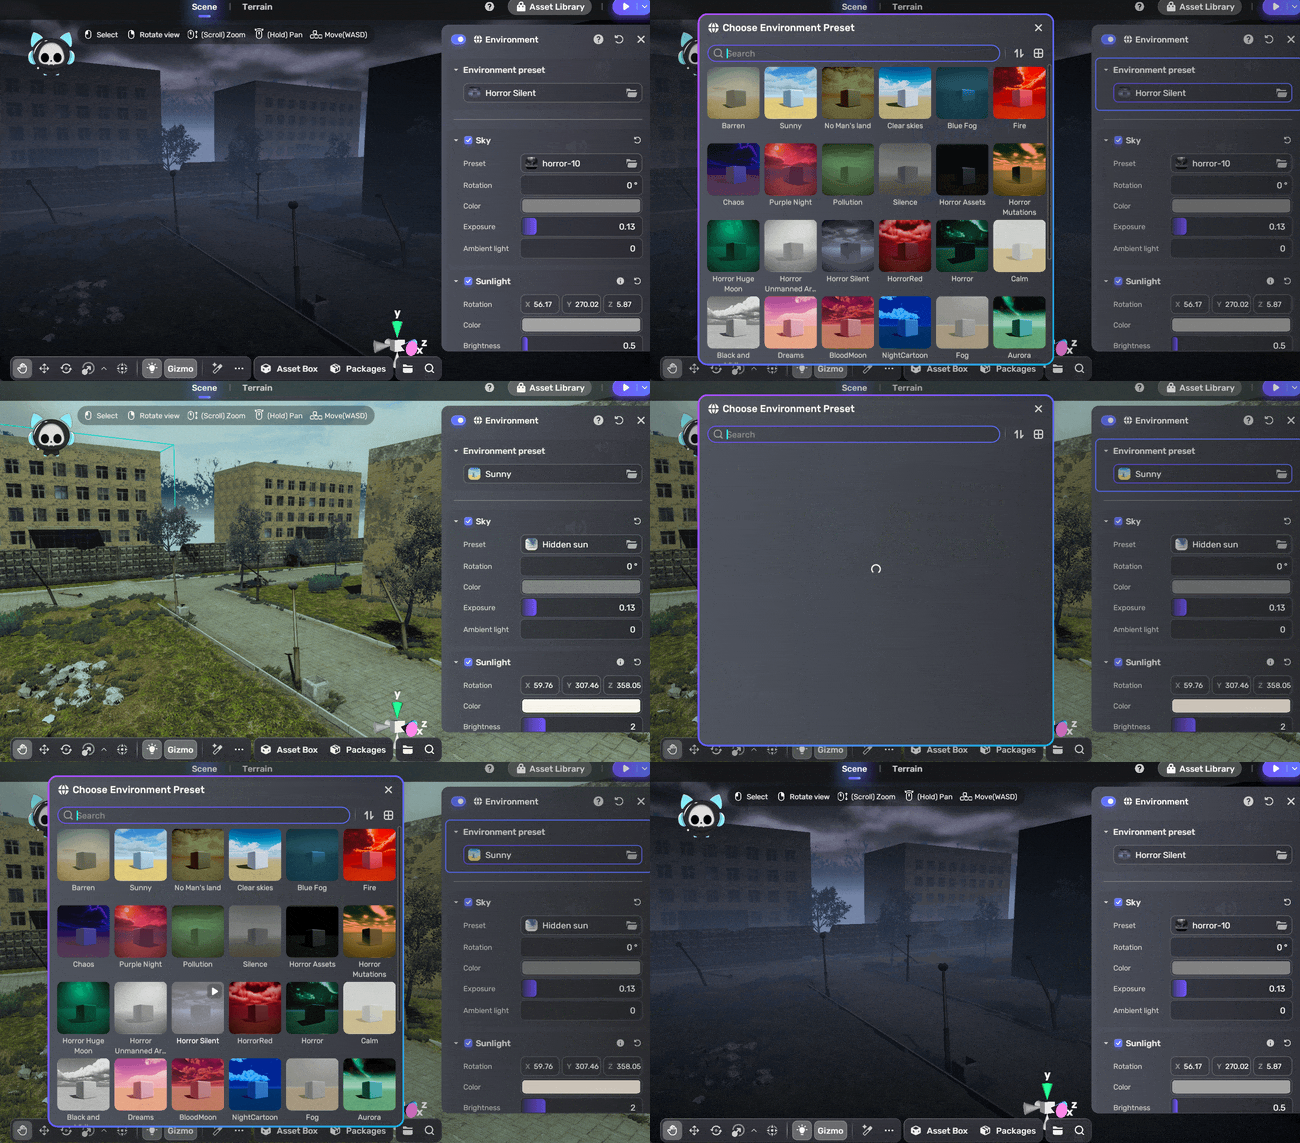
Select a preset in the Choose Environment Preset window.
-
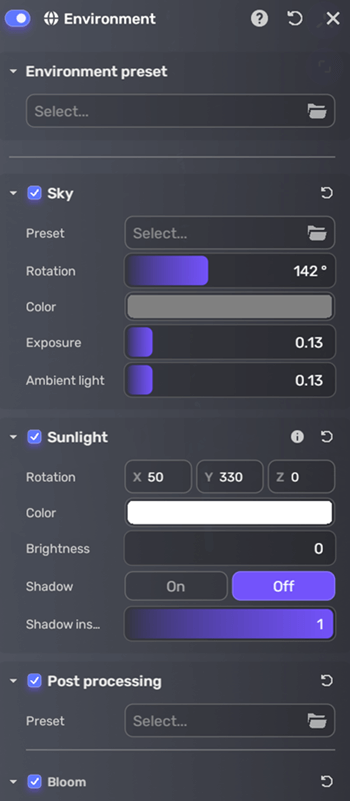
Adjust the preset properties in the Properties window to suit your specific requirements.
Adding directional light
Directional lights are lights that emit light in a single direction, simulating light that comes from an infinitely distant source, such as the moonlight.
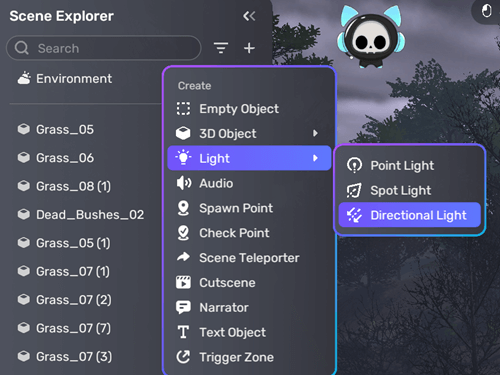
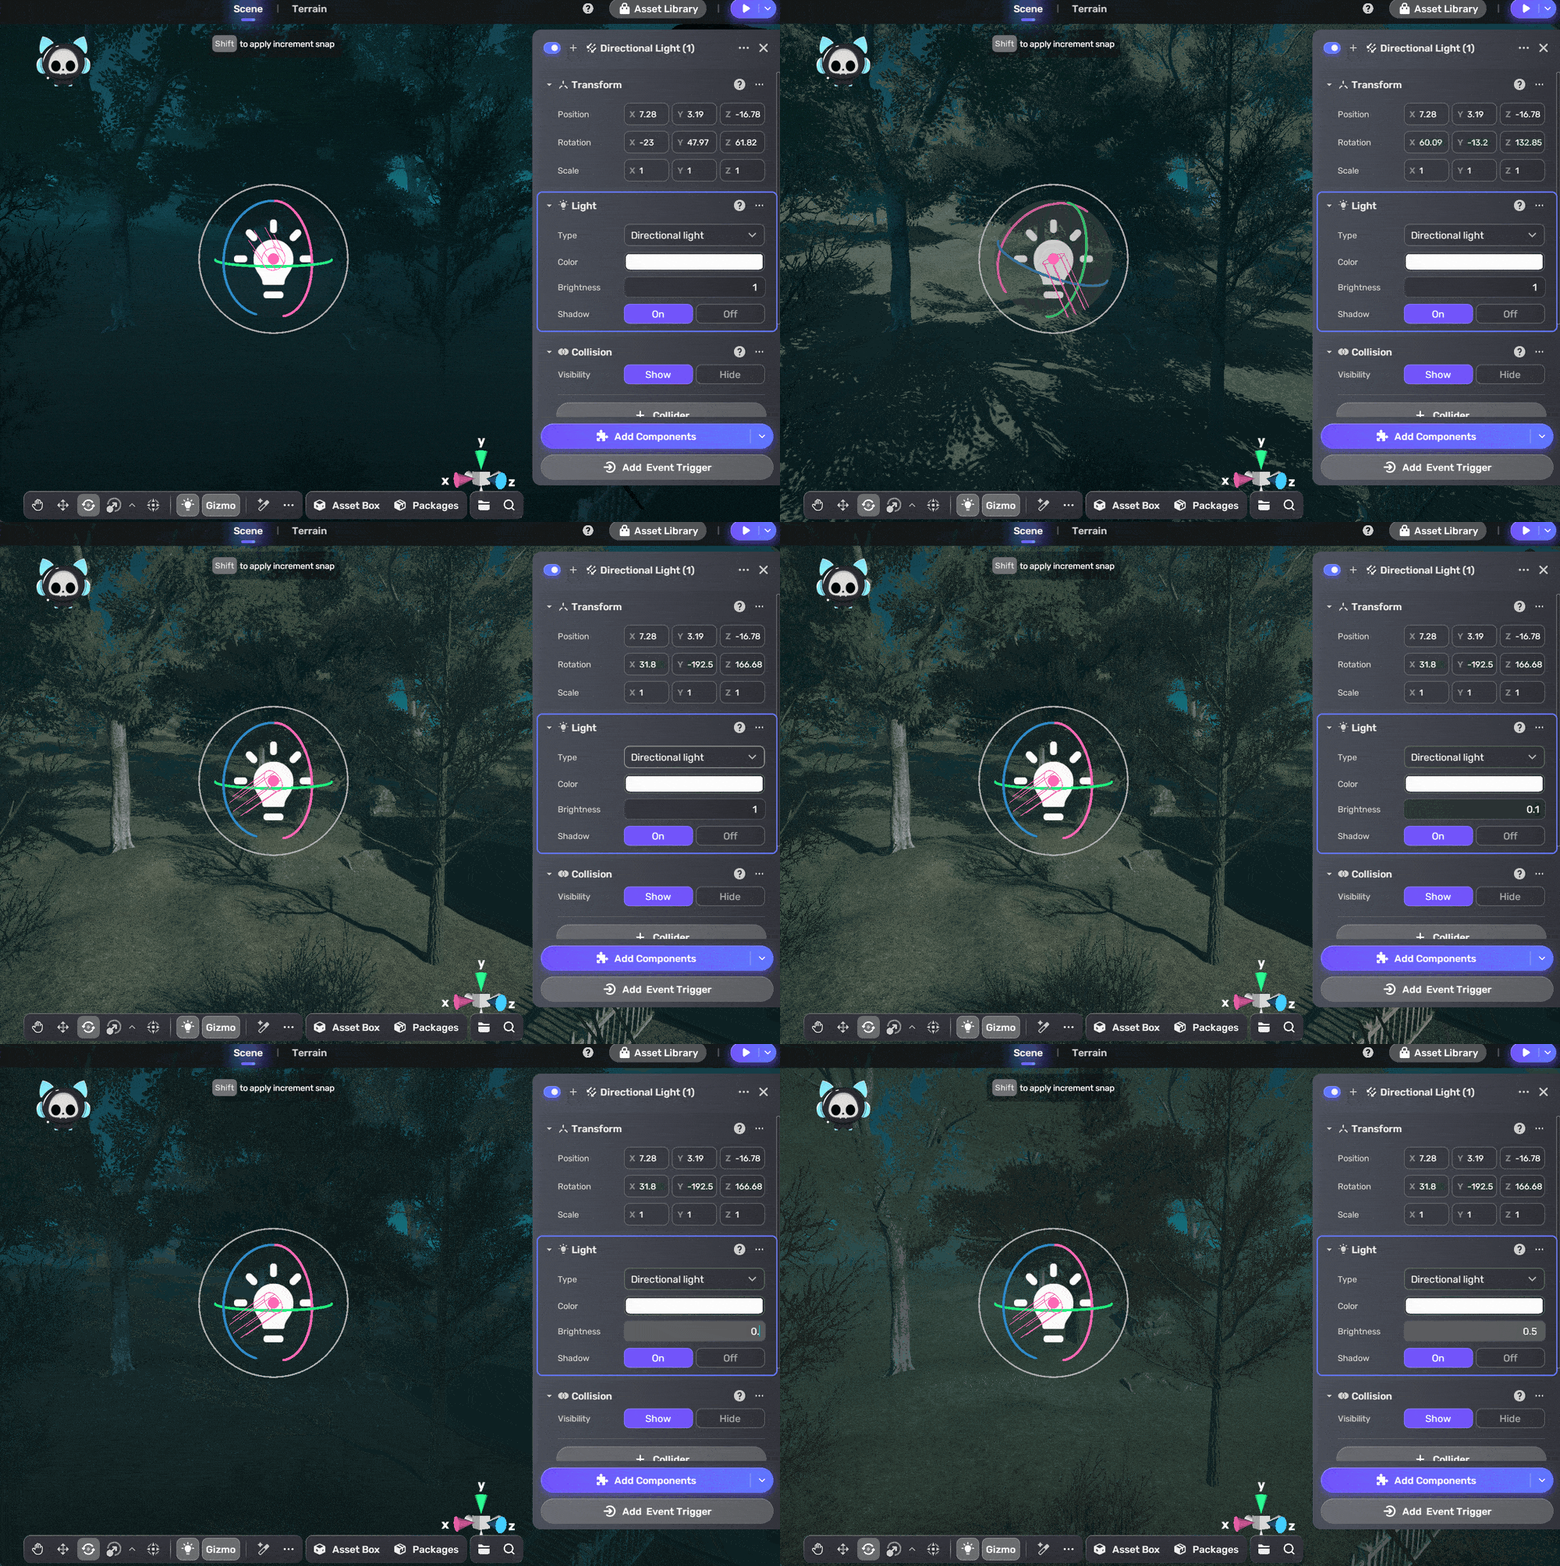
To create a light, go to Scene Explorer, click the + icon, choose Light > Directional Light.
After adding the directional light, you can rotate it to simulate a certain light source, for example, to create the moonlight. Then, you can also adjust the Brightness value to control the atmosphere. For example, setting it to around 0.1 for night scenes to achieve a dim, eerie effect. For more about added lights, see Lighting.
Customizing sky settings
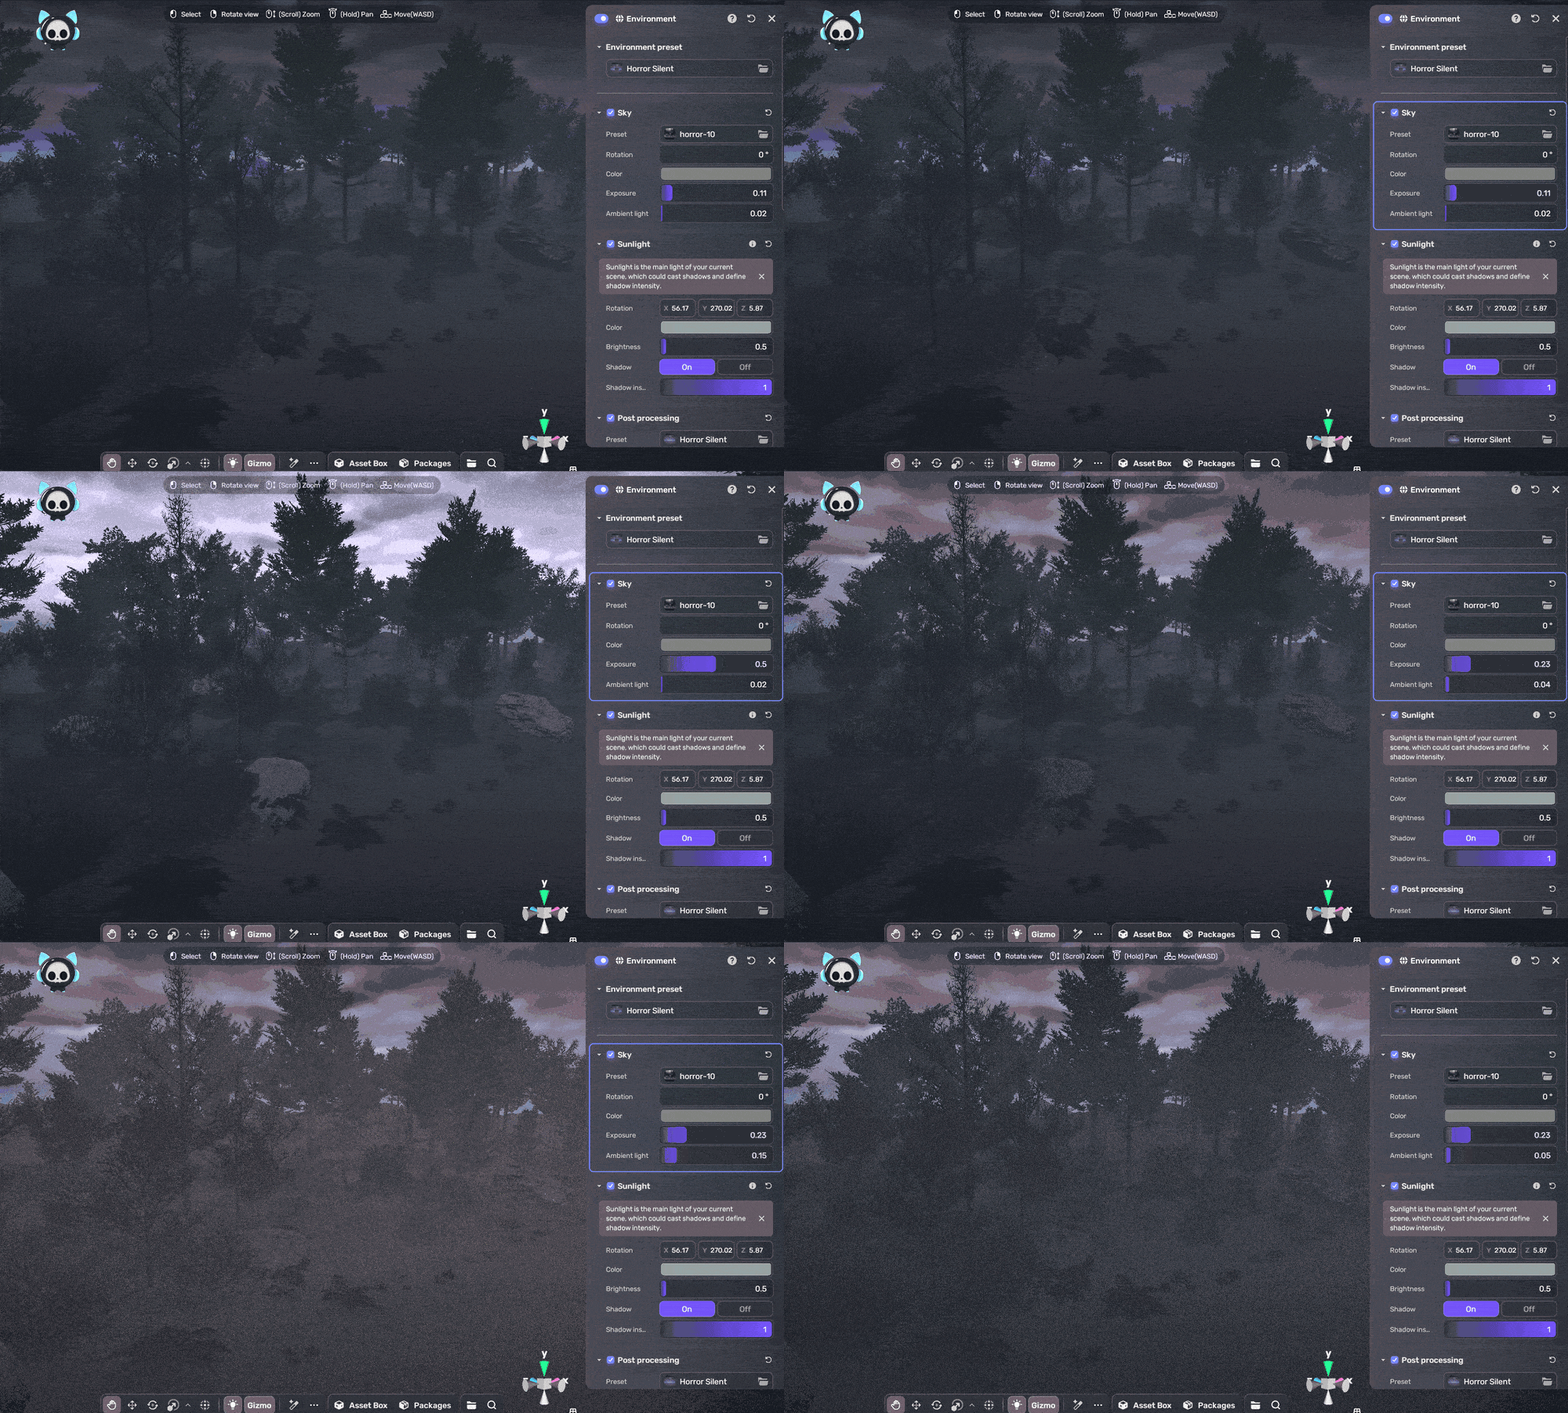
To quickly adjust scene lighting, modify the Exposure value in the Sky component of the Properties window to control the skybox's brightness and the Ambient Light value to adjust the intensity of the scene's ambient color. For more information, see Environment.
Adding fog for depth
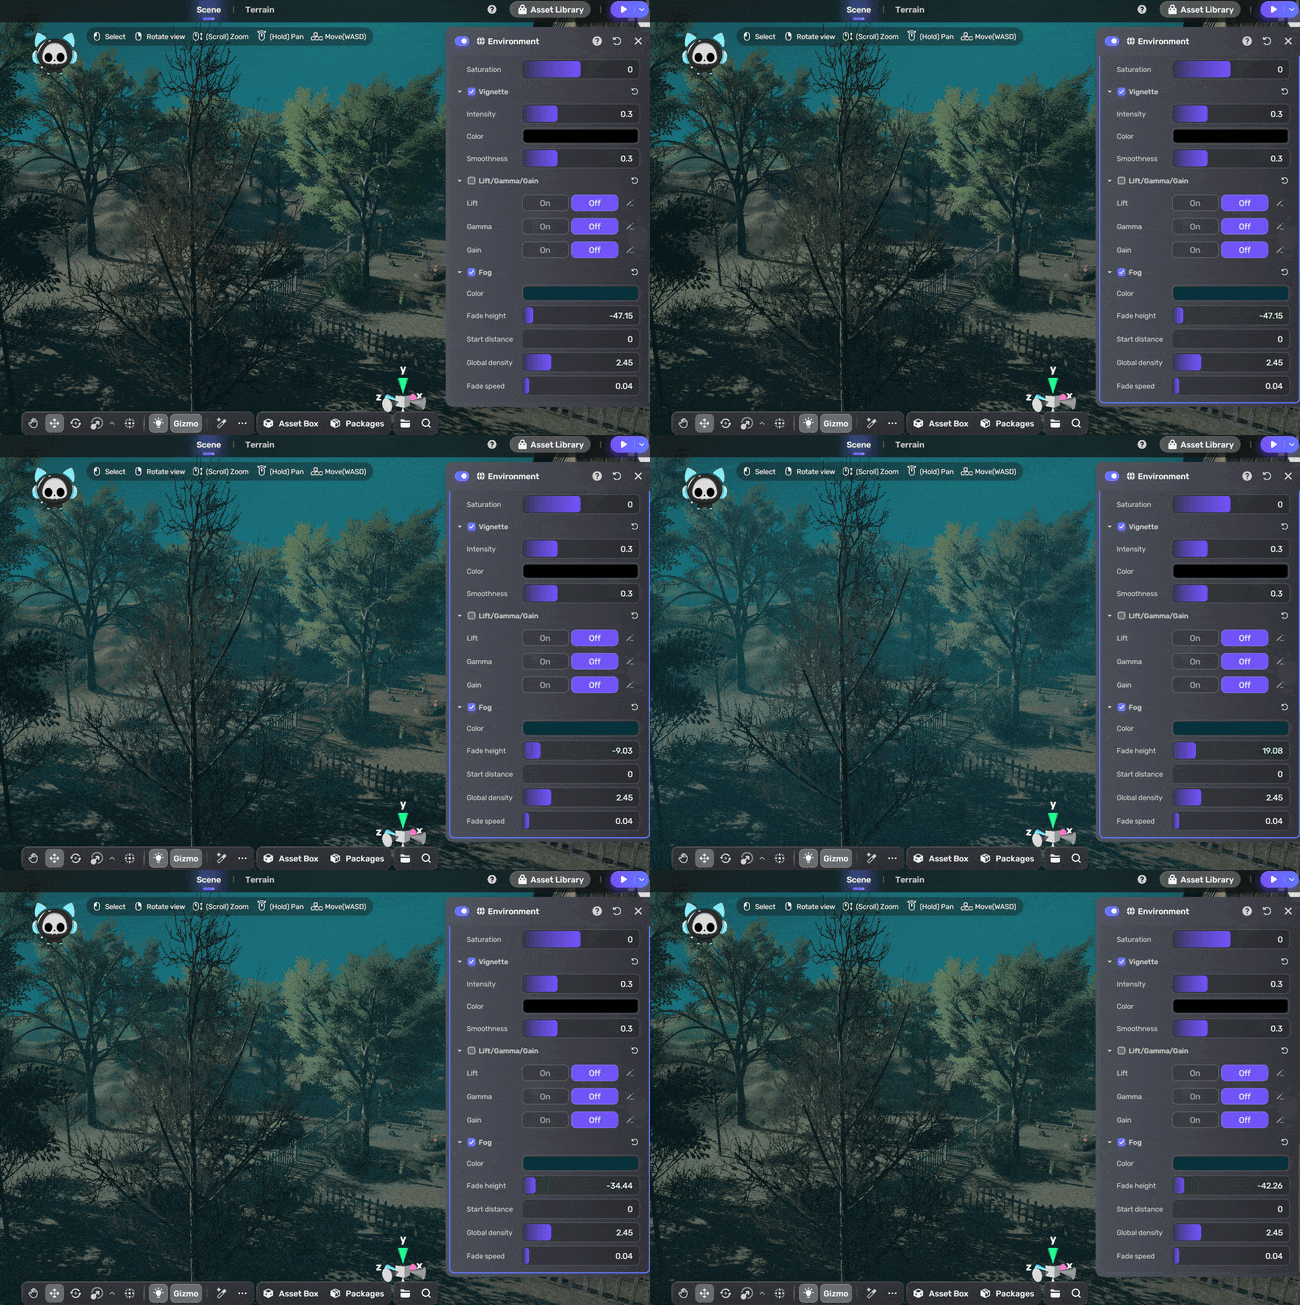
Adding fog to your scene is a powerful method for increasing visibility and creating a sense of depth and smooth transitions, particularly during night scenes. To add fog:
- Go to Scene Explorer > Environment.
- In the Properties window, ensure the Fog component is enabled. For more information, see Environment.
Indoor scenes
We offer tips for indoor scenes according to whether there is a light source in the scene.
Creating main light source
When there is no main light source (e.g., lamps, candles), you can add a low-brightness Point Light with a large range. Point lights radiate in all directions from a specific point in space. They are commonly used to represent light sources such as light bulbs, torches, or candles. For more information, see Point Light.
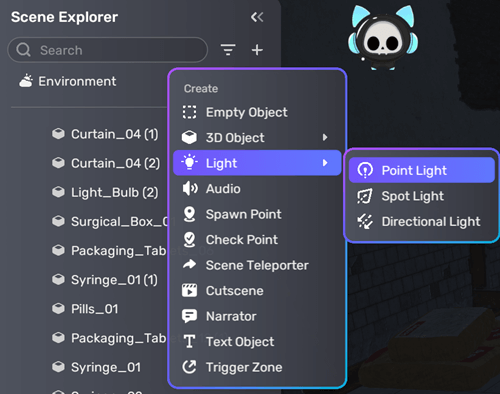
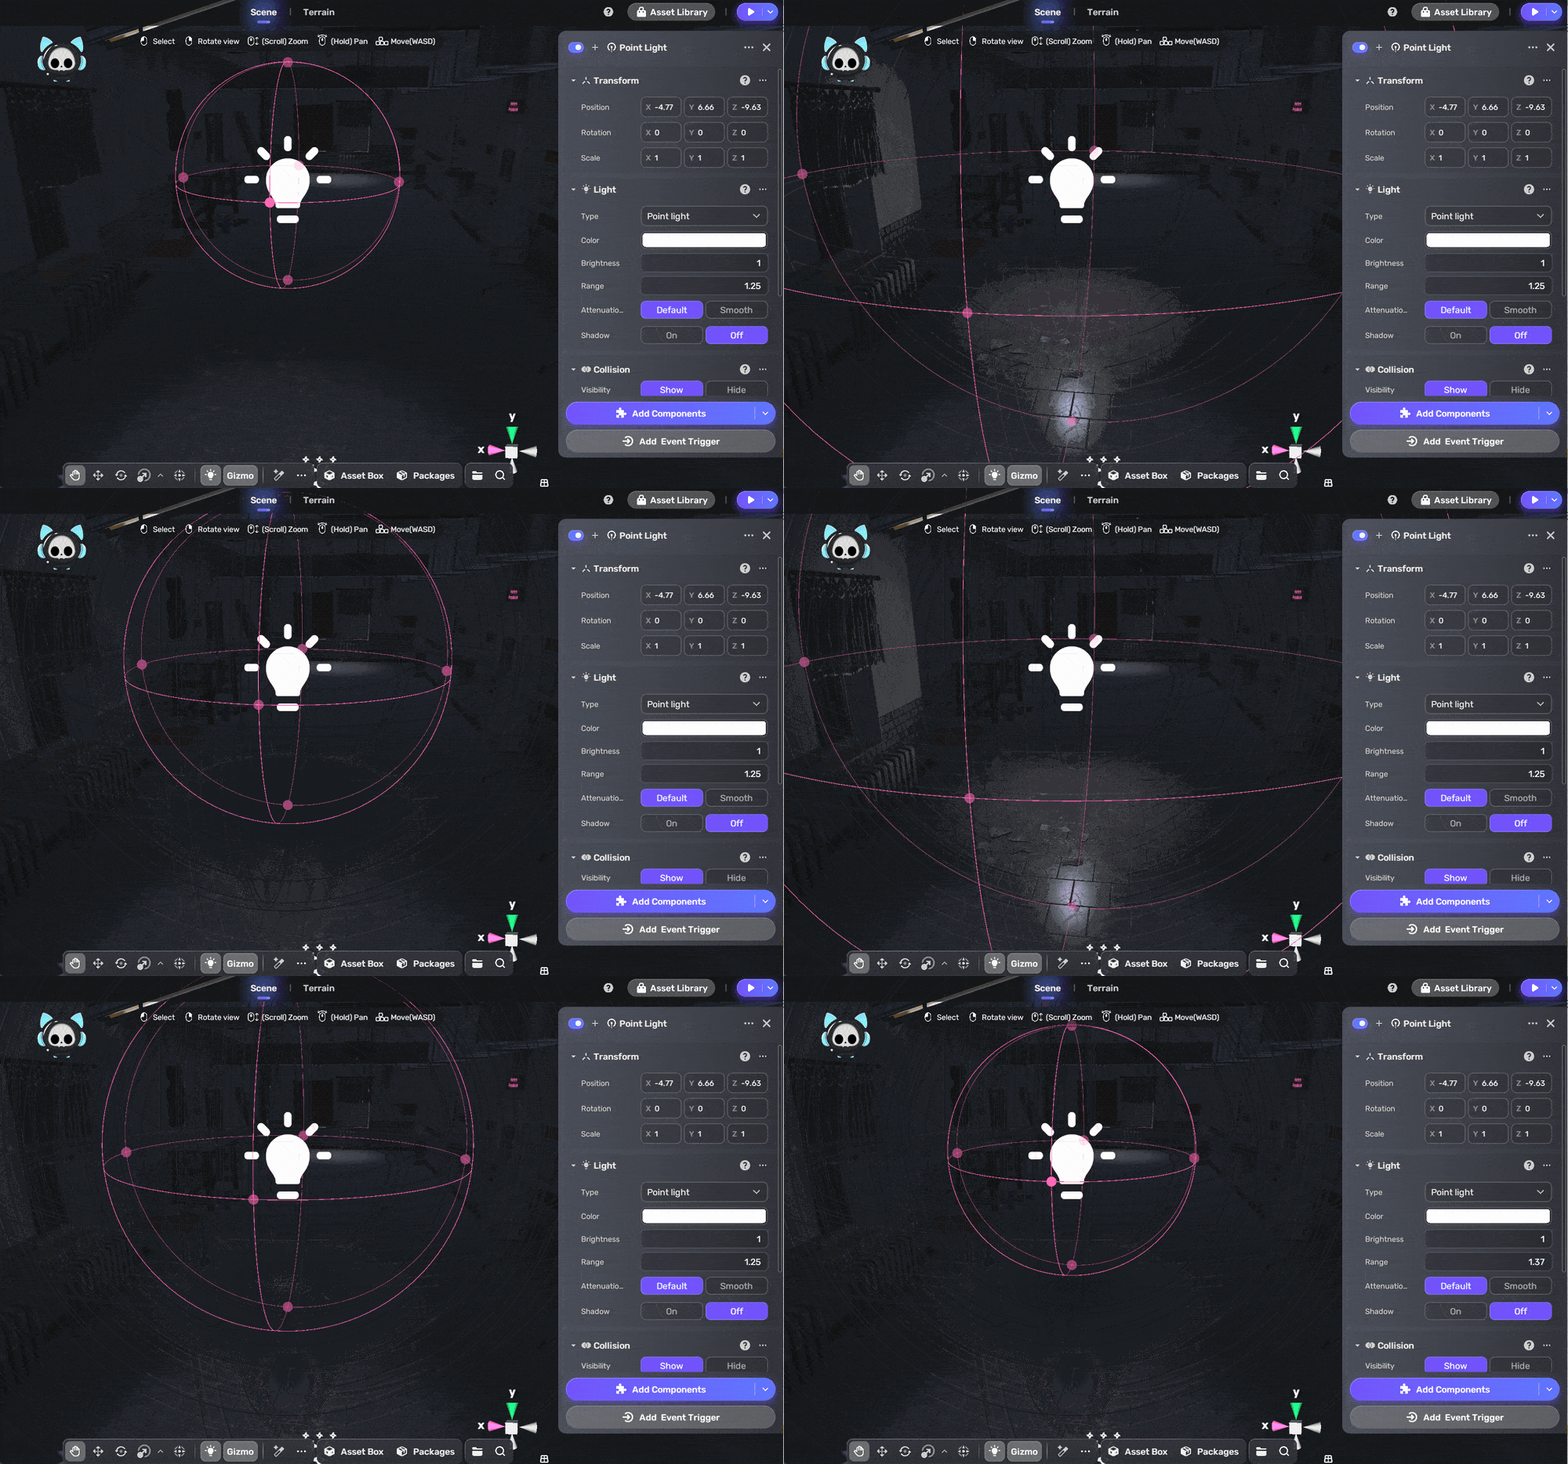
To add a point light, go to Scene Explorer, click the + icon, choose Light > Point Light. Then click and drag the pink dots on the bounding sphere of the light to adjust its range.
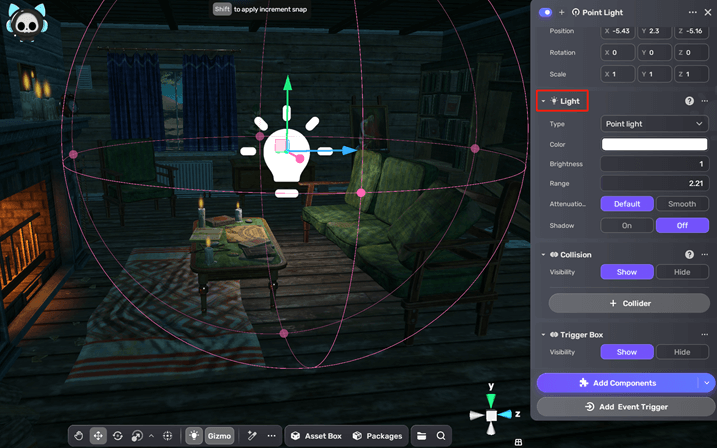
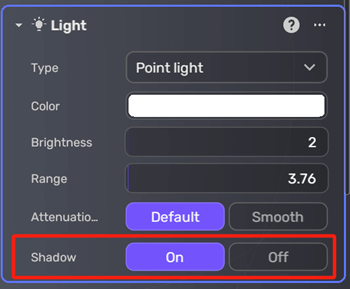
In the right-hand Properties window, you can continue to modify the Brightness, Shadow, Range, and Color of the light.
Adding more light sources
If your main indoor light source isn't sufficient, consider combining multiple light sources to improve the scene's visual impact and highlight important elements. Be aware of the limitations of the maximum active light sources (256) and light sources per object (8) to avoid lighting anomalies.
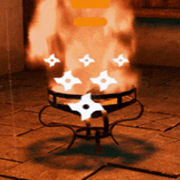
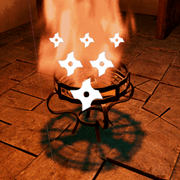
For example, if we use a fireplace as the main light source with Shadow on, we may want to move the point light upward to adjust the shadow size as they appear too large.
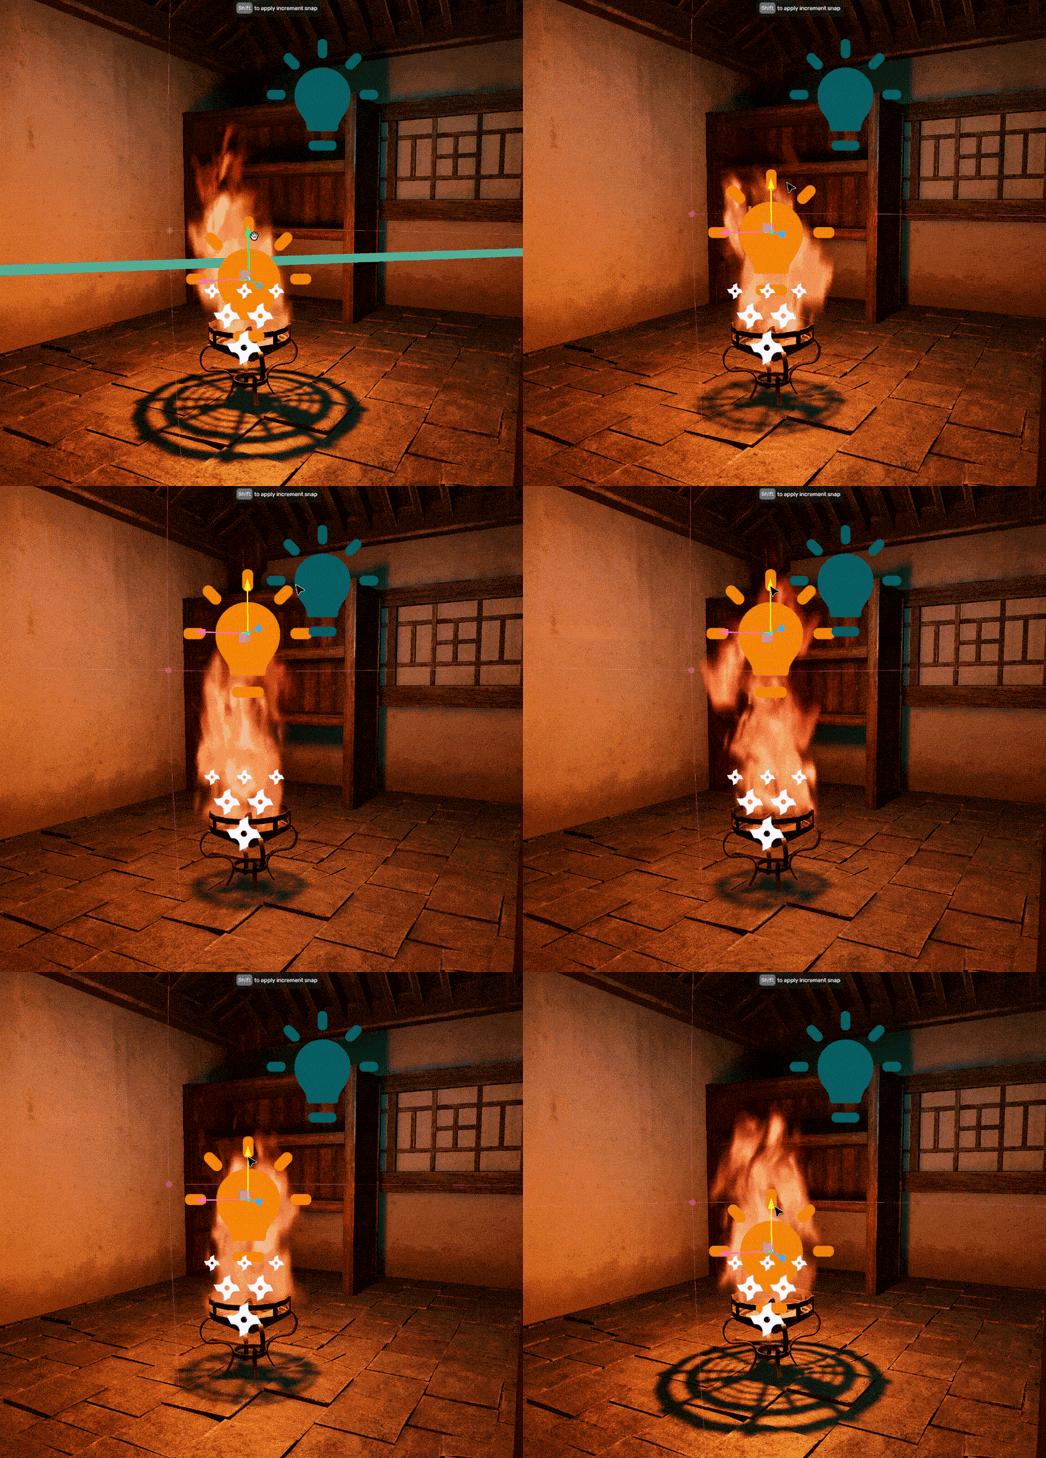
However, you may notice that the fireplace edges are not bright enough. Now let's add another Point Light close to the fireplace. We should also reduce the new light's range and disable Shadow to enhance the lighting effect.
The left image shows shadow without additional point light while the right one shows shadow with additional point light.
Handling lighting anomalies
Overexposure
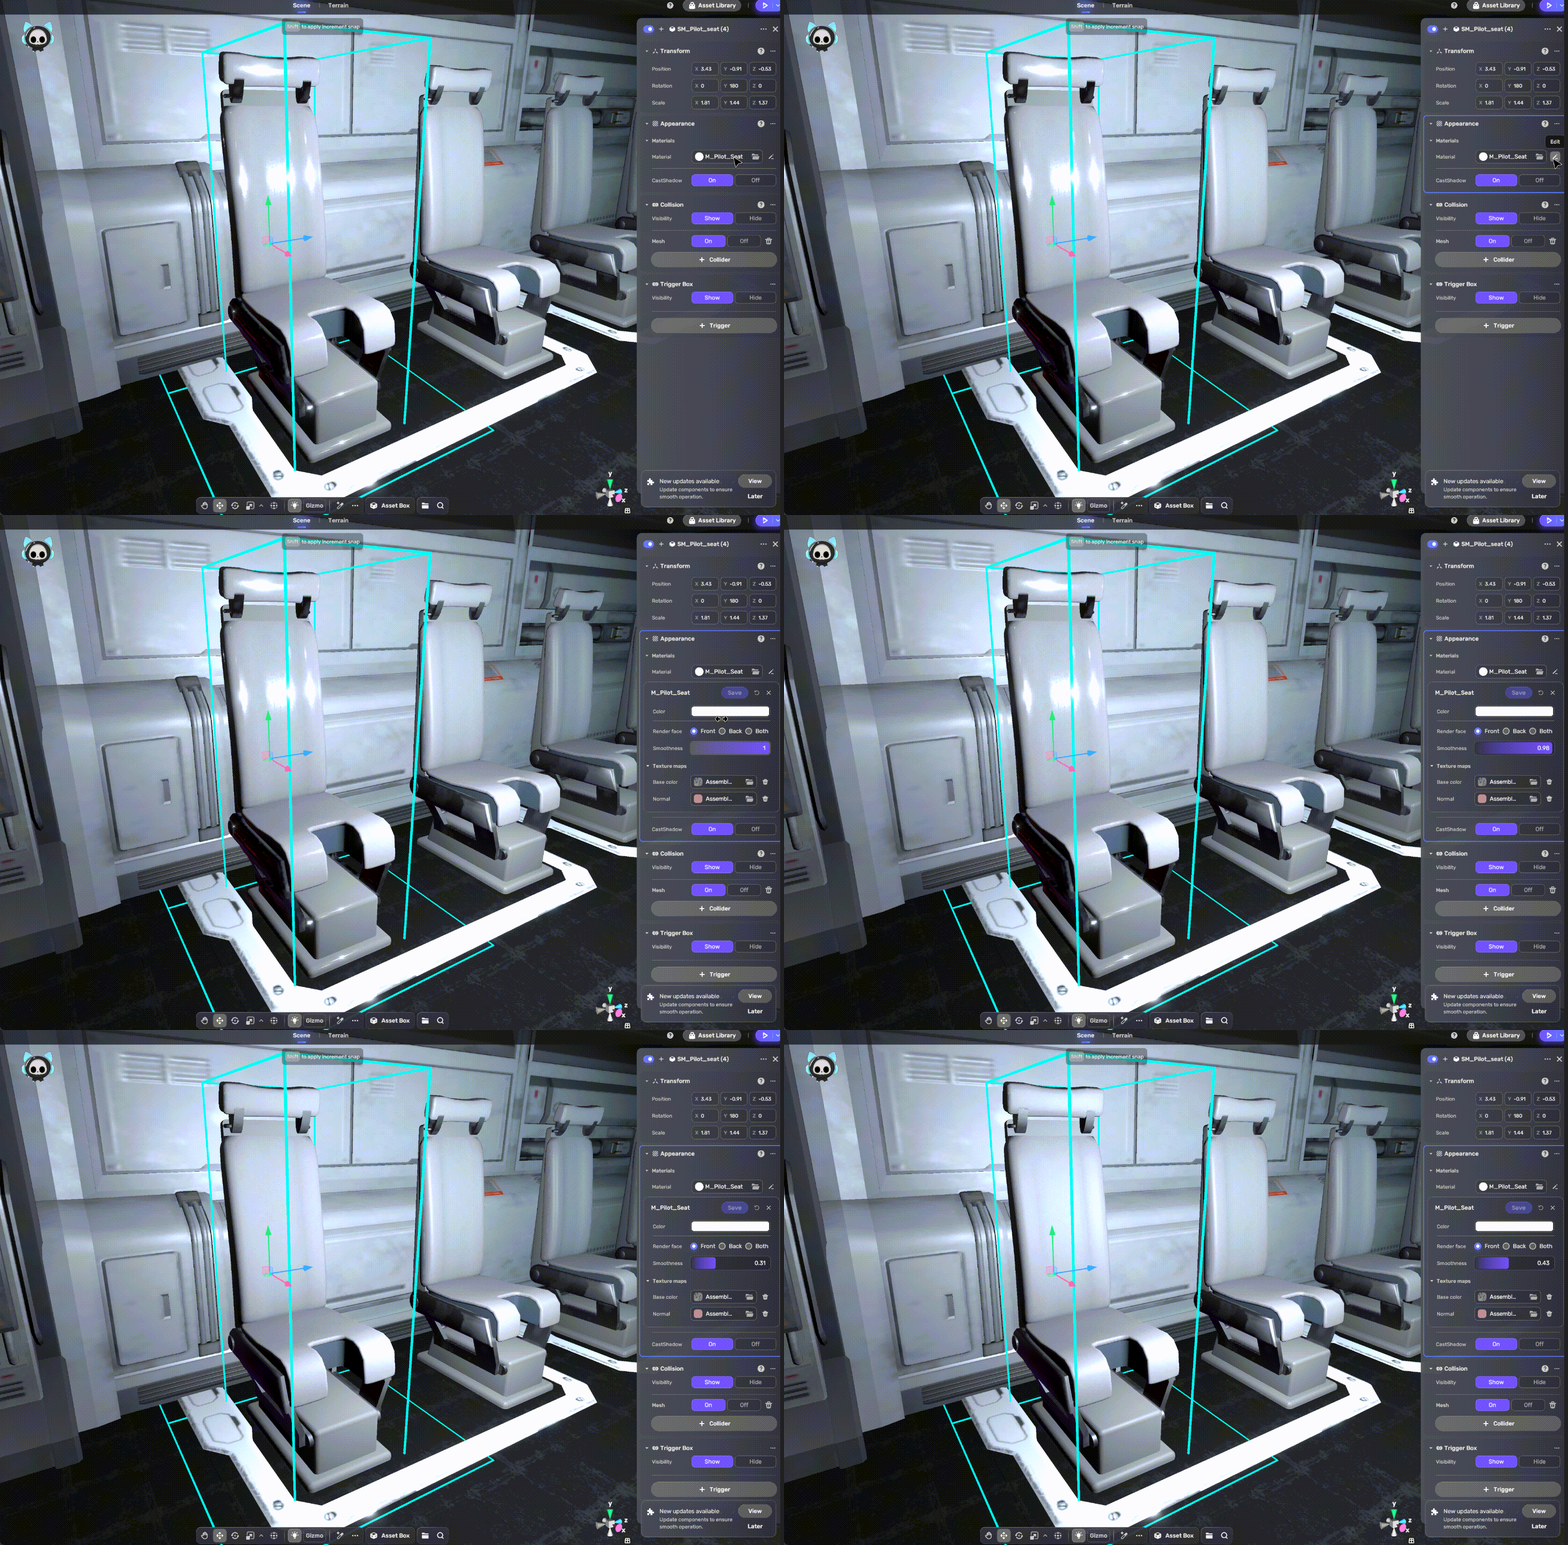
To address overexposure on specific objects:
- Select the affected object.
- Adjust its Smoothness attribute in the material settings:
- Higher values create a glossier surface.
- Lower values produce a more matte-like appearance. For more information, refer to Smoothness.
If overexposure occurs in nearby areas due to increased Brightness and the Default attenuation mode, change the attenuation mode to Smooth. This mode is ideal for scenes requiring strong light penetration (e.g., flashlights, car headlights). Smooth attenuation prevents overexposure in nearby areas while allowing increased Brightness for distant lighting effects. For more information, see Light attenuation.
Flickering
Flickering can occur due to several factors:
- Excessive lighting sources
- Large objects (renderers)
- Exceeding light source limits
Key points to remember:
- The maximum number of active light sources allowed in a scene is 256. If the number of light sources exceeds this limit, some sources may not be considered in the scene's lighting calculations.
- Each object (renderer) can receive light from up to 8 sources. If there are more than 8 sources, the renderer will prioritize the most important and impactful lights, selecting only 8 to influence the object's appearance.
- For large renderers (e.g., shared floors between multiple rooms) that may have excessive light sources and have flickering in dark lights, optimize light placement and quantity, and consider dividing large shared surfaces to maintain consistent lighting.
Shadows
- Currently, point lights do not have shadows enabled by default.
- Excessive point light shadows can consume additional resources and potentially cause game lag. To optimize performance, balance light settings by enabling shadows for primary light sources and disabling them for ambient effect lights
- Among directional lights, only the one with the highest brightness value acts as the main light and casts shadows. This is why toggling shadows for additional directional lights has no effect.