Animating a model using components
To create animations, you can use two main methods: the cutscene's animation track, which allows you to animate directly on the timeline, and the Animator package, which provides components for dynamic animations during gameplay.
Overview
This guide focuses on how to add animations to models using the Animator package, which includes two animation-related components, and how to trigger those animations with the Event Trigger component.
Finding a model
- Find a model from Asset Library and place it in the scene. To upload a rigged model from your computer, see Import models.
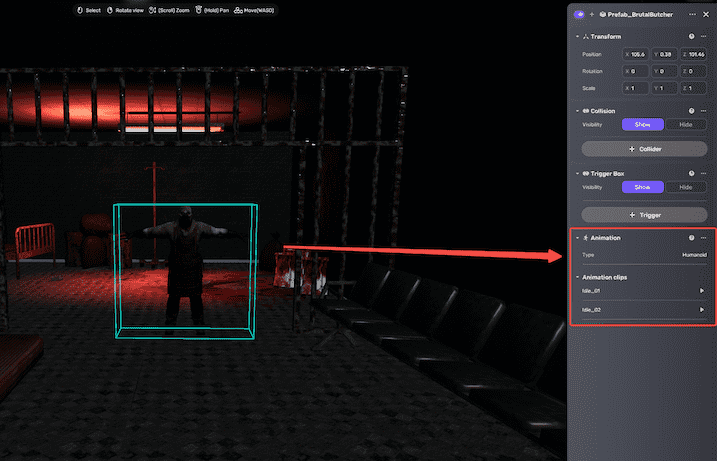
- Select the model and open the Properties window by clicking the more icon.
- Make sure the model asset has an Animation component, which means it's rigged and ready to play animations. Most Asset Library models come with this component pre-attached.
Adding an Animator Controller component
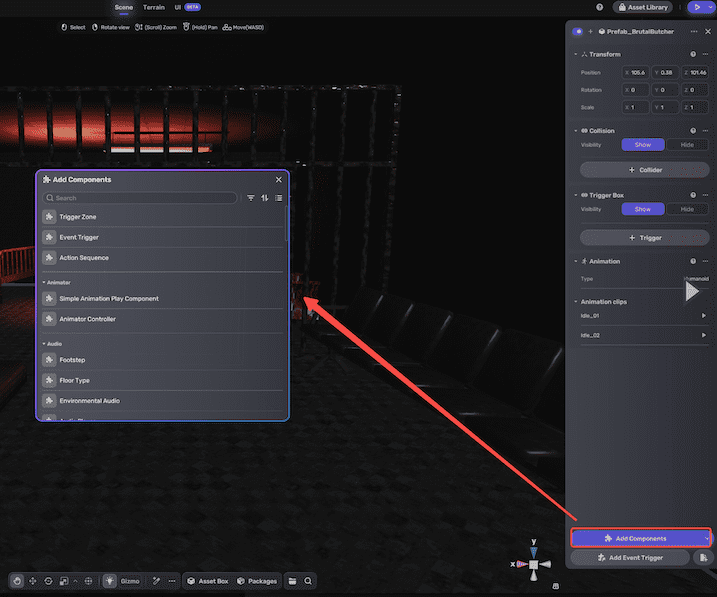
In the Properties window, click Add Components > Animator Controller to add the component to your model. This component helps enable animations. For more information, see Animator controller.
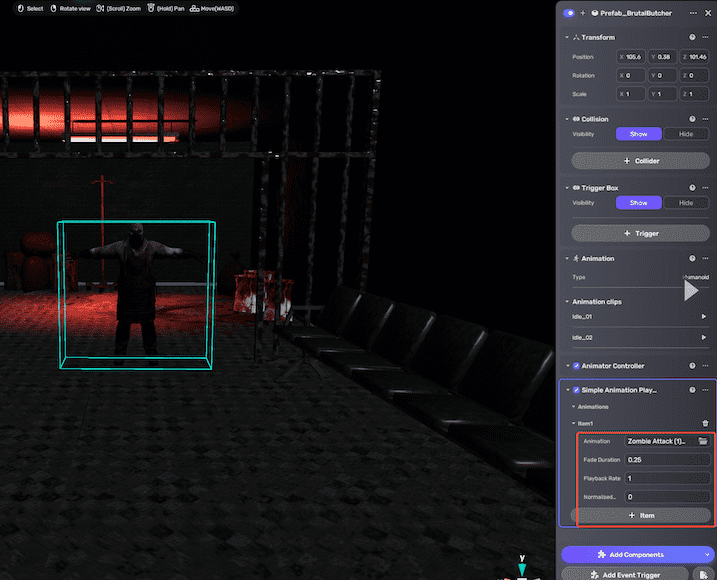
Adding a Simple Animation Play Component and configuring it
-
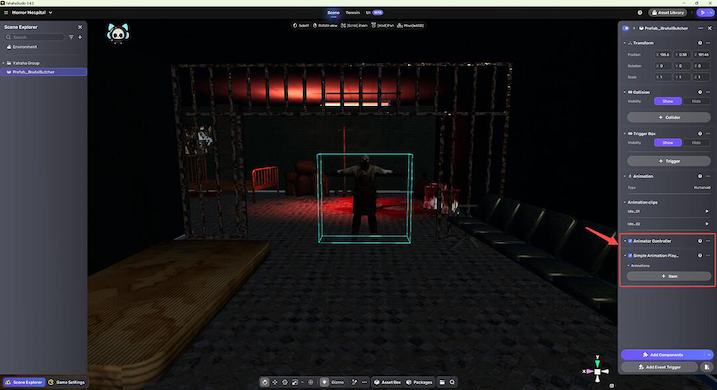
Similarly, add Simple Animation Play Component.
-
Then click Item on the component to add and control the animation to play.
-
Pick an animation clip from Asset Library or recommended animations. Note that models can have multiple clips, but you'll specify which one plays via the Event Trigger component.

-
Adjust settings like fade duration, playback rate, and how far in the animation clip to start playing. For detailed settings, For more information, see Simple Animation Play Component.
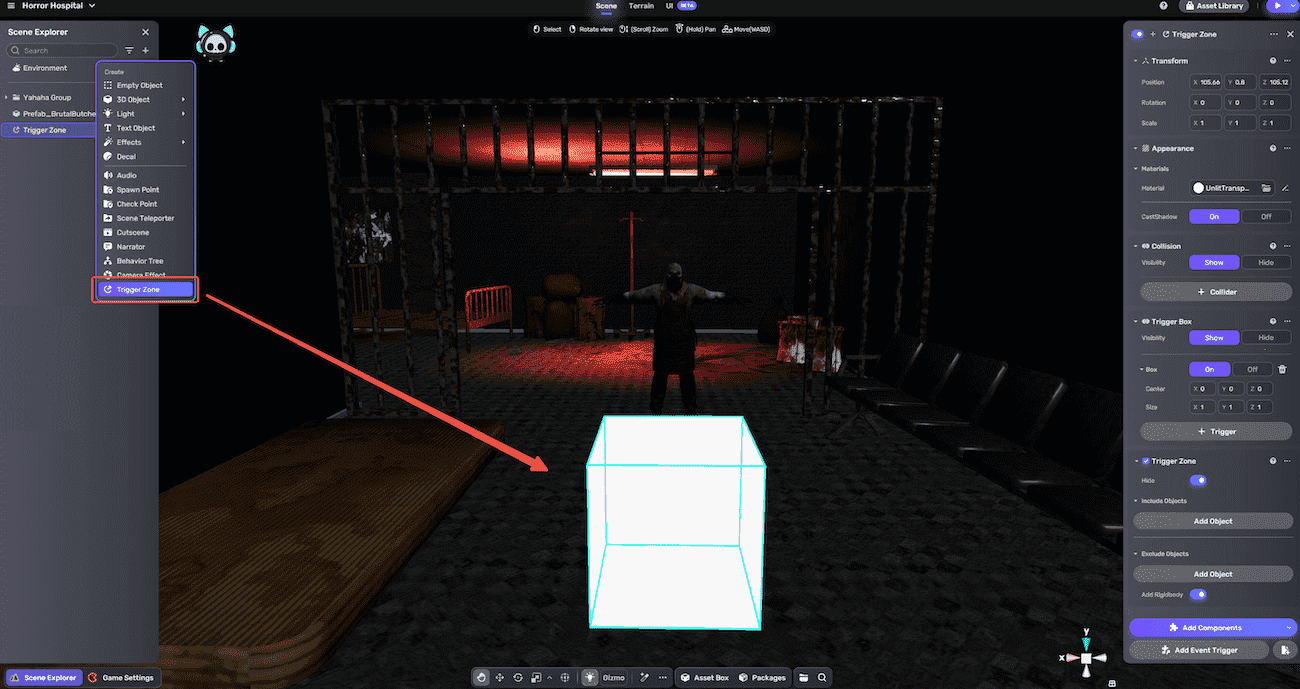
Setting a trigger
To make your animation play during gameplay, set up a trigger. For example, you can create a trigger zone that animates the model when a player enters it.
-
Adding a Trigger Zone object from the Quick Create panel.
-
Adjust the trigger zone object's position, rotation, and scale in its Properties to fit your scene.
-
Add an Event Trigger component to the Trigger Zone object by clicking Add Event Trigger.

-
Configure the Event Trigger component. In our case, we set it as follows:
Trigger Description Self The target object itself as the component is attached to it. OnTriggerZonePlayerEnter When the player enters the target object. Action Description Play The action the target object needs to perform, the model plays an animation. Animation Index The index of the animations, starting from 1, default is 0. When there is one Item on the Simple Animation Play Component, then Animation Index = 1. If there are two Items, the creator needs to define which Item's animation clip to play first and which to play second. Note that Animation Index 0 cannot play animations. Layer Index The area range where the animation is applied. Layer Index = 1, the model performs the animation throughout the body. Layer Index = 2, the model only performs the upper body animation. Layer Index = 3, the model only performs the lower body animation. Note that Layer Index 0 cannot play animations.
Playtesting the animation
With everything set, enter Play Mode. When the player enters the trigger zone, the model will play the assigned animation, such as an attack.