Creating animations with cutscene
In Horror Game Kit, you can create animations using animation tracks in the Cutscene's Timeline Editor. There's no built-in components that can be directly attached to objects to animate them.
Creating a cutscene with timeline
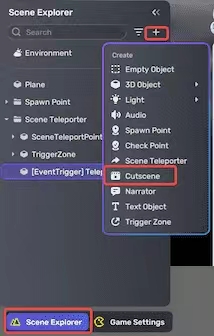
To create a cutscene, go to Scene Explorer, click the + icon, and choose Cutscene.
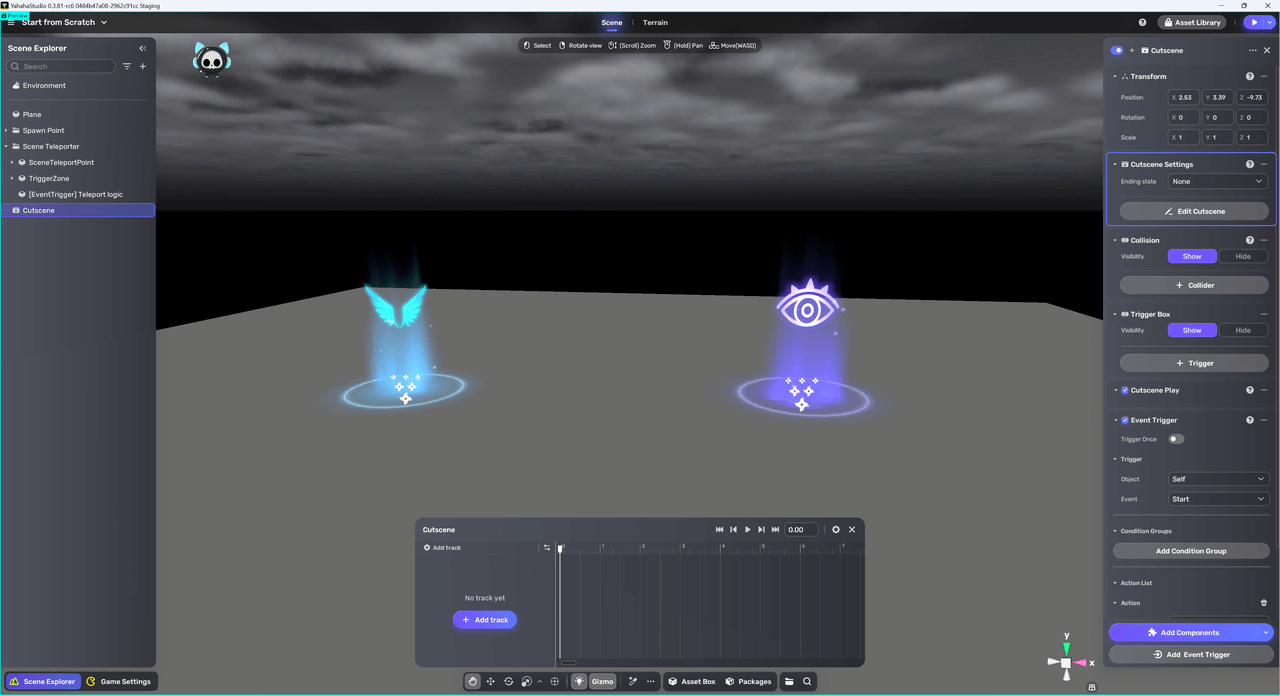
In the newly created cutscene, you will find the timeline editor in the center and its properties window on the right.
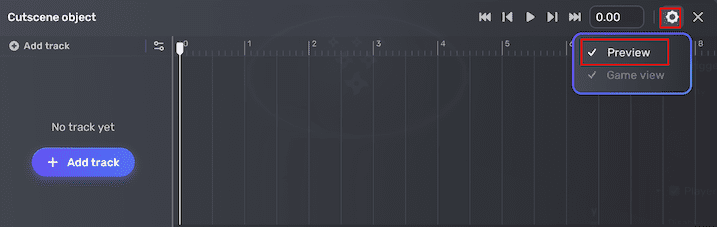
Note: When the timeline editor is open, you enter a Preview interface. In this interface, any changes made to objects that animation tracks are referencing are only for preview purposes and will not affect their current status in Scene Explorer. To exit the Preview interface, close the timeline editor or click the gear icon and unselect Preview on the editor.
Creating animation tracks
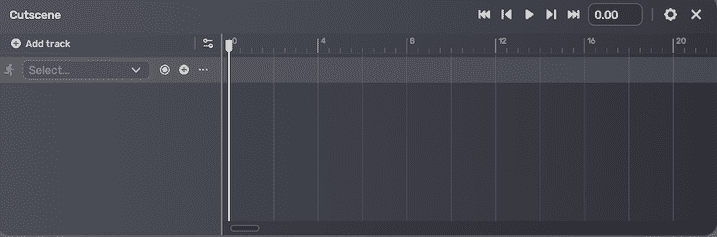
To create a timeline track, click + Add track in the timeline editor and select the Animation track.
You can add two types of animation clips to the tracks: pre-recorded clips from Asset Library to animate your humanoid models, or clips that you create yourself by keyframe recording the movements of objects.
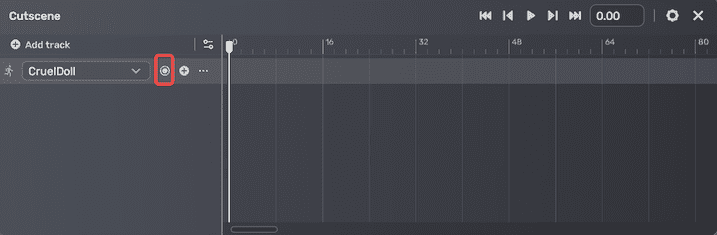
Let's start with the first type, pre-recorded clips from Asset Library:
-
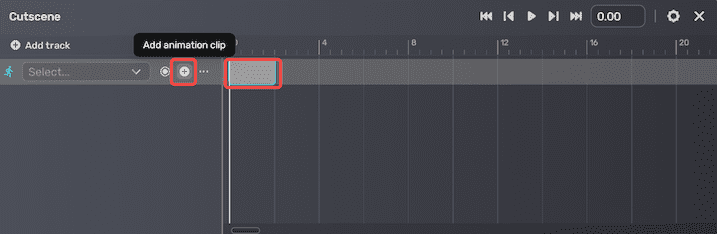
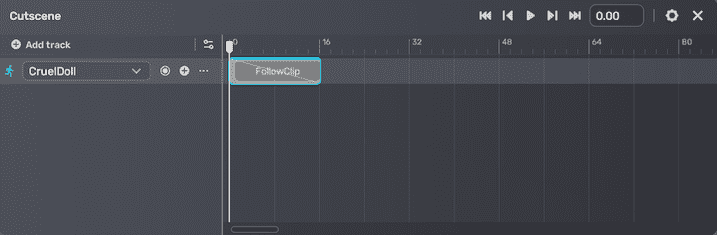
Click the + icon to add an animation clip.
-
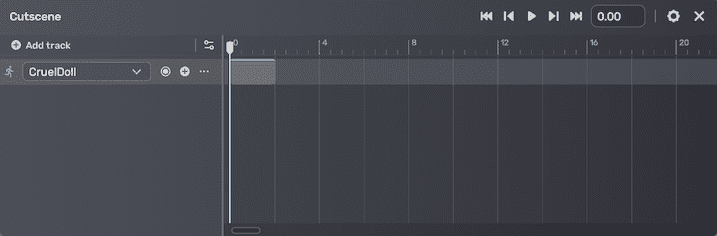
Drag the model to be animated to the track. You can continue to move the animation clip to the desired marker.
-
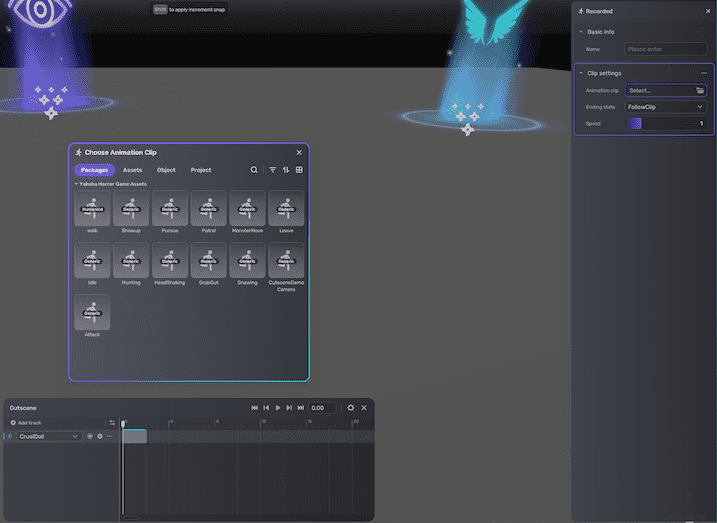
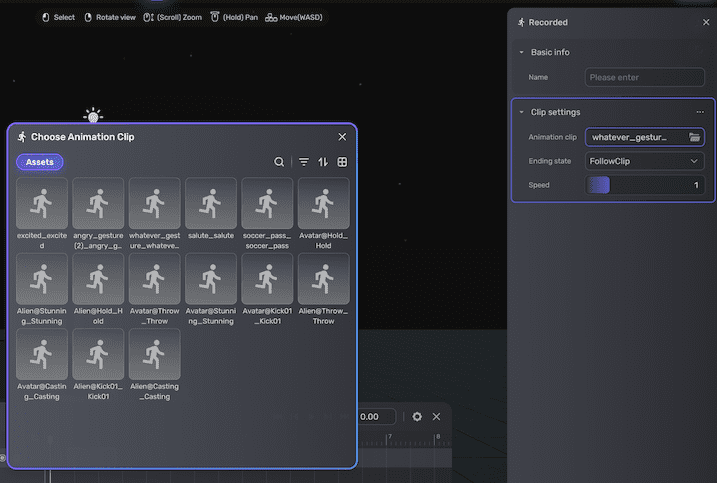
When you select the animation clip added, the Recorded window appears. In the Recorded window, choose the animation clip and set how to play the clip. If you're using a generic model, you should use the local animations that come with the model.
| Property | Description |
|---|---|
| Name | A name for the animation track. |
| Animation clip | The animation clip from Asset Library that plays when triggered. |
| Ending state | Determines how it will behave once it reaches the end of the animation.
|
| Speed | The playback speed of the selected animation clip. Ranges from 0.01 to 5. Default: 1. |
For the second type, follow the steps below to create animation clips by keyframe recording the movements of your model:
-
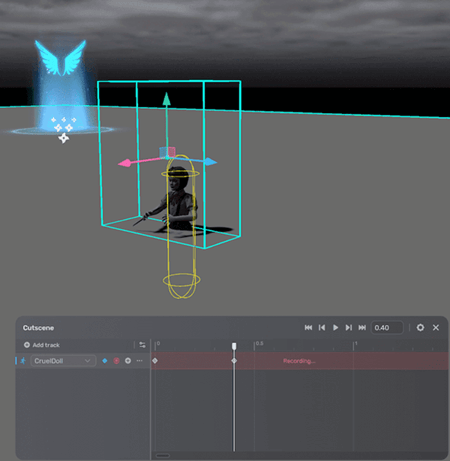
Drag the model to be animated to the empty track and click the dot to start recording.
-
To animate the model's movement, you keyframe its transform, rotation, and scale. For example, to record the CruelDoll's turn to face a different direction over 0.4 seconds, you move the playhead to the 0.4-second mark.
-
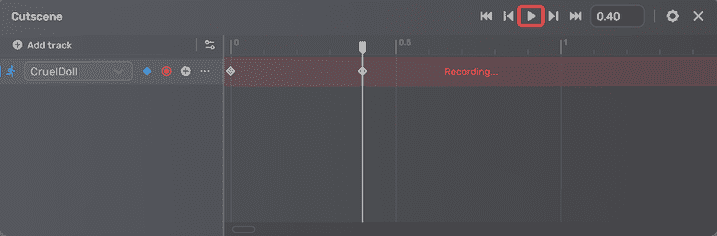
To preview, click the Play button or drag the playhead to move it between two points along the timeline.
-
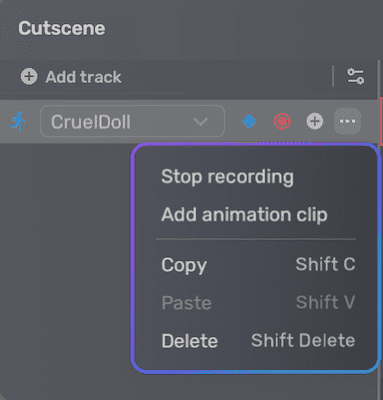
Click the red dot to stop recording. Alternatively, click the More button, then select Stop recording.
Blending animation tracks and clips
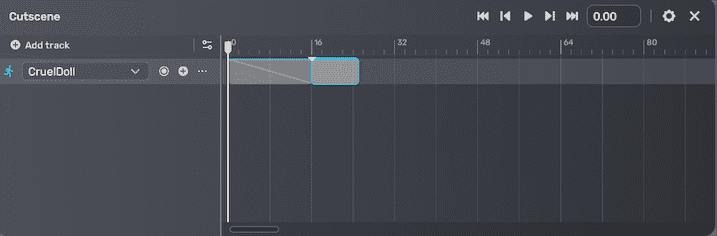
Blending two clips on the same track creates a smooth transition between clips. To achieve this, position a clip to overlap with an adjacent clip.
Attaching a clip to an adjacent clip results in an abrupt transition between them.
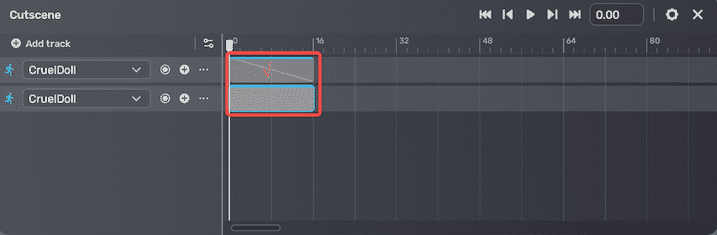
Multiple tracks on the same timeline will be played simultaneously. If two animation clips control the same object at the same marker, and provide conflicting content, the clip on the first track overrides the clip on the second track. For example, if the first track contains a dancing animation clip, and the second track contains a running animation clip, the model will perform the dancing animation from the clip on the first track at the specified time.
Triggering cutscene
Once you've finished setting up your timeline track, the next step is to determine how to trigger it in the cutscene's trigger action component and finish other settings. For more information, see Configuring cutscenes.