Checkpoints
A checkpoint is an integral feature designed to preserve the progress made within a game. By setting checkpoints within a game scene, players can seamlessly save their progress. This ensures that upon returning, players can resume their journey without the need to restart and revisit previously conquered challenges.
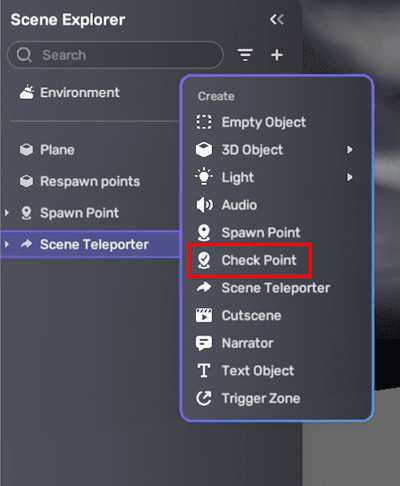
To add a checkpoint, go to Scene Explorer, click the + icon, and select Check Point.
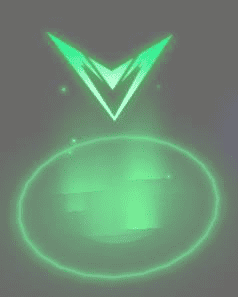
Then a checkpoint is created in the scene.
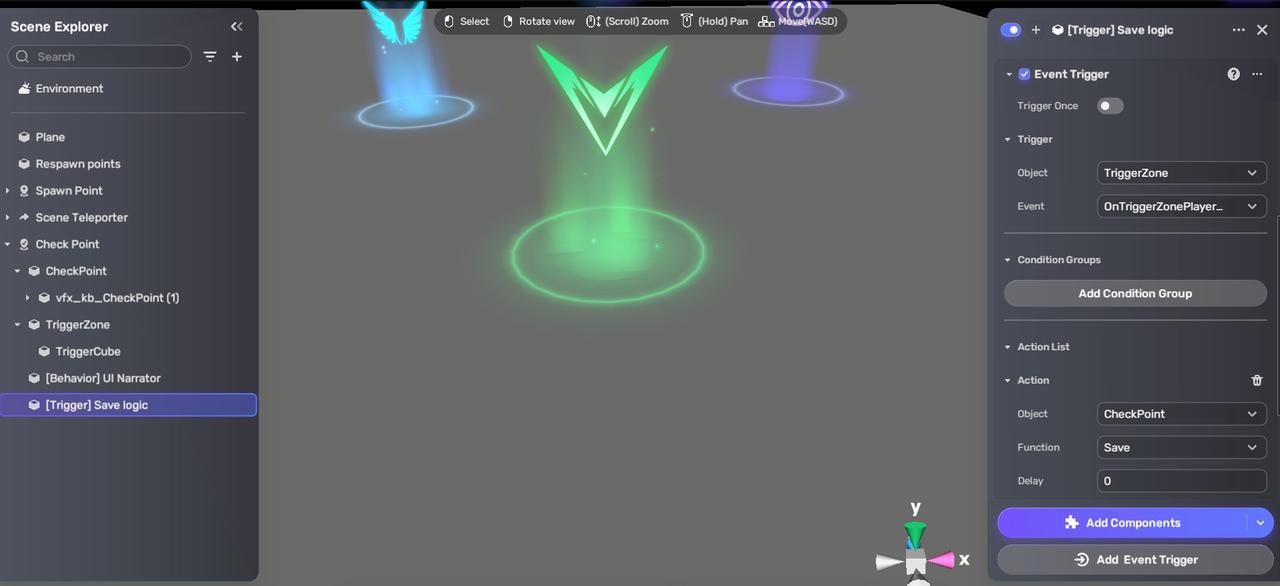
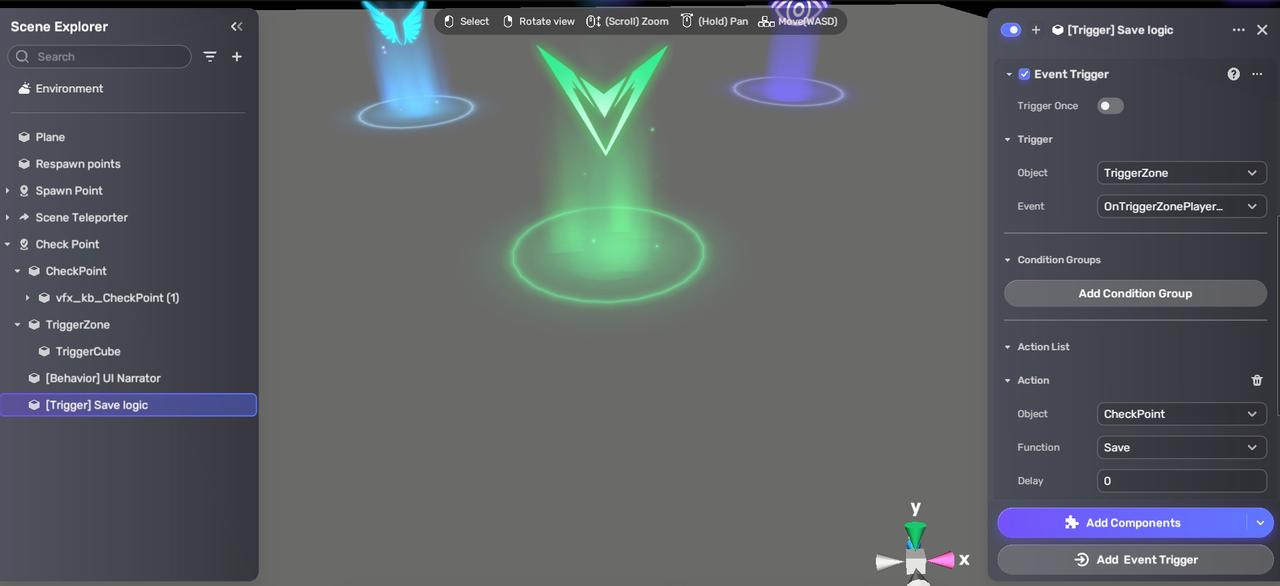
In Scene Explorer, unfold Check Point to view the hierarchy of the default checkpoint. To edit the logic, appearance, or special effect of the point, select the corresponding component and edit the properties in the properties window that appears on the right side. If you want to ensure that the checkpoint is functional but not visible, you can simply disable or delete the visual effects (VFX) associated with the checkpoint.
Set the checkpoints at strategic points in the game scene where players achieve significant milestones or overcome challenges. If a scene contains multiple checkpoints, players will typically resume their progress from the latest checkpoint triggered within that level or scene.
Note: Checkpoint has the Event Trigger component in the Save logic trigger so that when the player enters the checkpoint zone (trigger), their game progress will be saved (action).
Switching chapters
To progress to a new chapter without altering the current scene:
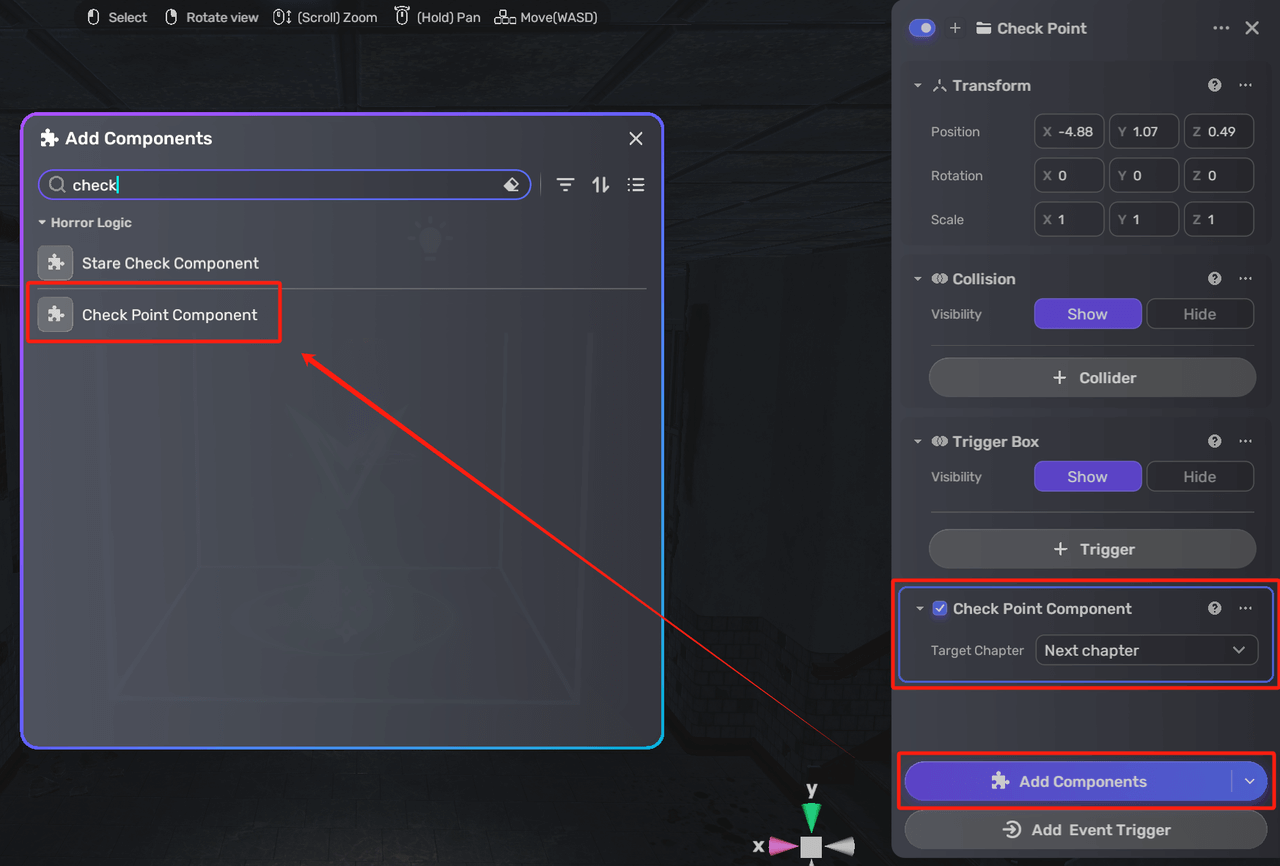
- Add Check Point Component by clicking Add Components > Check Point Component.
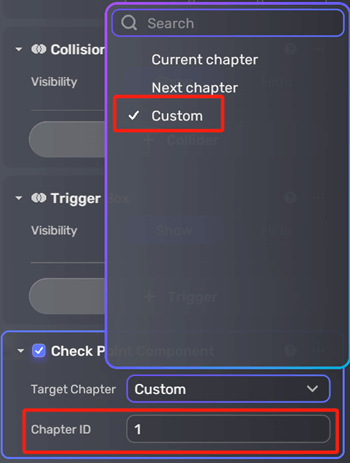
- Select the desired Target Chapter:
- Choose Next chapter if you want to switch to the subsequent chapter.
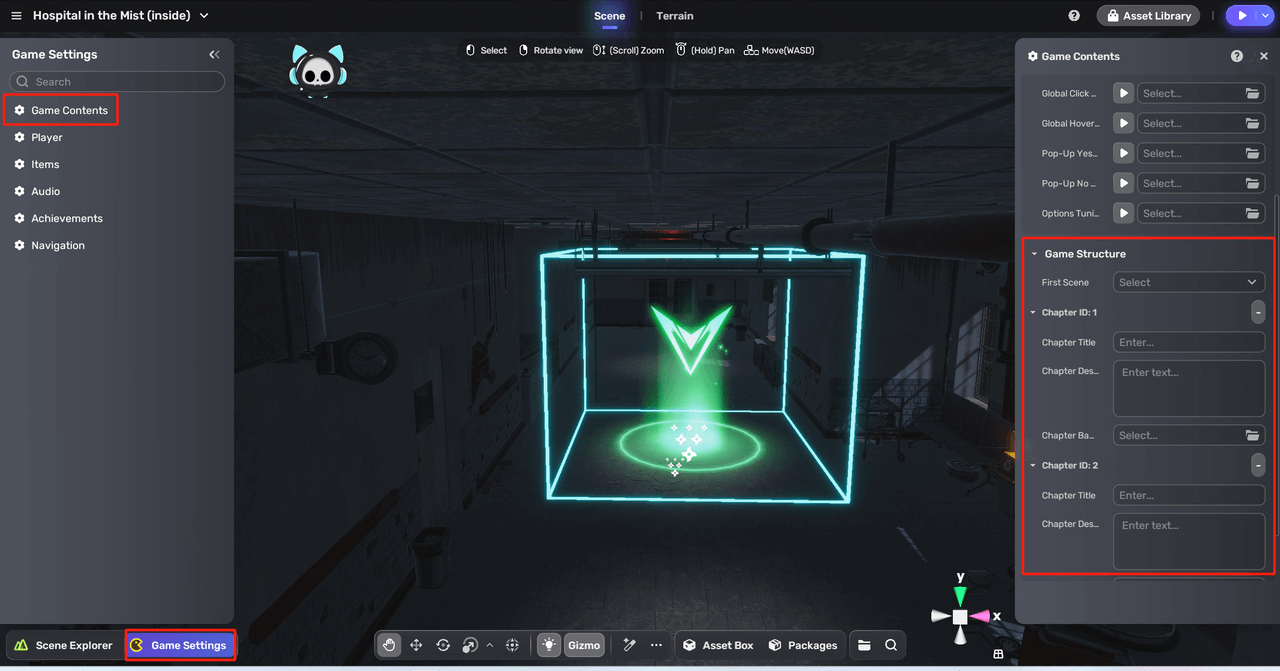
- Alternatively, select Custom and specify the desired chapter ID for a specific chapter transition. To check the chapter ID, go to Game Settings > Game Contents > Game Structure.
To switch scenes without changing chapters, see switching scenes.
