Prefabs
In YAHAHA Studio (Studio), prefabs serve as templates for ,
Overview
Prefabs enable creators to create, configure, and store YahahaObjects—including all their components, property values, and child objects—as reusable assets. They rapidly build, manage, and reuse modular components across a project, avoiding repetitive work on similar game elements and maintaining consistency.
This guide covers the core prefab workflows:
Creating prefabs
A prefab is a pre-designed template of a game object or component—such as a character, item, or environmental element—that is saved as an independent reusable asset. It stores the object’s structure, appearance, all components, configured properties, and child objects. When the original prefab is modified, all instances automatically update, ensuring consistency and saving development time.
Use cases
Common use cases of prefabs in game development include:
- Quickly generating multiple copies of similar objects like enemies, collectibles, or props
- Constructing modular scenes by assembling buildings, terrain features, and UI elements as prefabs
- Facilitating team collaboration by sharing standardized assets across developers
- Dynamically spawning objects at runtime for gameplay purposes
- Building complex objects through nested prefabs
Creating prefab resources
To create a prefab:
-
Select an object in the scene, right-click it, and choose Create new prefab. Or

-
Select the object, click More to open its Properties window, click
 and select Create new prefab.
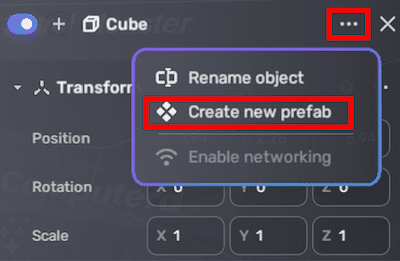
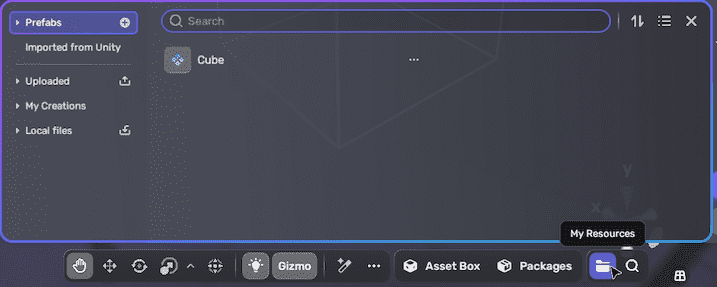
Once created, you can find your prefab under My Resources > Prefabs.
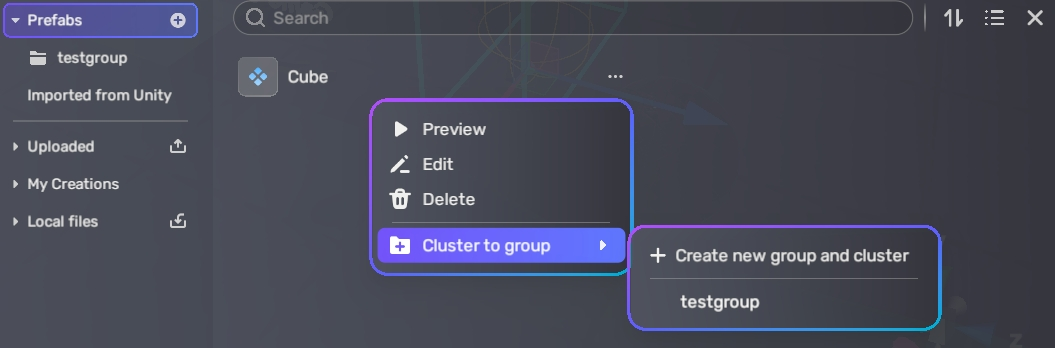
For better organization, add prefabs to groups by selecting , then Cluster to group and assigning them to a prefab group.
Creating prefab instances
Dragging resource to create instance
To place a prefab instance in your scene, locate the prefab under My Resources > Prefabs, then drag it into your scene.
This instance inherits all components and property values from the prefab resource, allowing you to reuse assets efficiently (for example, placing multiple soldier models).
Instantiating prefab instances at runtime (Party Game Kit only)
To instantiate prefab instances at runtime in Party games:
- Enable Spawn used on the prefab resource.
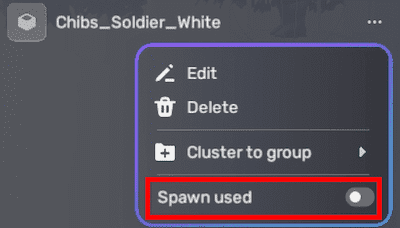
- Use an appropriate YaEntity Spawn method to instantiate prefabs dynamically during gameplay, controlling position, rotation, and scale.
Editing prefabs
You can edit prefabs in Scene Editor or in Prefab Mode (Horror only). Editing a prefab resource modifies its root YahahaObject, automatically updating all instances in the scene.
Editing in Scene Editor
Select a prefab resource or instance and adjust properties in the Properties window. Changes to the prefab resource sync instantly to all instances.
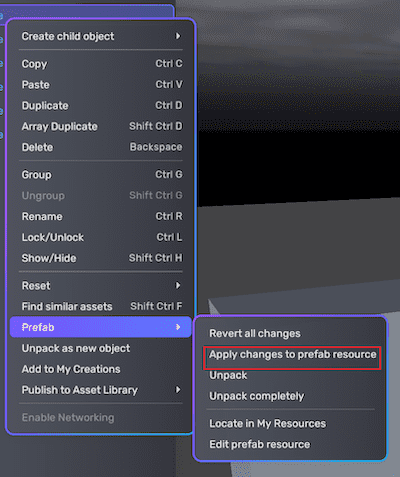
Editing a prefab instance does not affect other instances or the root resource. Use Revert all changes to reset an instance to the prefab state, or Apply changes to prefab resource to propagate edits to all instances.
Material change to the cube prefab automatically synced to all cube instances
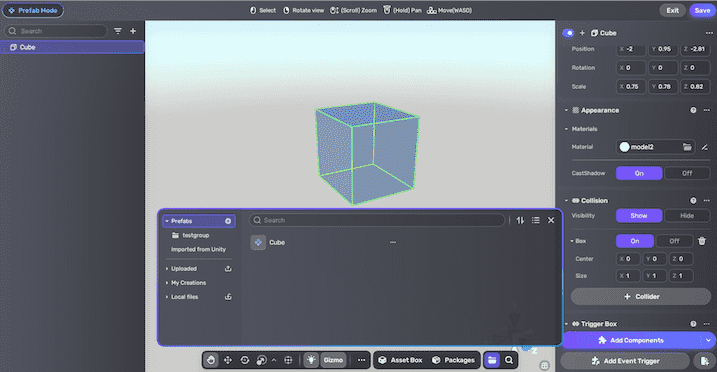
Editing in Prefab Mode (Horror Game Kit only)
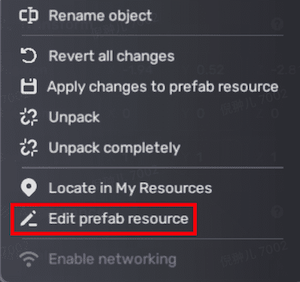
Right-click the prefab or select , then Edit prefab resource to enter Prefab Mode—a dedicated editing interface similar to Scene Editor—allowing focused prefab editing.
Nesting prefabs
Prefabs can contain other prefabs as nested instances. Nested prefabs maintain their own links to their prefab resources while being part of a parent prefab. This enables building complex, modular objects by composing smaller prefab pieces.

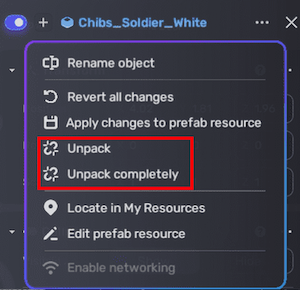
Unpacking prefab instances
Unpacking converts a prefab instance back into a regular YahahaObject, severing its link to the original prefab resource.
To unpack, right-click the instance in the scene explorer or click in the instance's Properties window, then select Unpack.
To remove all prefab links completely, choose Unpack Prefab Completely.