Doors
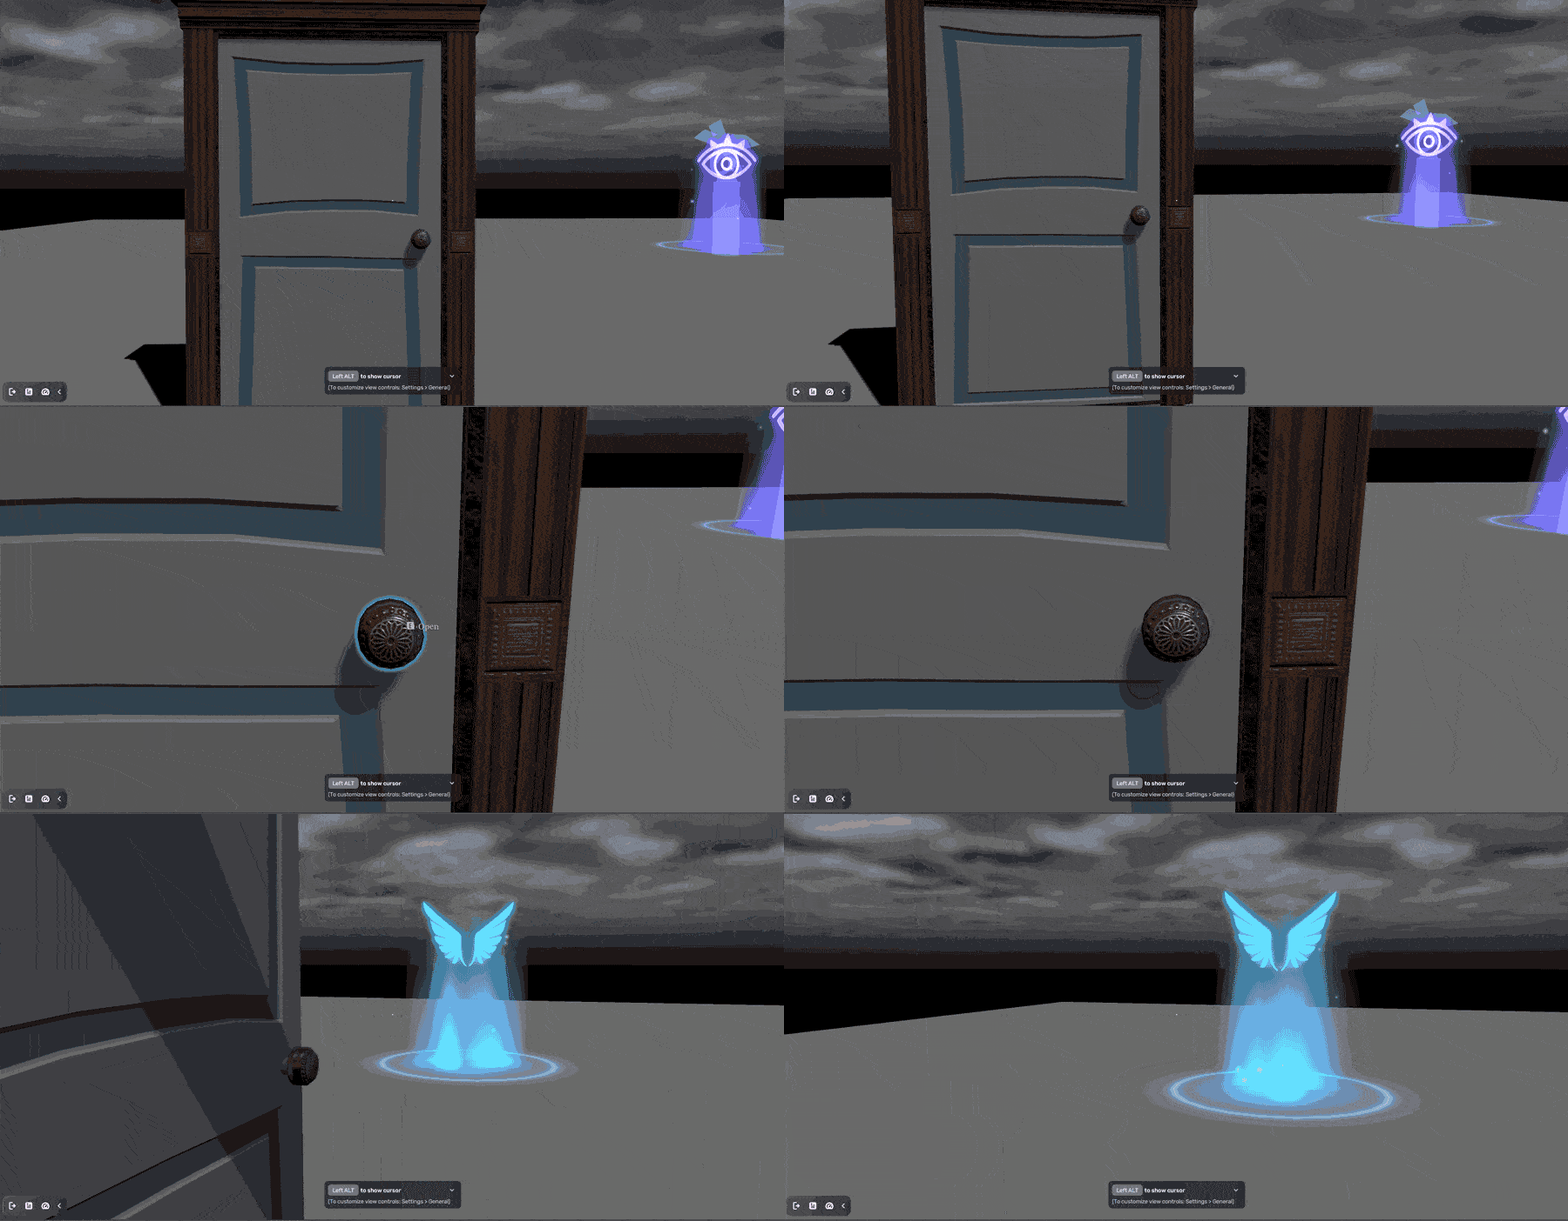
The door-related mechanics include Unlocked Door, Locked Door and Key, Fixed-valve and Door, and Valve and Door. Let's take Unlocked Door as an example. It is a smart asset that enables a door to be openable and closable.
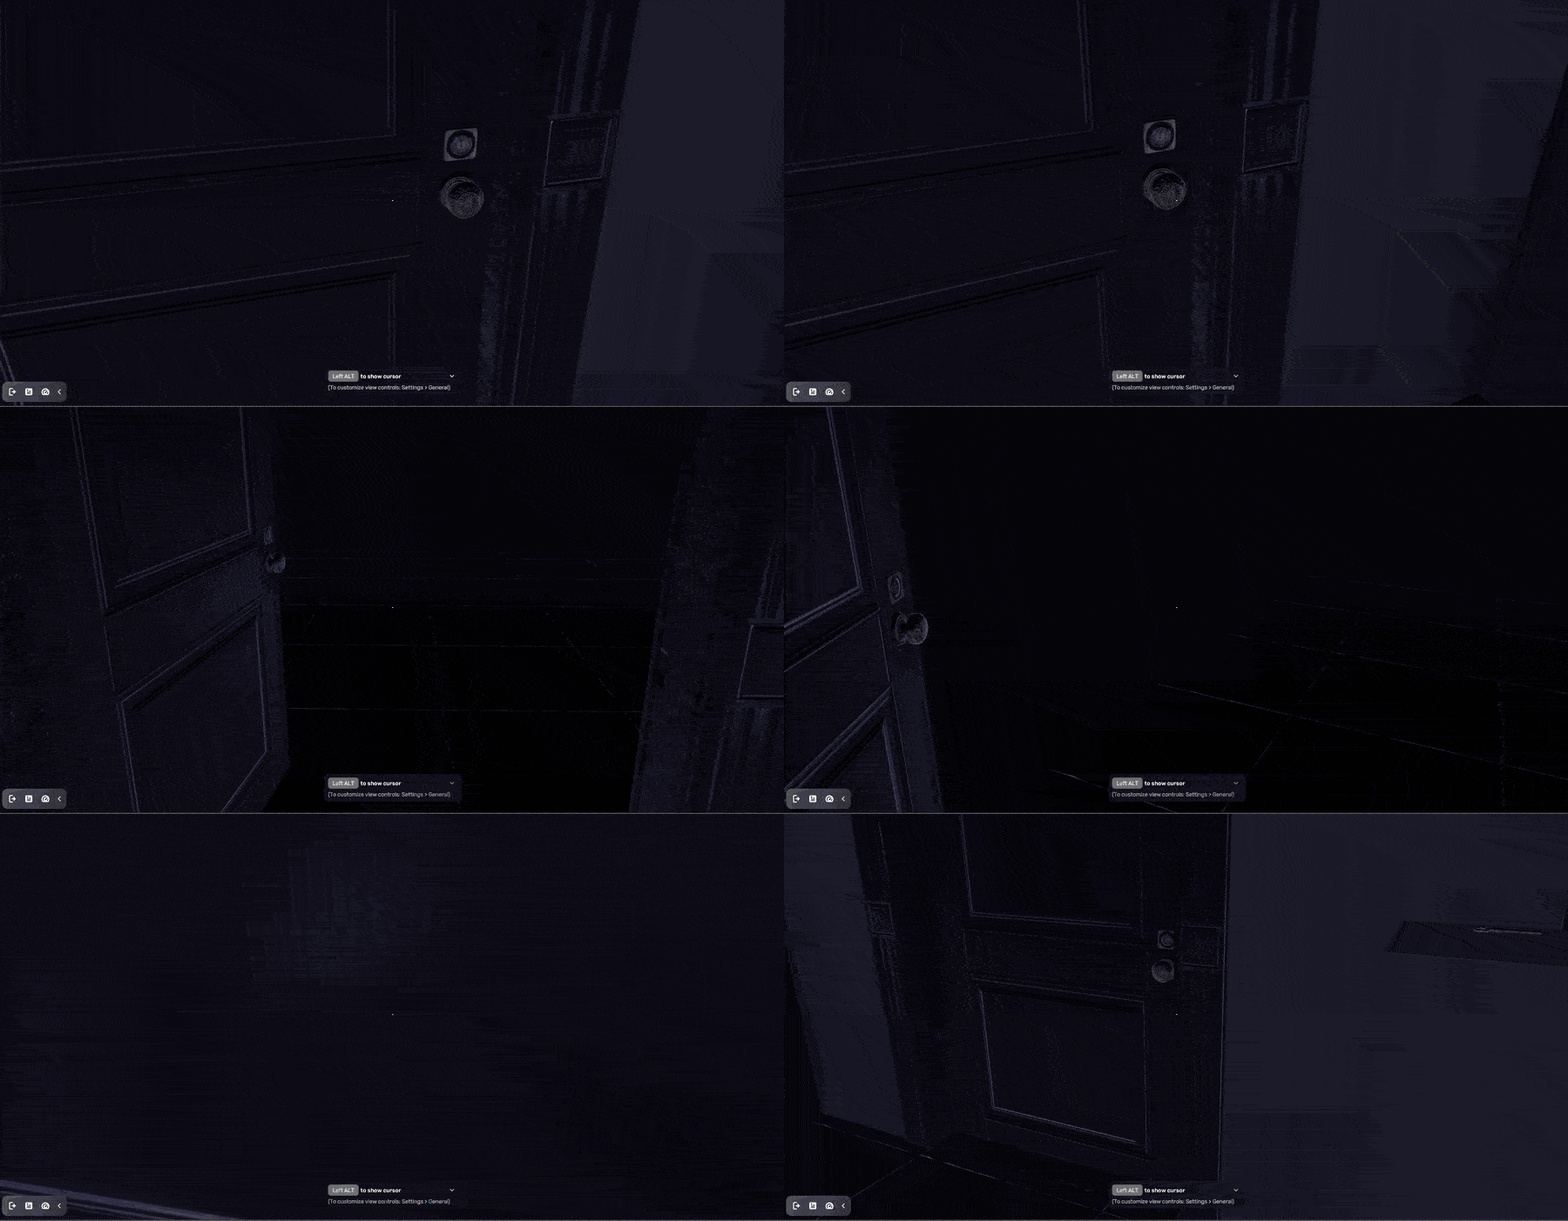
The Unlocked Door offers built-in gameplay logic, and you can conveniently modify its attributes through the Behavior component in the properties window such as open angle. For more information about this smart asset, see Unlocked Door.
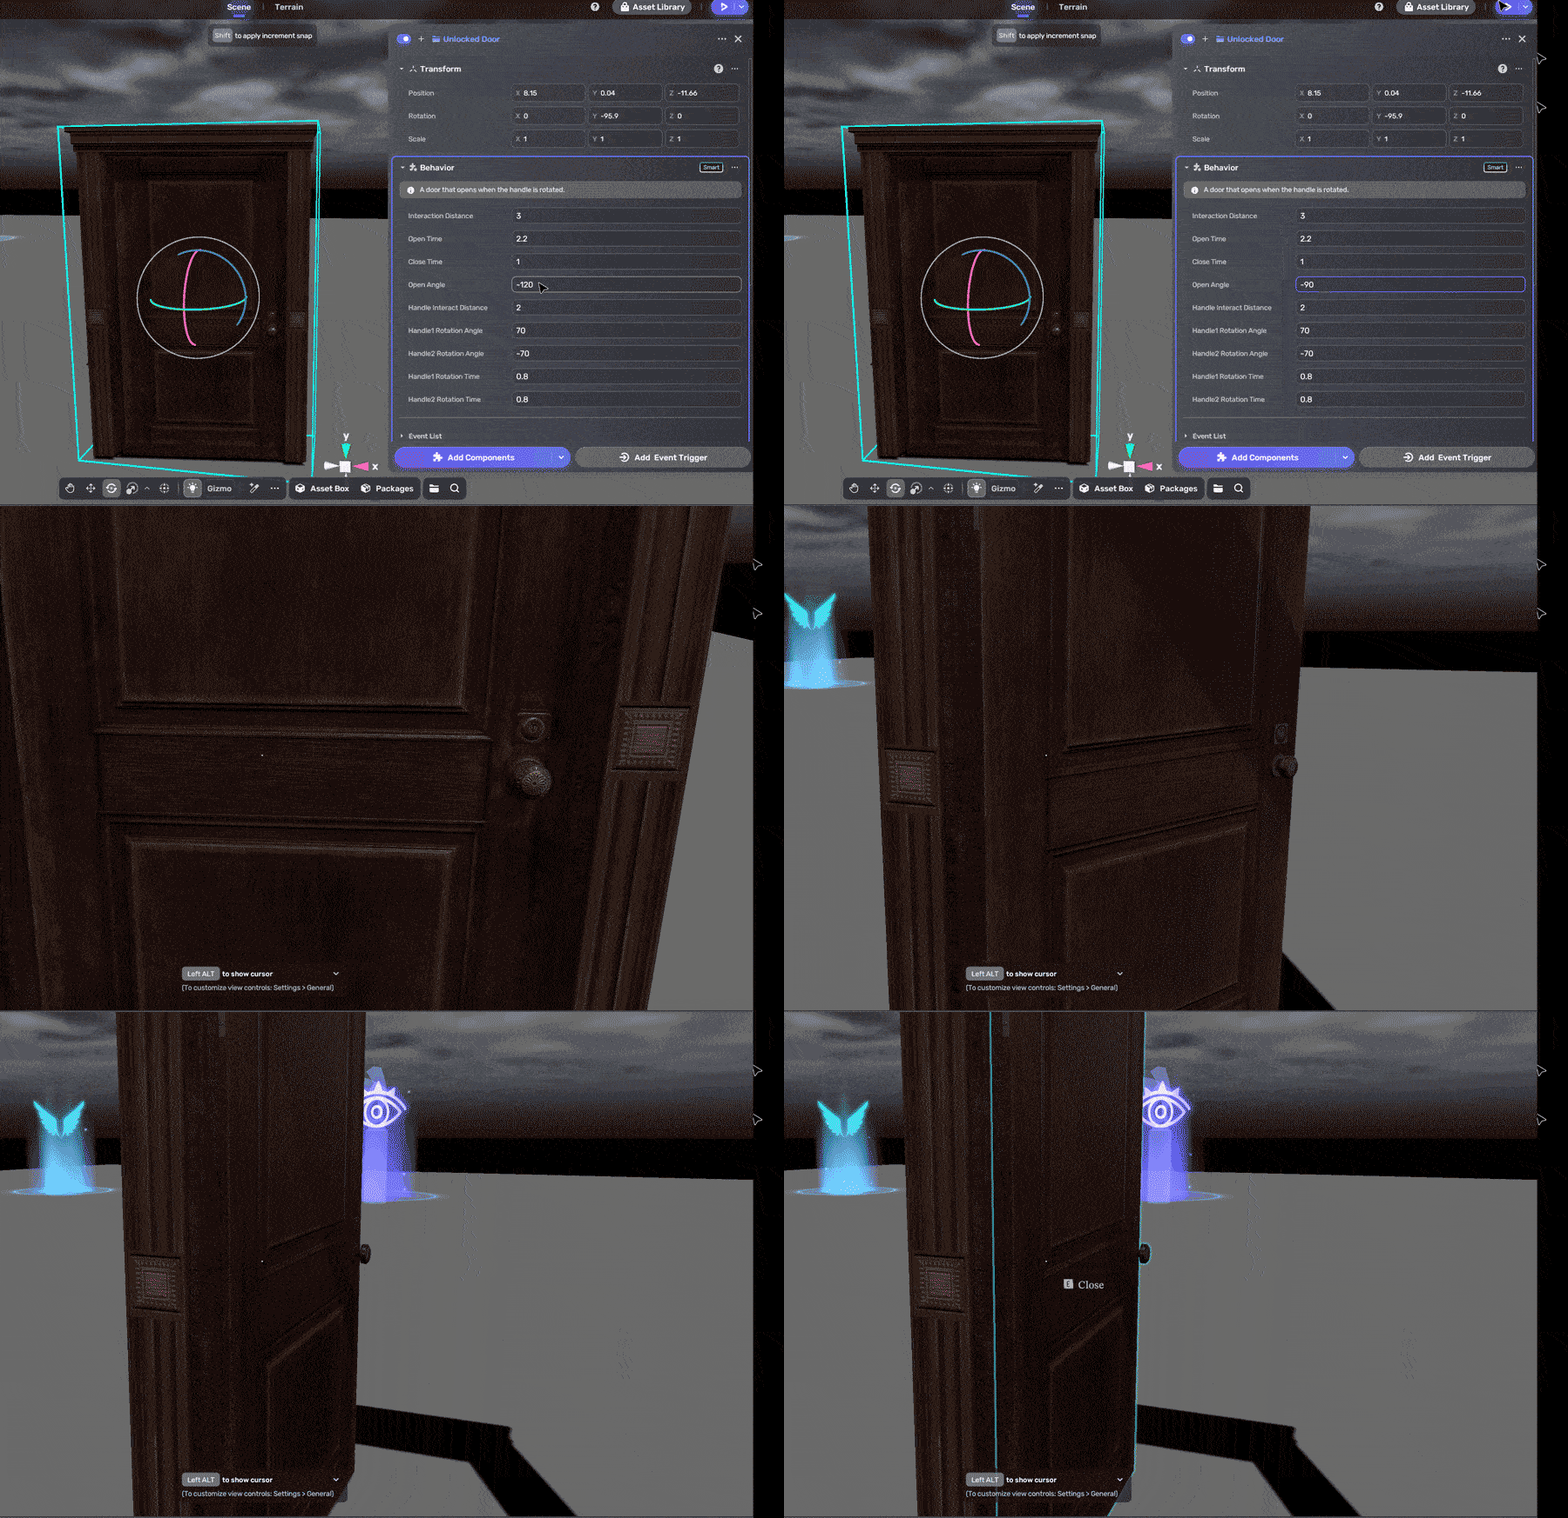
In our case, we want to replace the door body's mesh. To do so, we rely on this smart asset and a new model Door. Follow these steps:
-
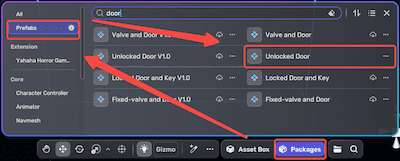
Open the Packages window. Go to the Prefabs section, then drag and drop the Unlocked Door into the scene.
-
Adjust the position of the door in the scene to your desired location. Try playtesting to ensure that the smart asset is functioning correctly. Then, we'll replace the door model with a new one, while preserving the same functionality.
-
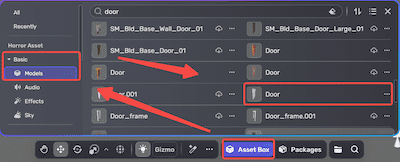
Find a suitable model for the door. For example, we select the model Door from the Basic category of Horror Asset in Asset Box and add it to the scene.
-
Align the position of Door with the Unlocked Door and you can continue to adjust its position and size later.
-
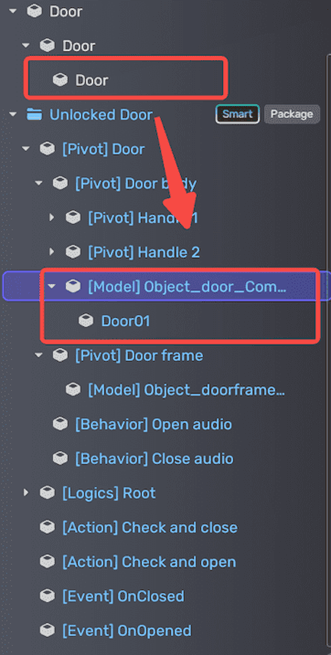
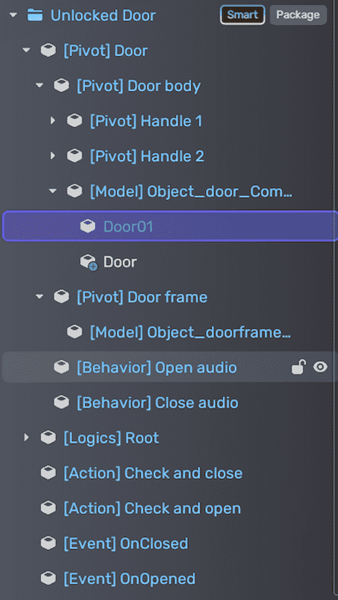
Drag the door model from the folder Door into the folder [Model]Object_door_Comm of Unlocked Door, then disable Door01. This makes the new door body inherit all preset logic.
The new hierarchy of Unlocked Door looks like this:
Note: if you ever encounter difficulties when trying to drag and drop an object under a prefab, it may be due to the prefab's restrictions. Unpack the prefab before making any changes. For more information about the prefab, see Prefabs.
-
Align the position and size of the handles of the Unlocked Door to match the model door.
Now, it's time for you to playtest:
